Capturing Canine Charm: Understanding Why Dogs Don't Like Having Their Photo Taken and 7 Tips to Make Them Feel Comfortable

With some dogs getting them to look at the camera is no easy thing, but there are lots of easy steps you can take to help improve your chances of engaging dogs in the photo-taking process.
Introduction:
We live in the era of smartphone photography, where snapping pictures has become second nature. But what do you do when your adorable furry friend avoids the camera lens like the plague? Many dog parents have experienced the struggle of trying to capture the perfect shot, only to be met with resistance, frustration or even fear from their canine companions. So, why do dogs seem to dislike having their photo taken? In this blog post, I will explore the reasons behind their reluctance and share seven tips to make your furry friend feel comfortable in front of the camera.
Respect their personal space:
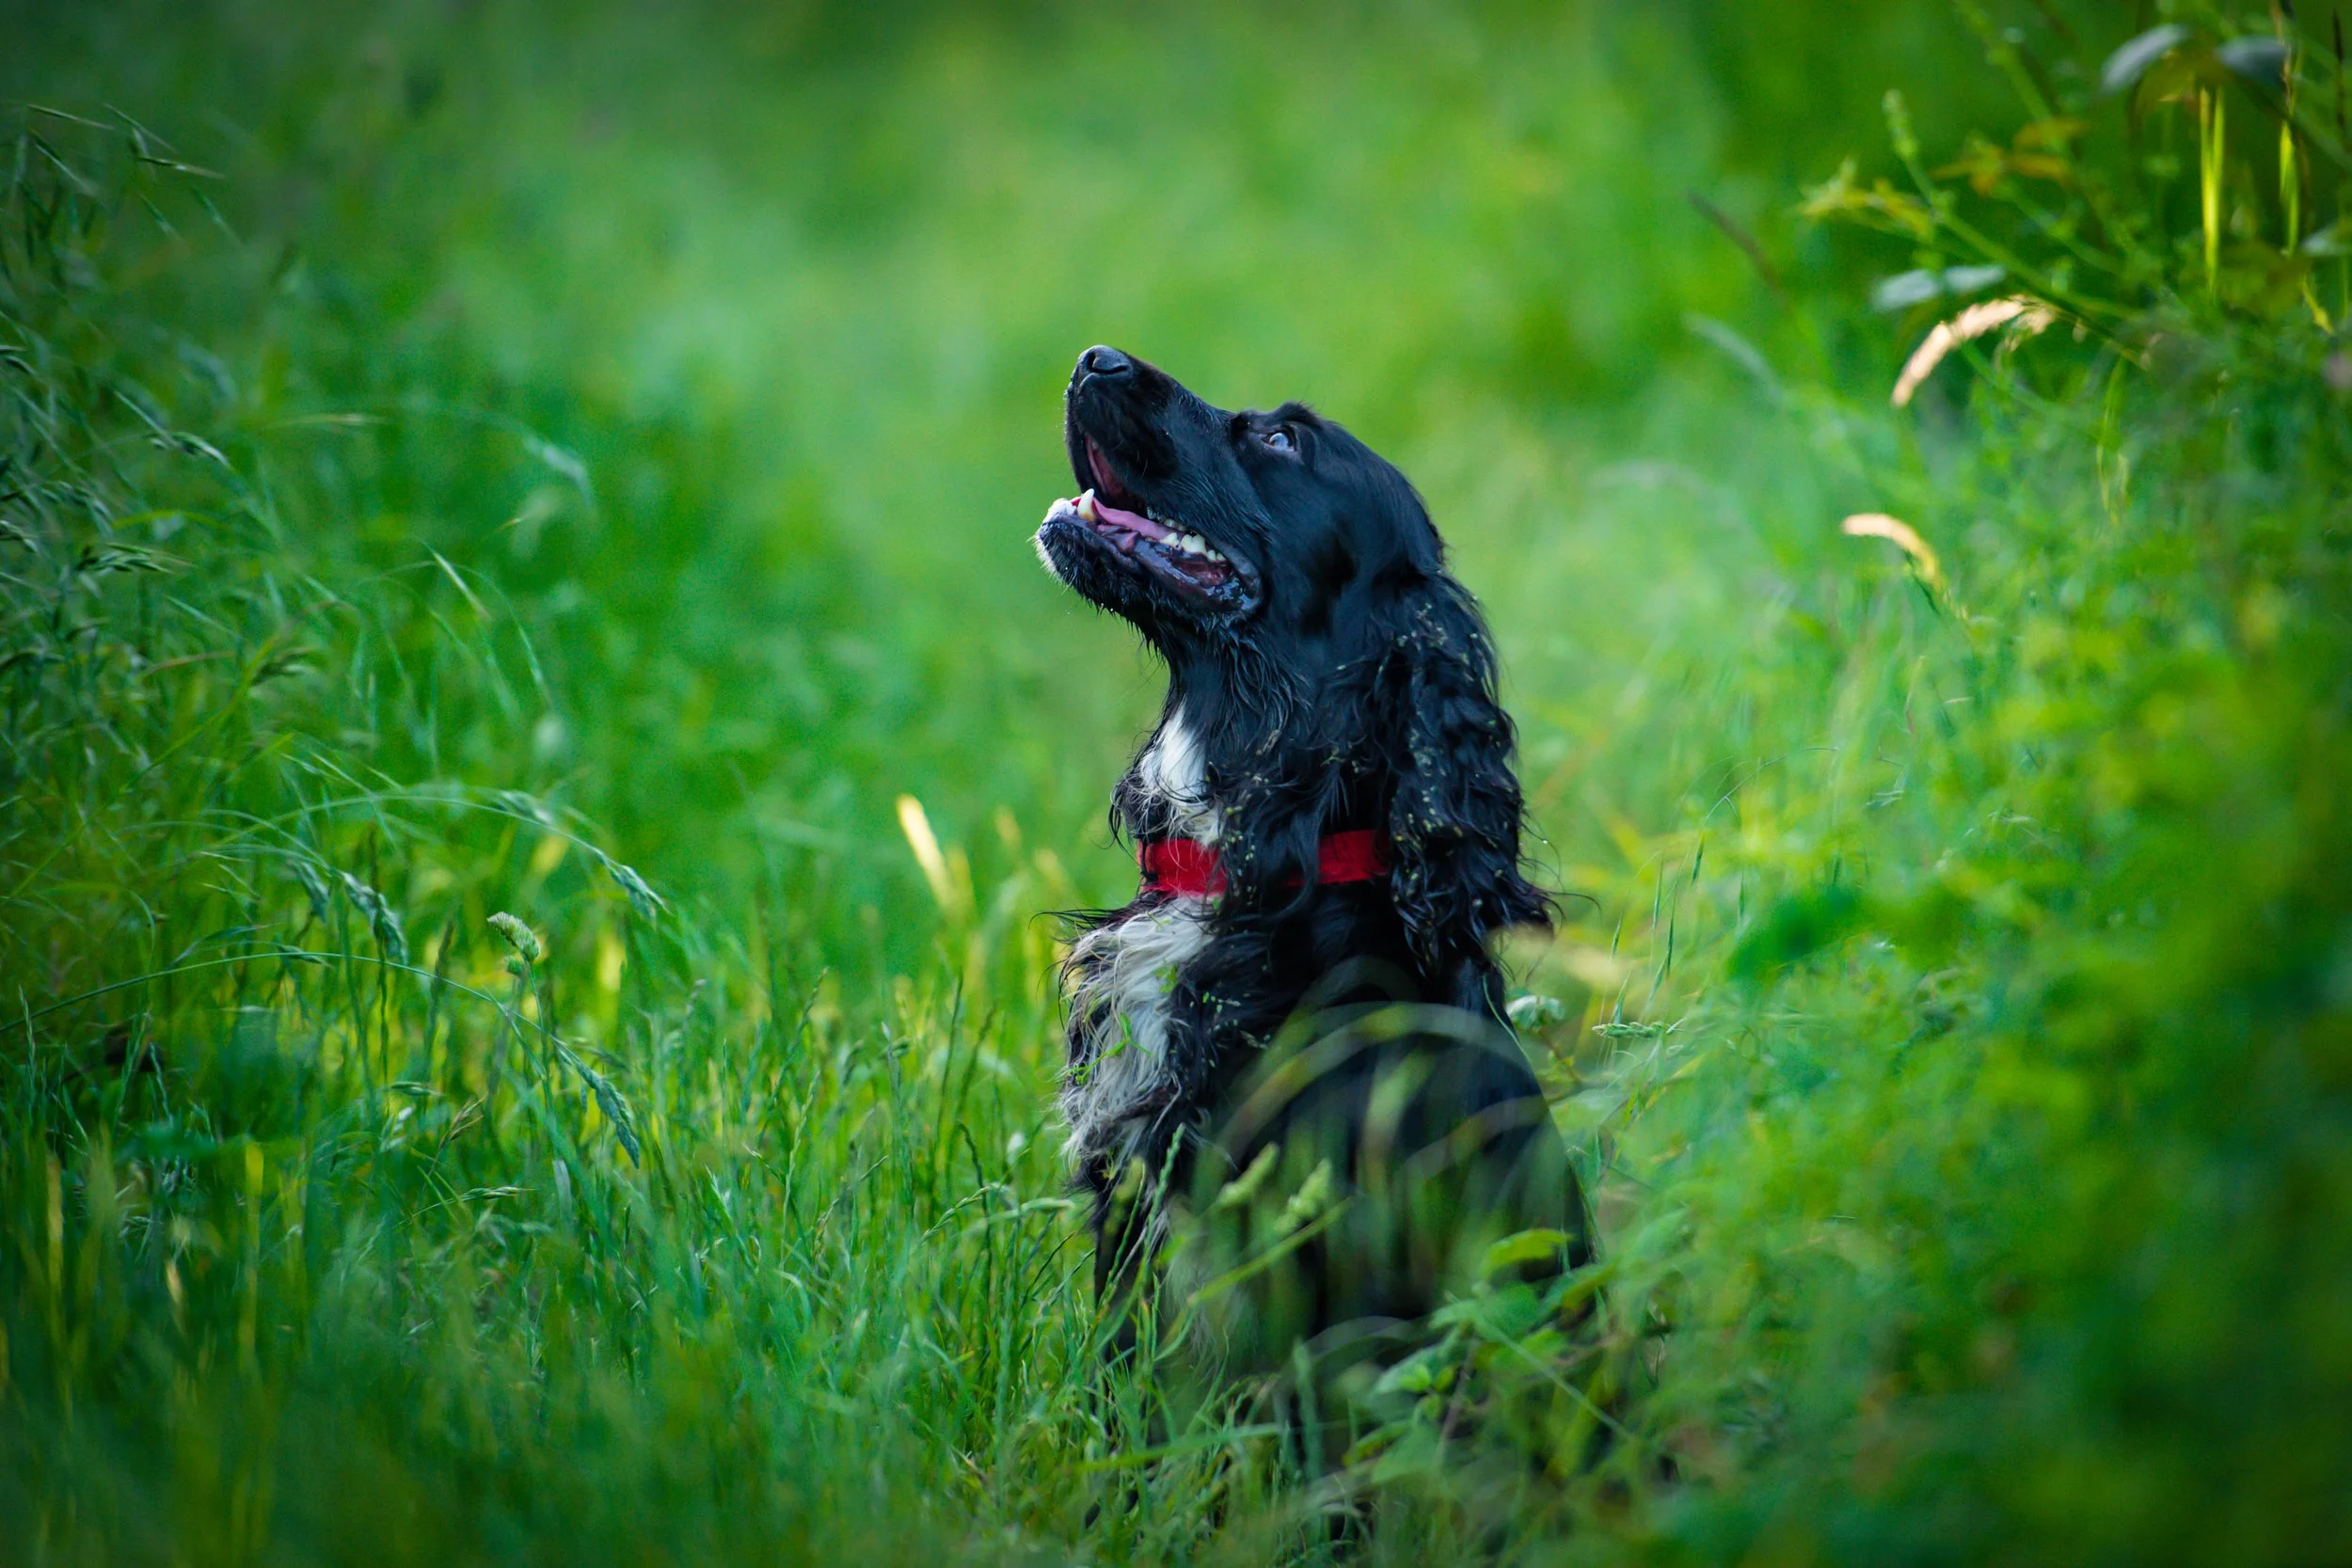
Imagine having a giant camera lens pointing directly at your face – it would be quite intimidating! Dogs have a keen sense of personal space, and a camera can easily invade it. Respect their boundaries, and avoid getting too close too quickly. This is exactly what I do on photo shoots: I always use my 70-200mm lens first so I can be in the dog’s vicinity but not in their personal space, allowing them to gradually get to know me at their pace. Dogs also wonder what the Lightbox is on top of my flash - many times I have put it on the floor to let them sniff it before I use it.
Create a positive association:
Dogs, like humans, respond positively to rewards. Before starting a photoshoot, make sure your dog is in a happy and relaxed mood. Offer them treats, play their favourite game, or take them for a short walk. This will create a positive association with the camera and the process of taking photos. The location plays a key role in your dog’s enjoyment - take them somewhere they are comfortable, relaxed and will enjoy themselves. Don’t take pictures if you are stressed and if they don’t want to do it then let it go and try another time. Your energy will feed in to them. I always say if it’s not fun you’re not doing it right.
Familiarize them with the equipment:
Start by introducing the camera gradually and let them sniff and inspect it. The sight and sound of a camera can be unsettling for some dogs. Take the time to acclimate your furry friend to the camera by allowing them to see and hear it without taking any photos. Use treats and praise to encourage them to be near the camera until they feel more at ease with it. A camera phone is one thing but it is even harder if you have a big camera and huge lens. I have had dogs give me a wide berth - let them stay as far away as they need to in order to feel comfortable.

Milo was a bit nervous of me so I spent much of his photo shoot at least 20 feet away, capturing him having fun as he felt comfortable.
See things from their perspective:
Dogs must wonder what is going on when a strange person lies on the floor in front of them covering their face with an object they don’t understand - for clarity, this is how I get most of my action shots. I often put the camera away and let them see my face and I make sure to take off my sunglasses to help them read my facial expressions better. For the more nervous dogs I do not make much eye contact, stay relaxed and calm and allow them to come to me, if they want to. I always ask questions about what dogs will feel comfortable with and observe closely what they are happy about. I then tailor all that I do to reflect what they want.
Natural environments for candid shots:
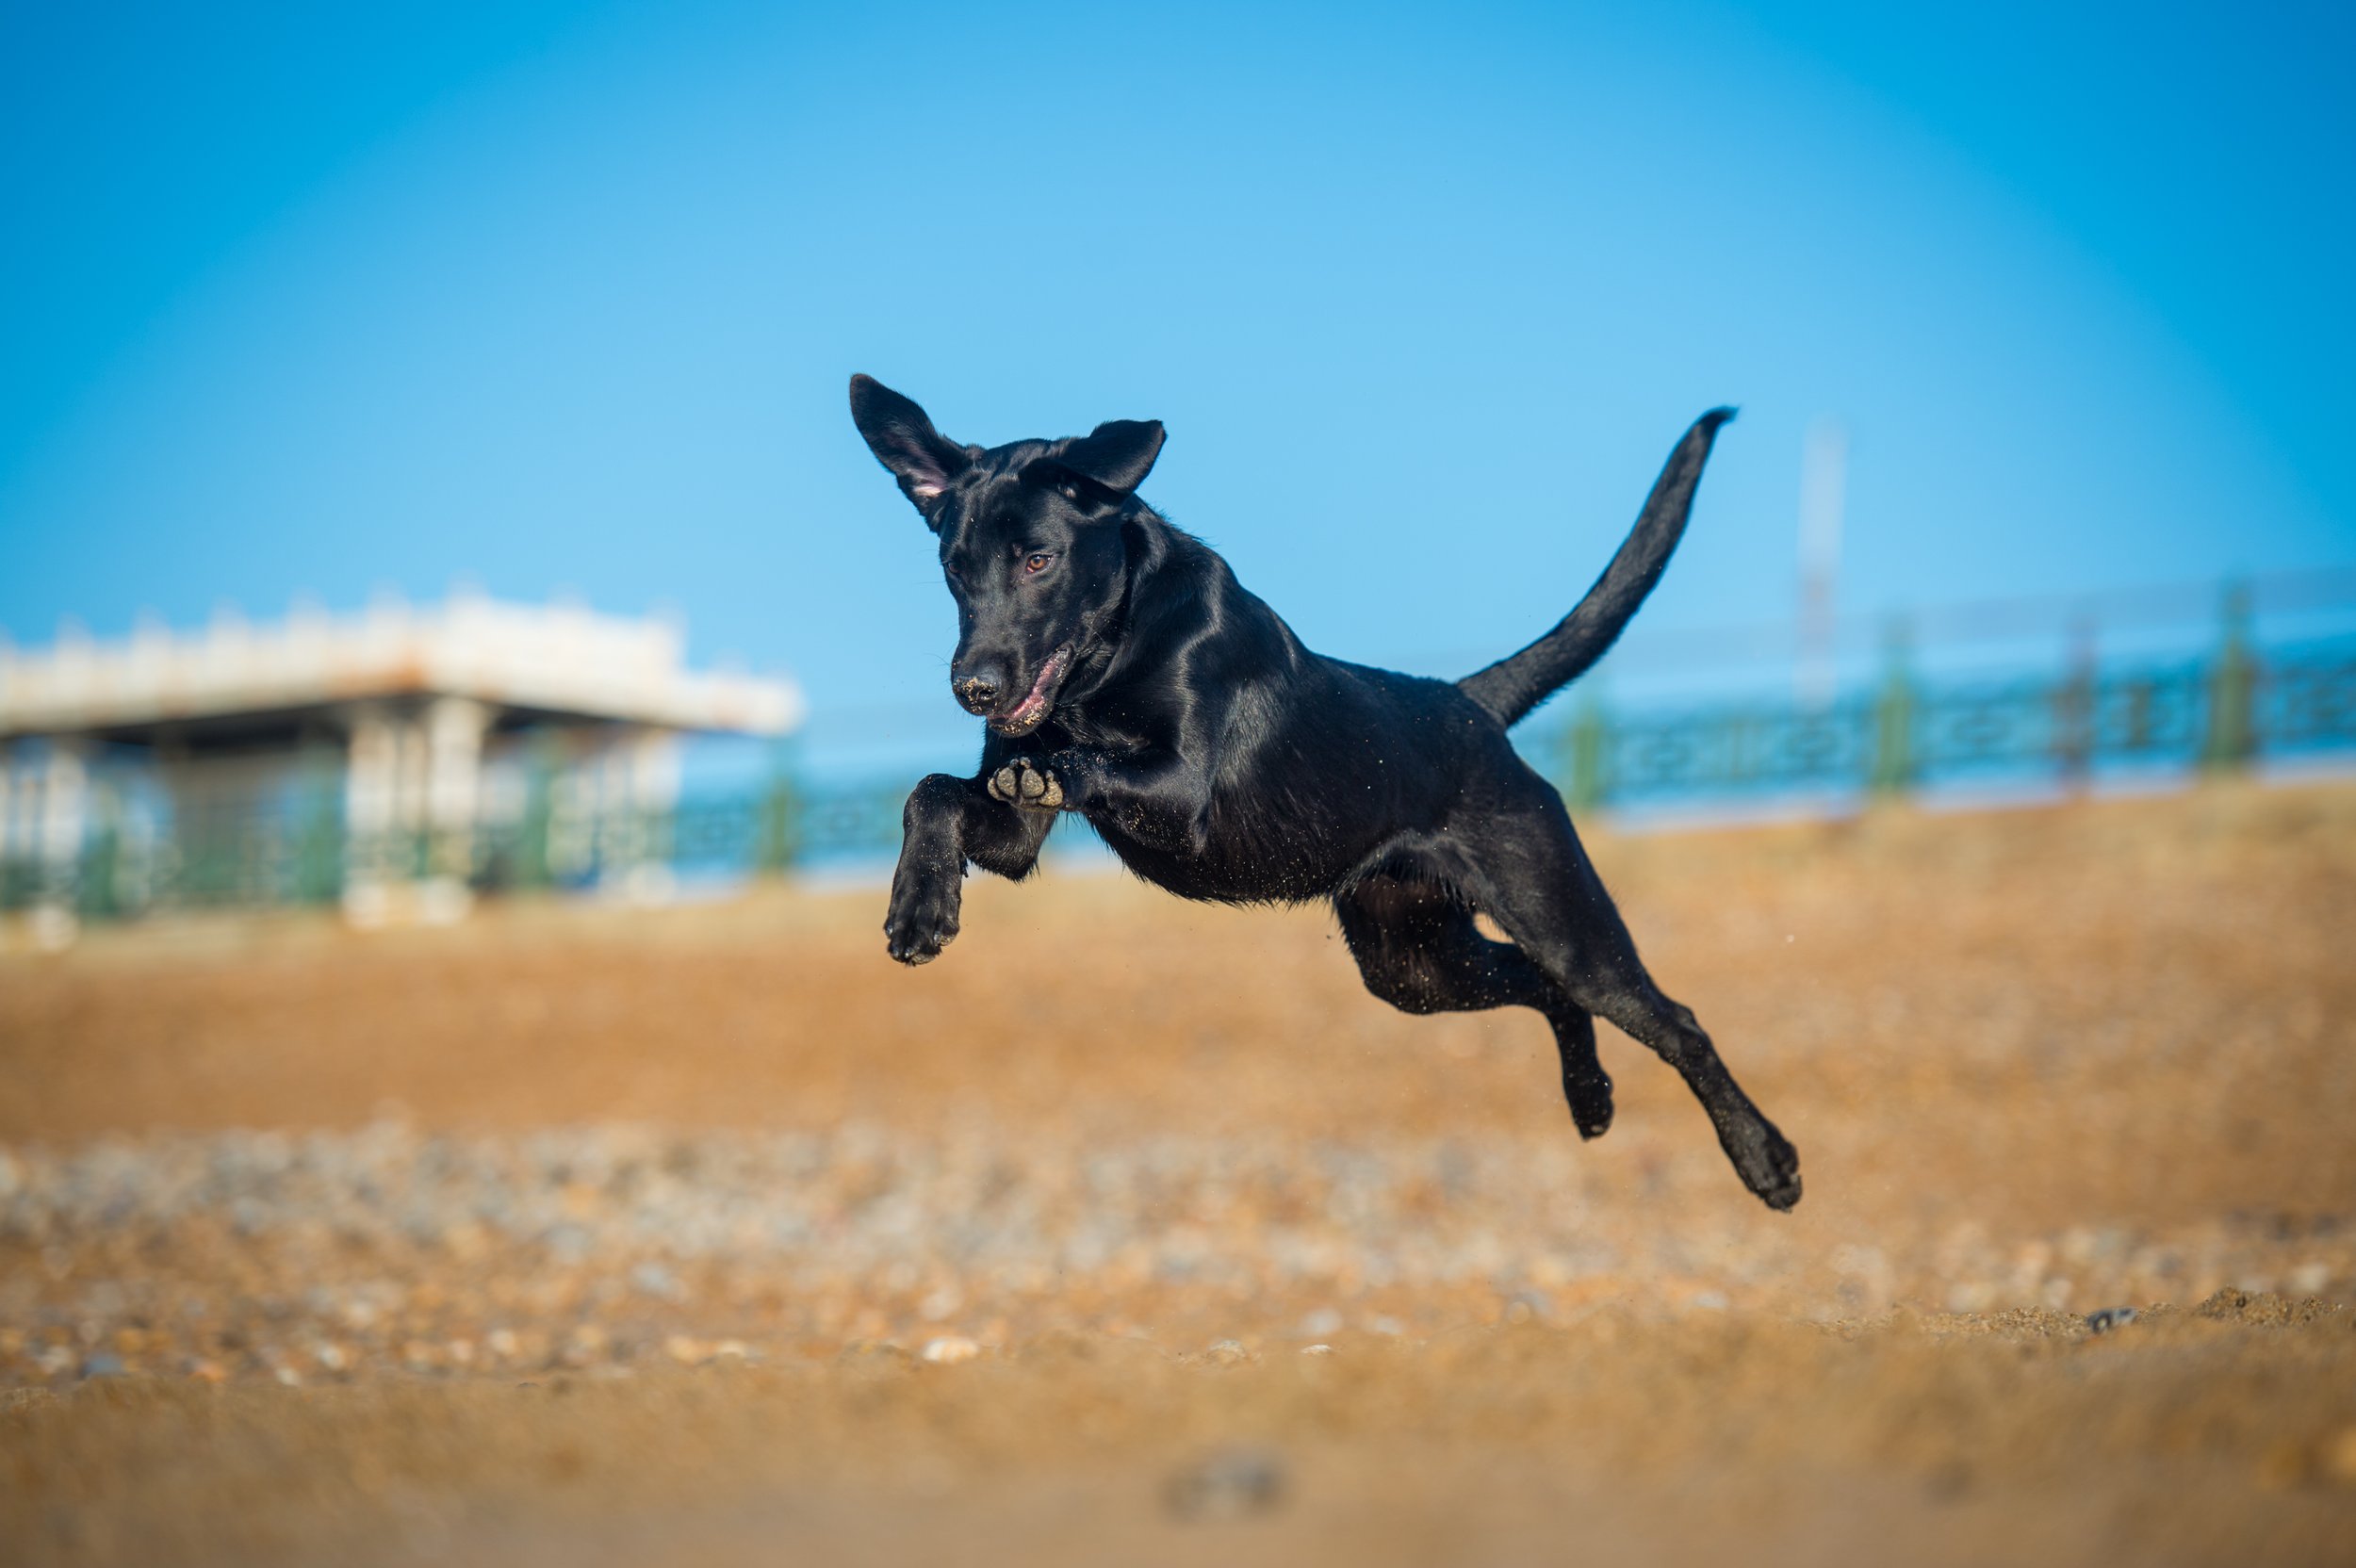
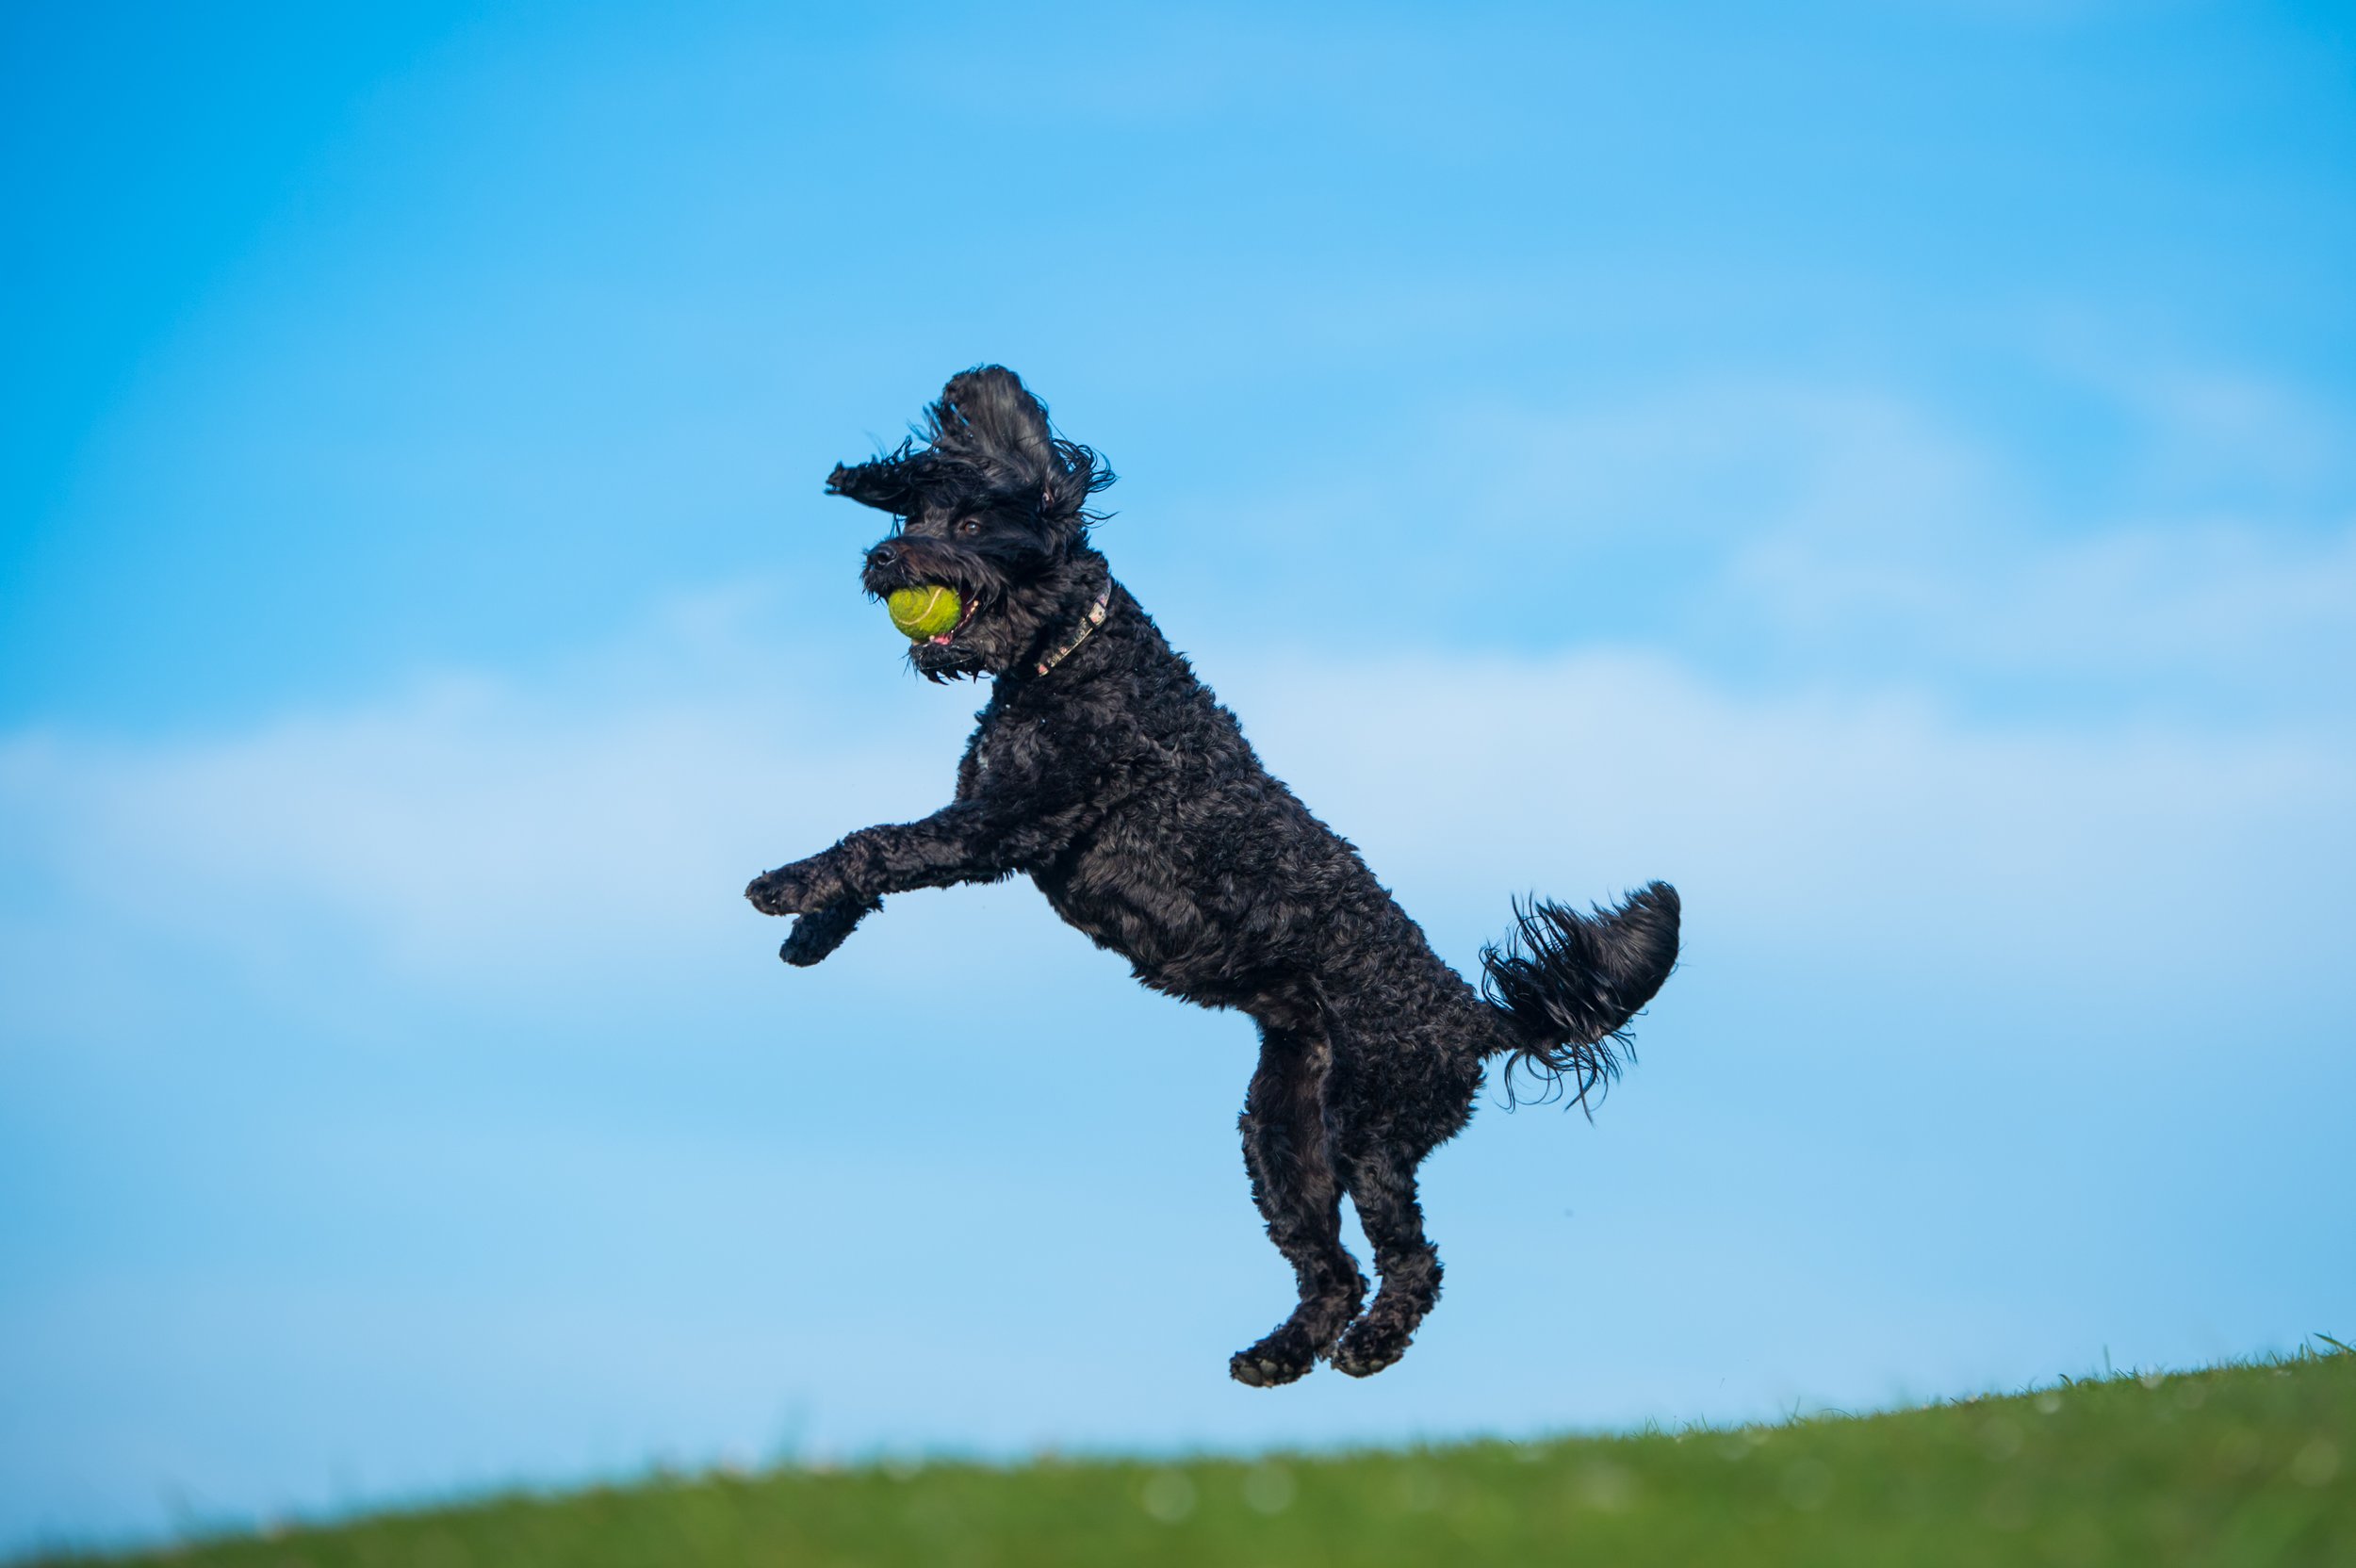
Staging a formal photoshoot in a studio setting might not be the best approach for dogs - it’s certainly not a style I prefer. They might be bored or feel constrained. Instead, opt for natural environments where your dog feels more comfortable and at ease. Parks, beaches, or their favourite spots at home can provide a familiar backdrop for candid shots that capture their true personality.
Patience and gentle guidance:
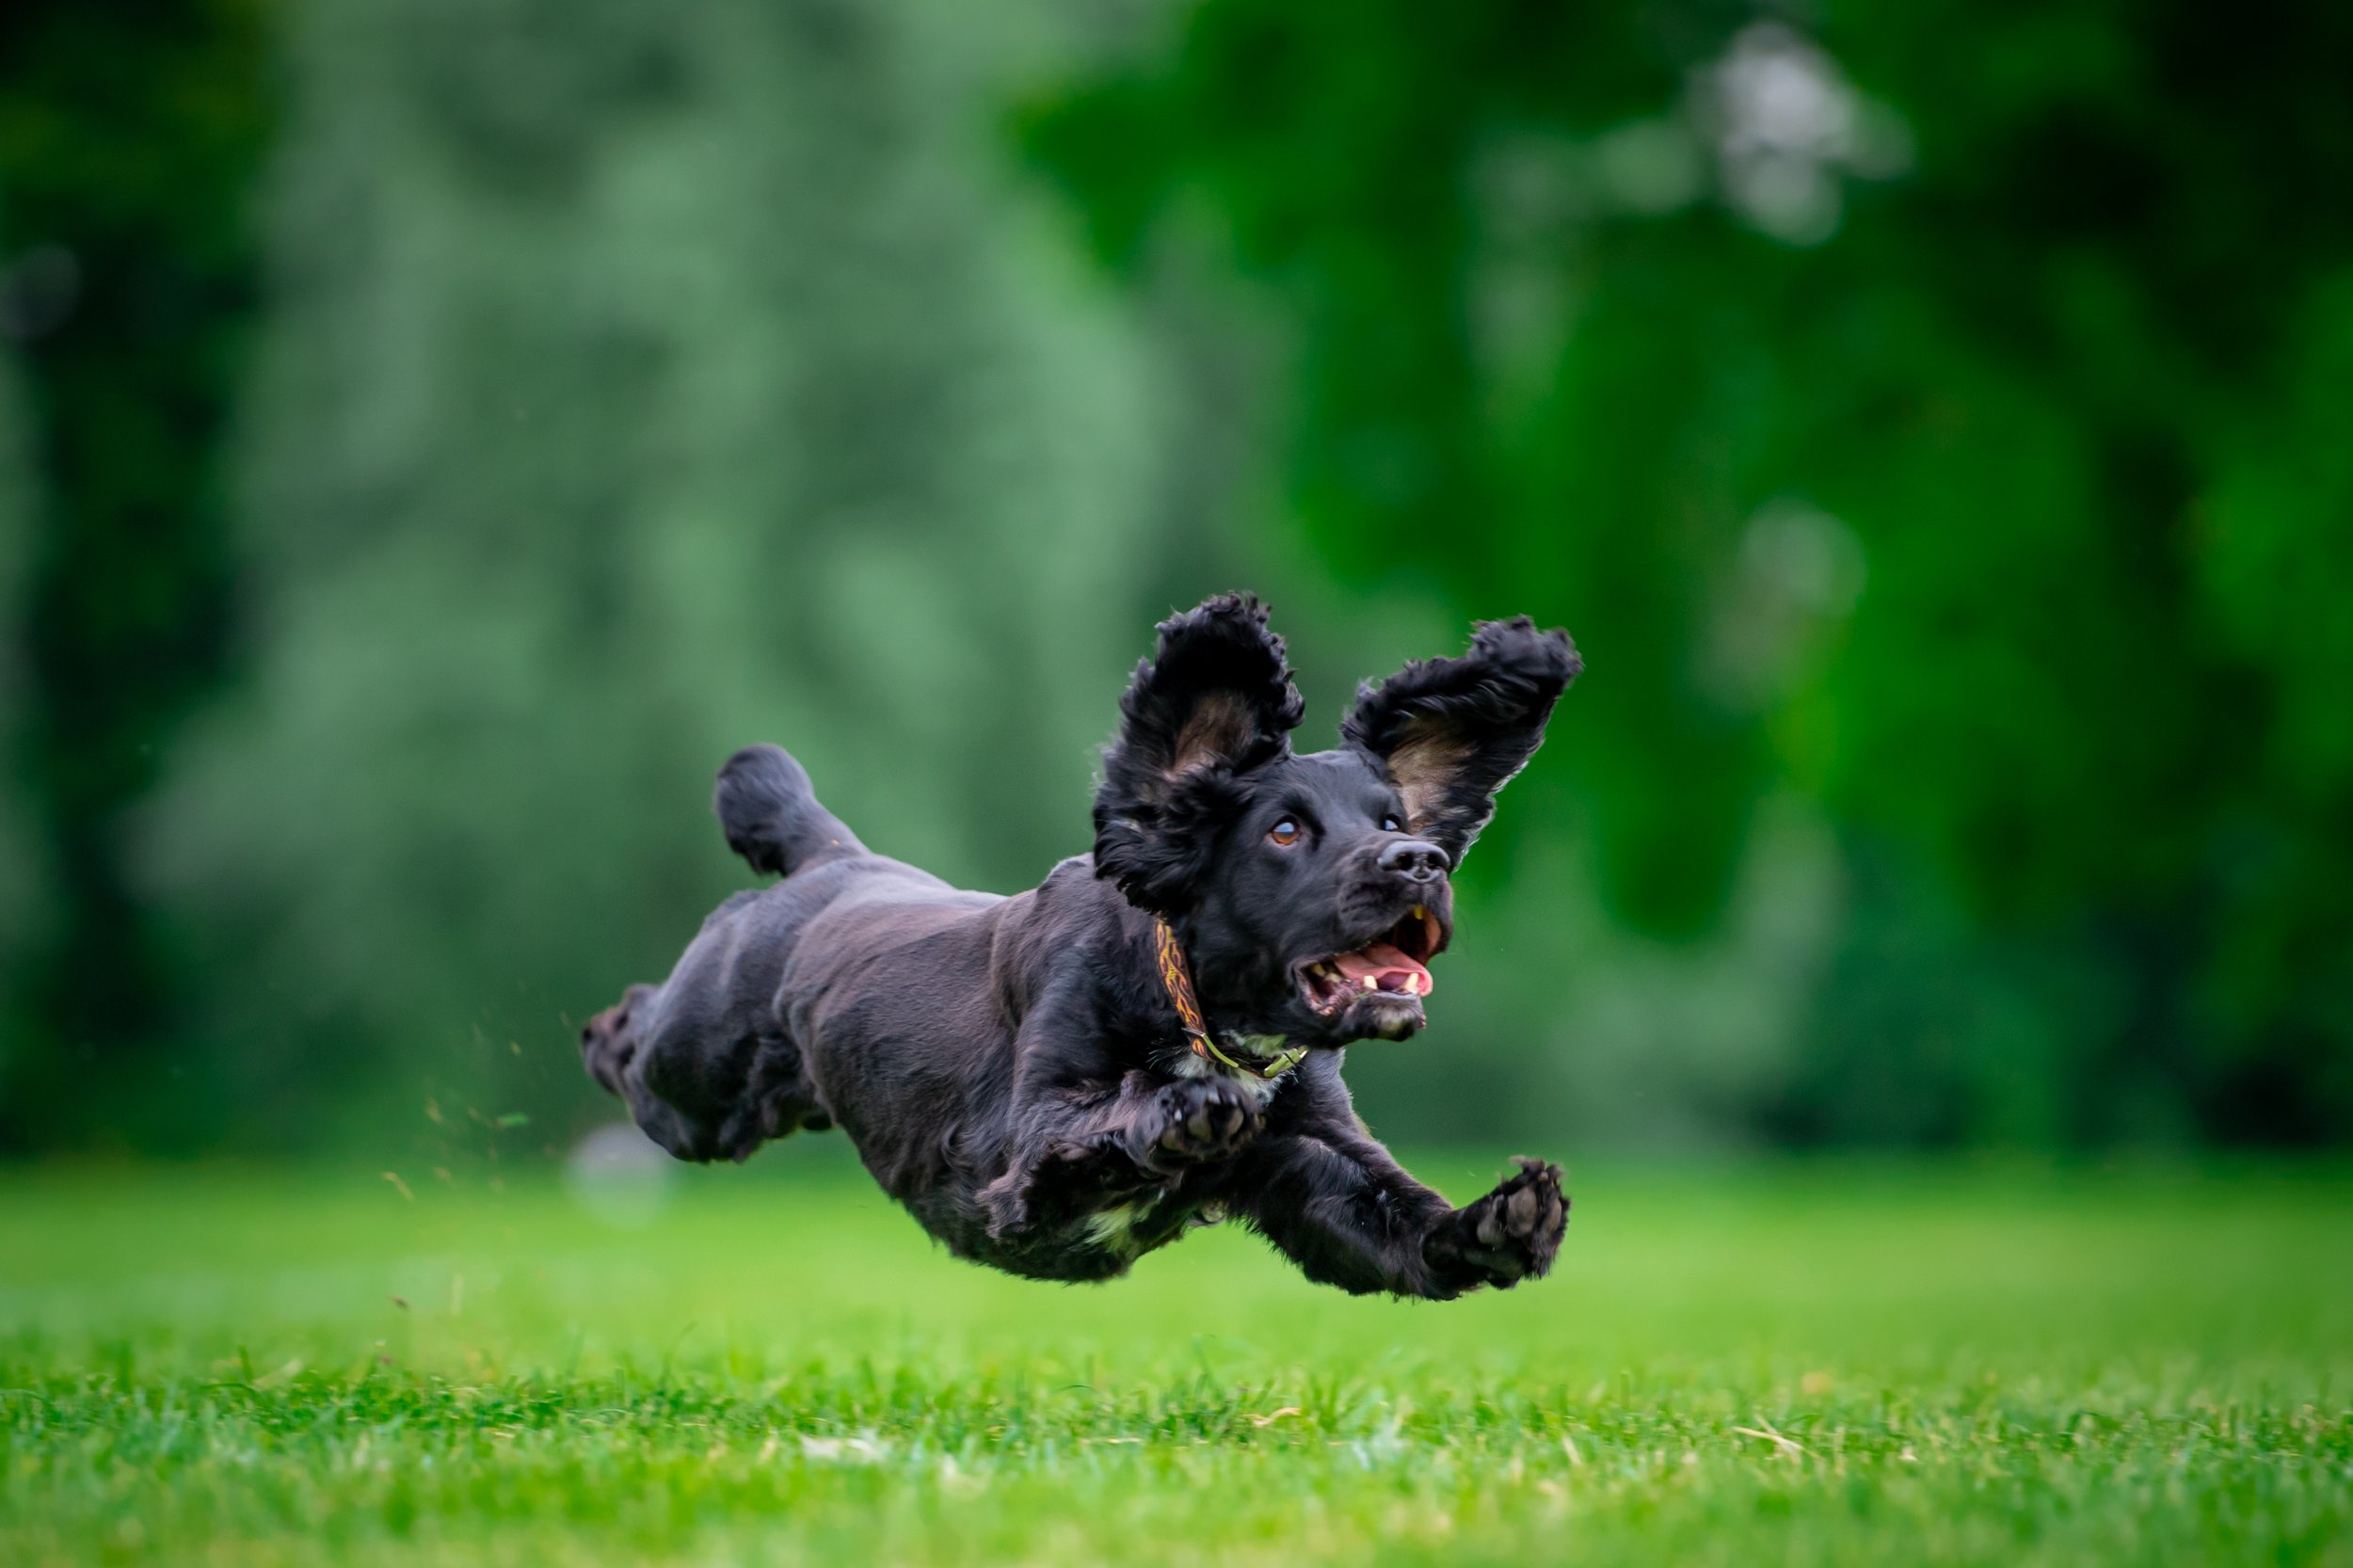
As with any form of training, patience is key. Allow your dog to set the pace and avoid forcing them into uncomfortable poses. Use gentle guidance and positive reinforcement to encourage them to look towards the camera or stay still and if they don’t want to be still you’ll have to move with them. Remember that the best shots often come from candid moments when your dog is relaxed and simply being themselves. Also, play to the dog’s strengths - don’t make them do things they are not comfortable with. Instead, encourage and praise them for what they can do.

Being puppies in their garden Arial and Eric were quite distracted. But I allowed them to come and go as they pleased and after a while I encouraged them to come together for a titbit of something tasty. A couple of seconds later it was over. It’s so important to be fast when taking portraits.
Do not take too long:
The most important tip I can give is to NOT TAKE TOO LONG. I see people making their dog sit for a full five minutes while they snap away taking dozens of pictures of the same thing. They slightly change their angle, stop to change settings, mutter to themselves why it isn’t working and all the time their dog sits there waiting… and waiting. Then, to cap off the experience the person will then start going through their images to see what they have got and will completely forget about their dog, who gets no reward for sitting there for ages. Then the person wonders why their dog doesn’t like having their pictures taken. I can tell you it’s because it is boring, they are having no reward for their effort and you are taking FAR too long. Try this instead: plan your shot first, where you would like your dog to be. Take some test shots and fiddle about with the settings until you get it right. Then, when you are ready, try and get your dog where you want them to go. Take up to 10 seconds maximum to do it. Then give them the reward, whether that is a treat, ball or praise - do that first, let them go and then, and only then, check your images. If you didn’t get it quite right you can try again. I’m sure you’ll see the difference over time if you do it this way.
Conclusion:
Understanding why dogs don't like having their photo taken is crucial to ensure a stress-free and enjoyable experience for both you and your furry friend. By respecting their personal space, creating a positive association with the camera, and familiarising them with the equipment, you can help your dog feel more comfortable in front of the lens. Choosing natural environments and exercising patience and gentle guidance will further enhance the likelihood of capturing the perfect shot that showcases your dog's unique charm and personality. But most importantly change your mindset so you can see the situation from your dog’s point of view - make it interesting, fun and quick. So, grab your camera, follow these tips, and get ready to capture those priceless moments with your beloved canine companion!
Follow my steps to helping dogs enjoy having their photo taken:
Take them somewhere they will be relaxed and can have fun
Let them have fun, sniff, run and play. Don’t try taking portraits straight away.
Plan your shots, test your settings. Bring your dog in when you are ready.
Be quick, take only a few seconds. If they don’t look at you (if that’s what you want) praise them, let them go and try again in a while.
Be calm and patient and always think how it is for your dog. Put them first and your pictures second.
Don’t make a walk all about pictures. This is their time, let the majority of your walk be about them doing what they want, not about sitting posing.
Play to their strengths. Don’t make them do anything they don’t want to do.

Want to learn more about motivating dogs for dog photography?
Download my “Motivating Dogs” lesson today - it is from my 20-lesson course “Mastering Outdoor Dog Photography”. You will learn about managing expectations, timing, location, reflecting the needs of individual dogs, planning, strategy, helping nervous dogs and much more!
7 tips to photograph black dogs

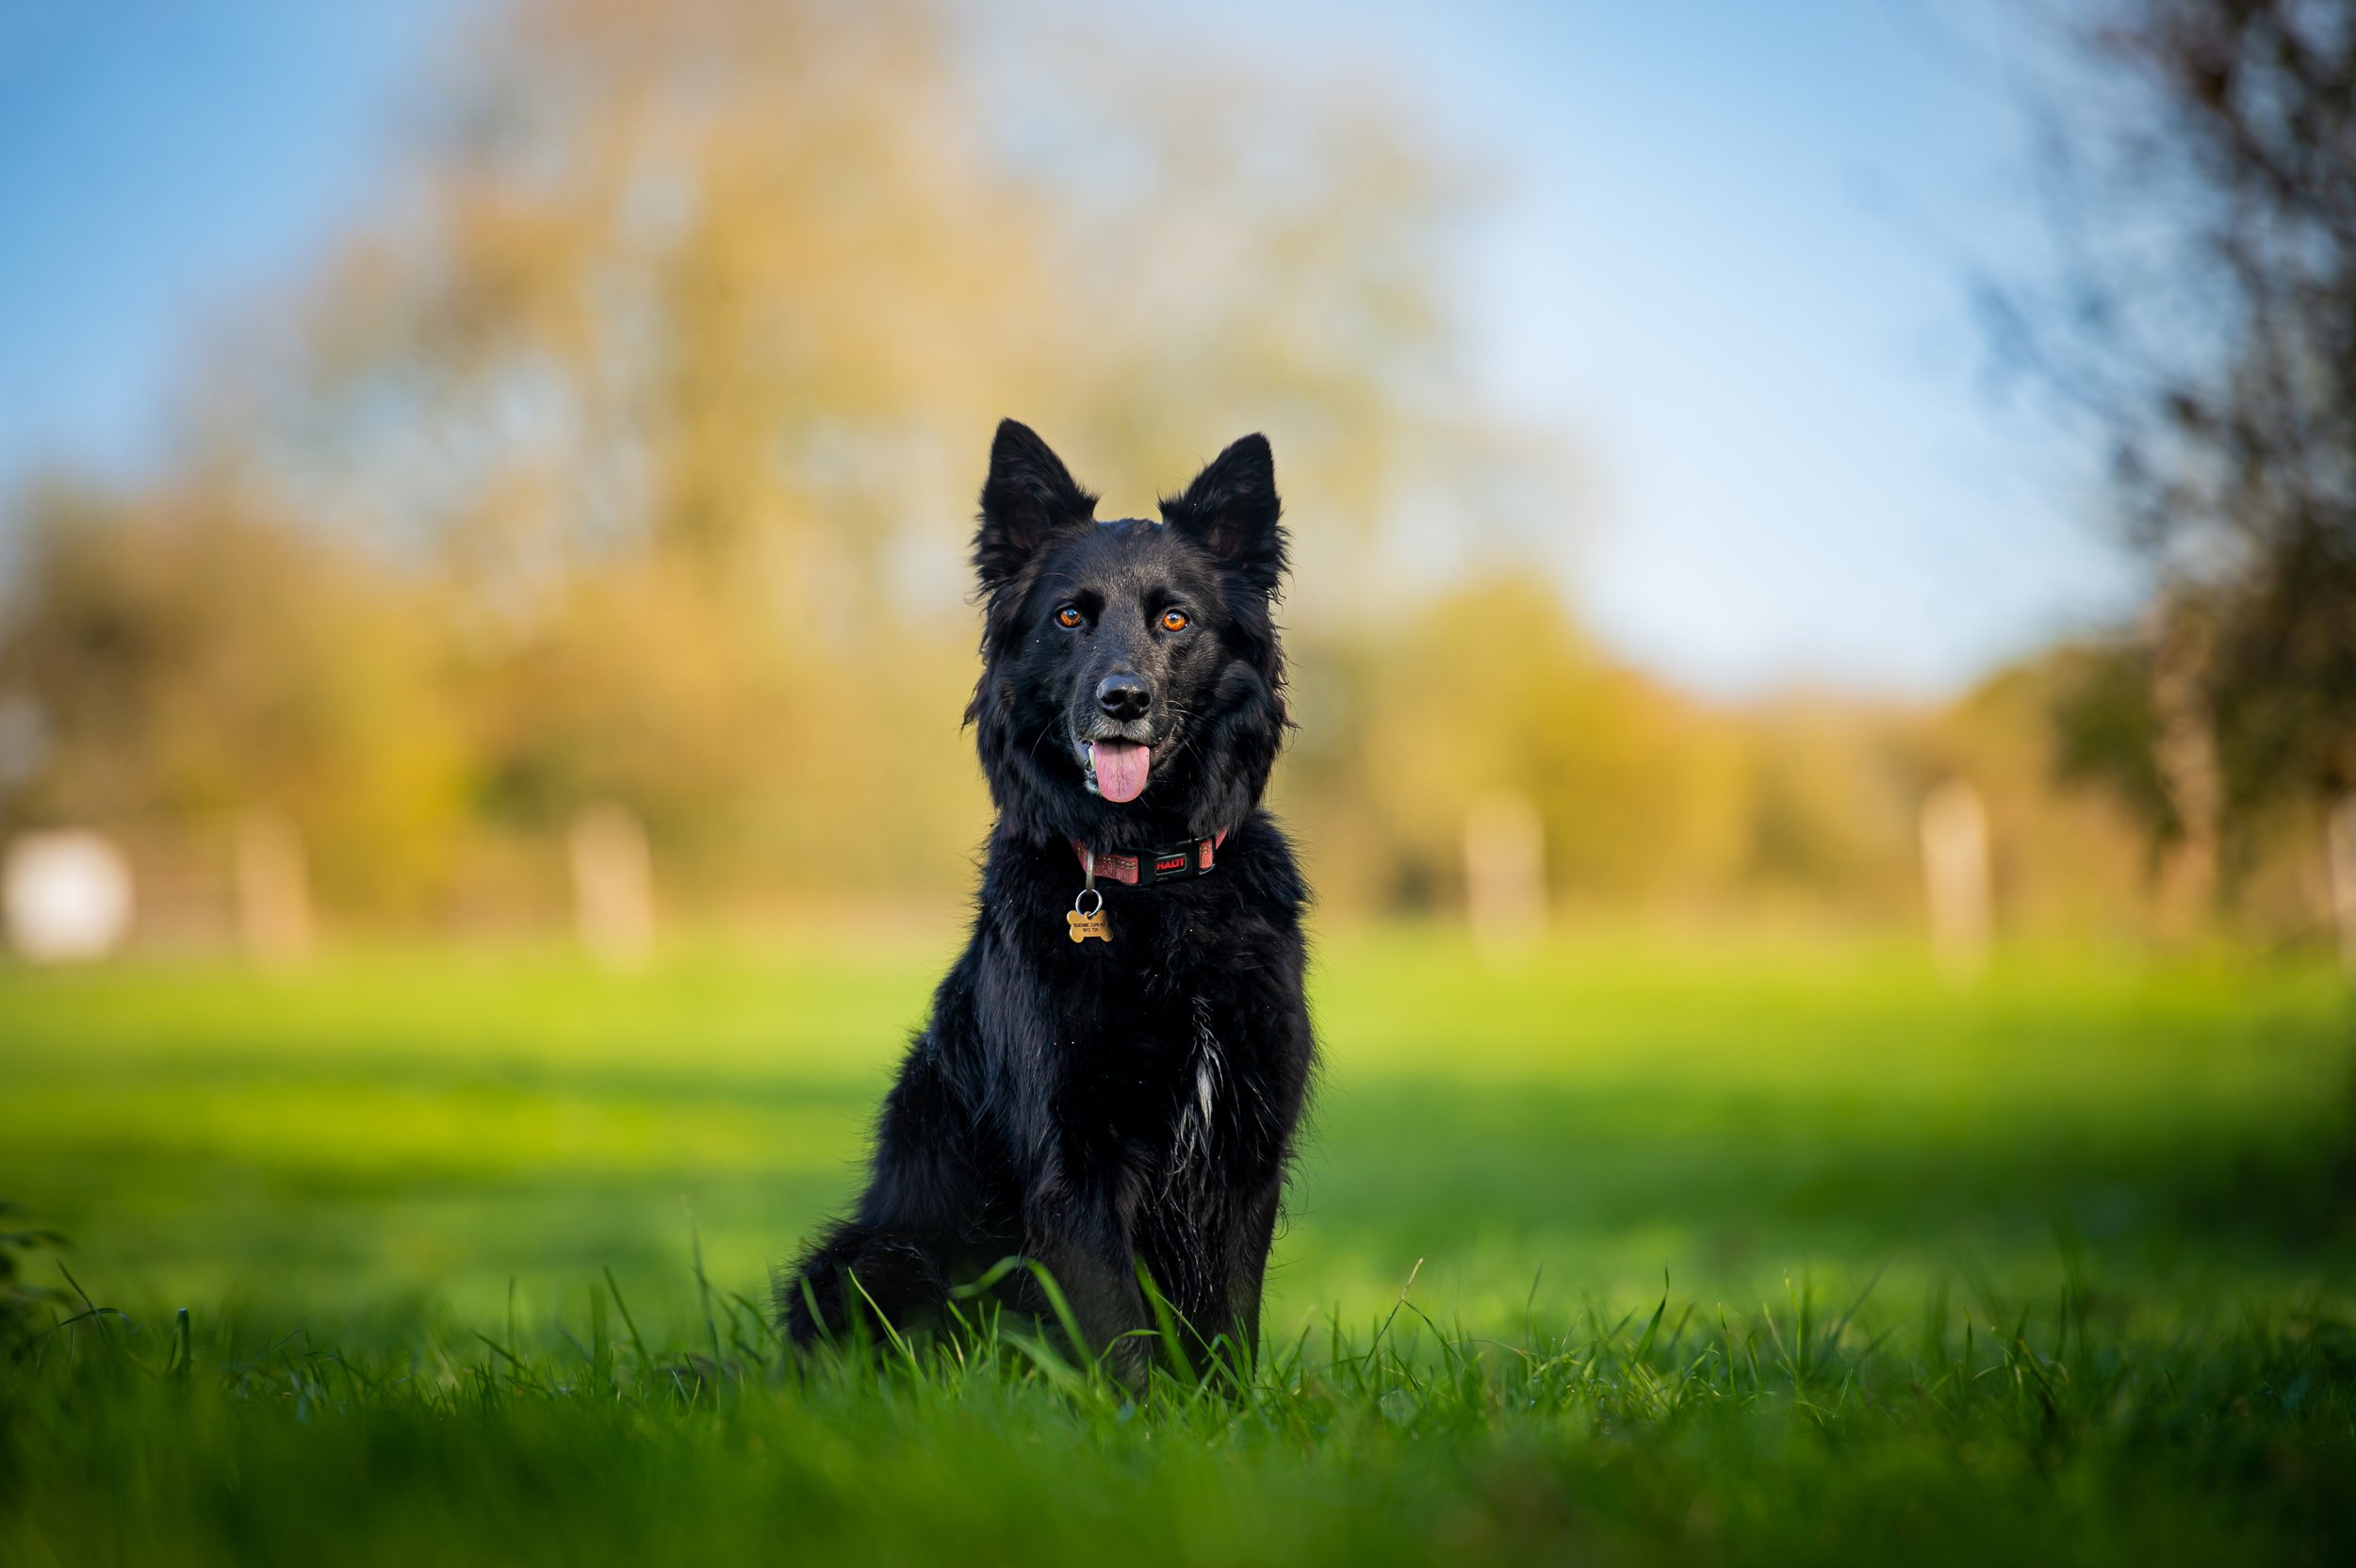
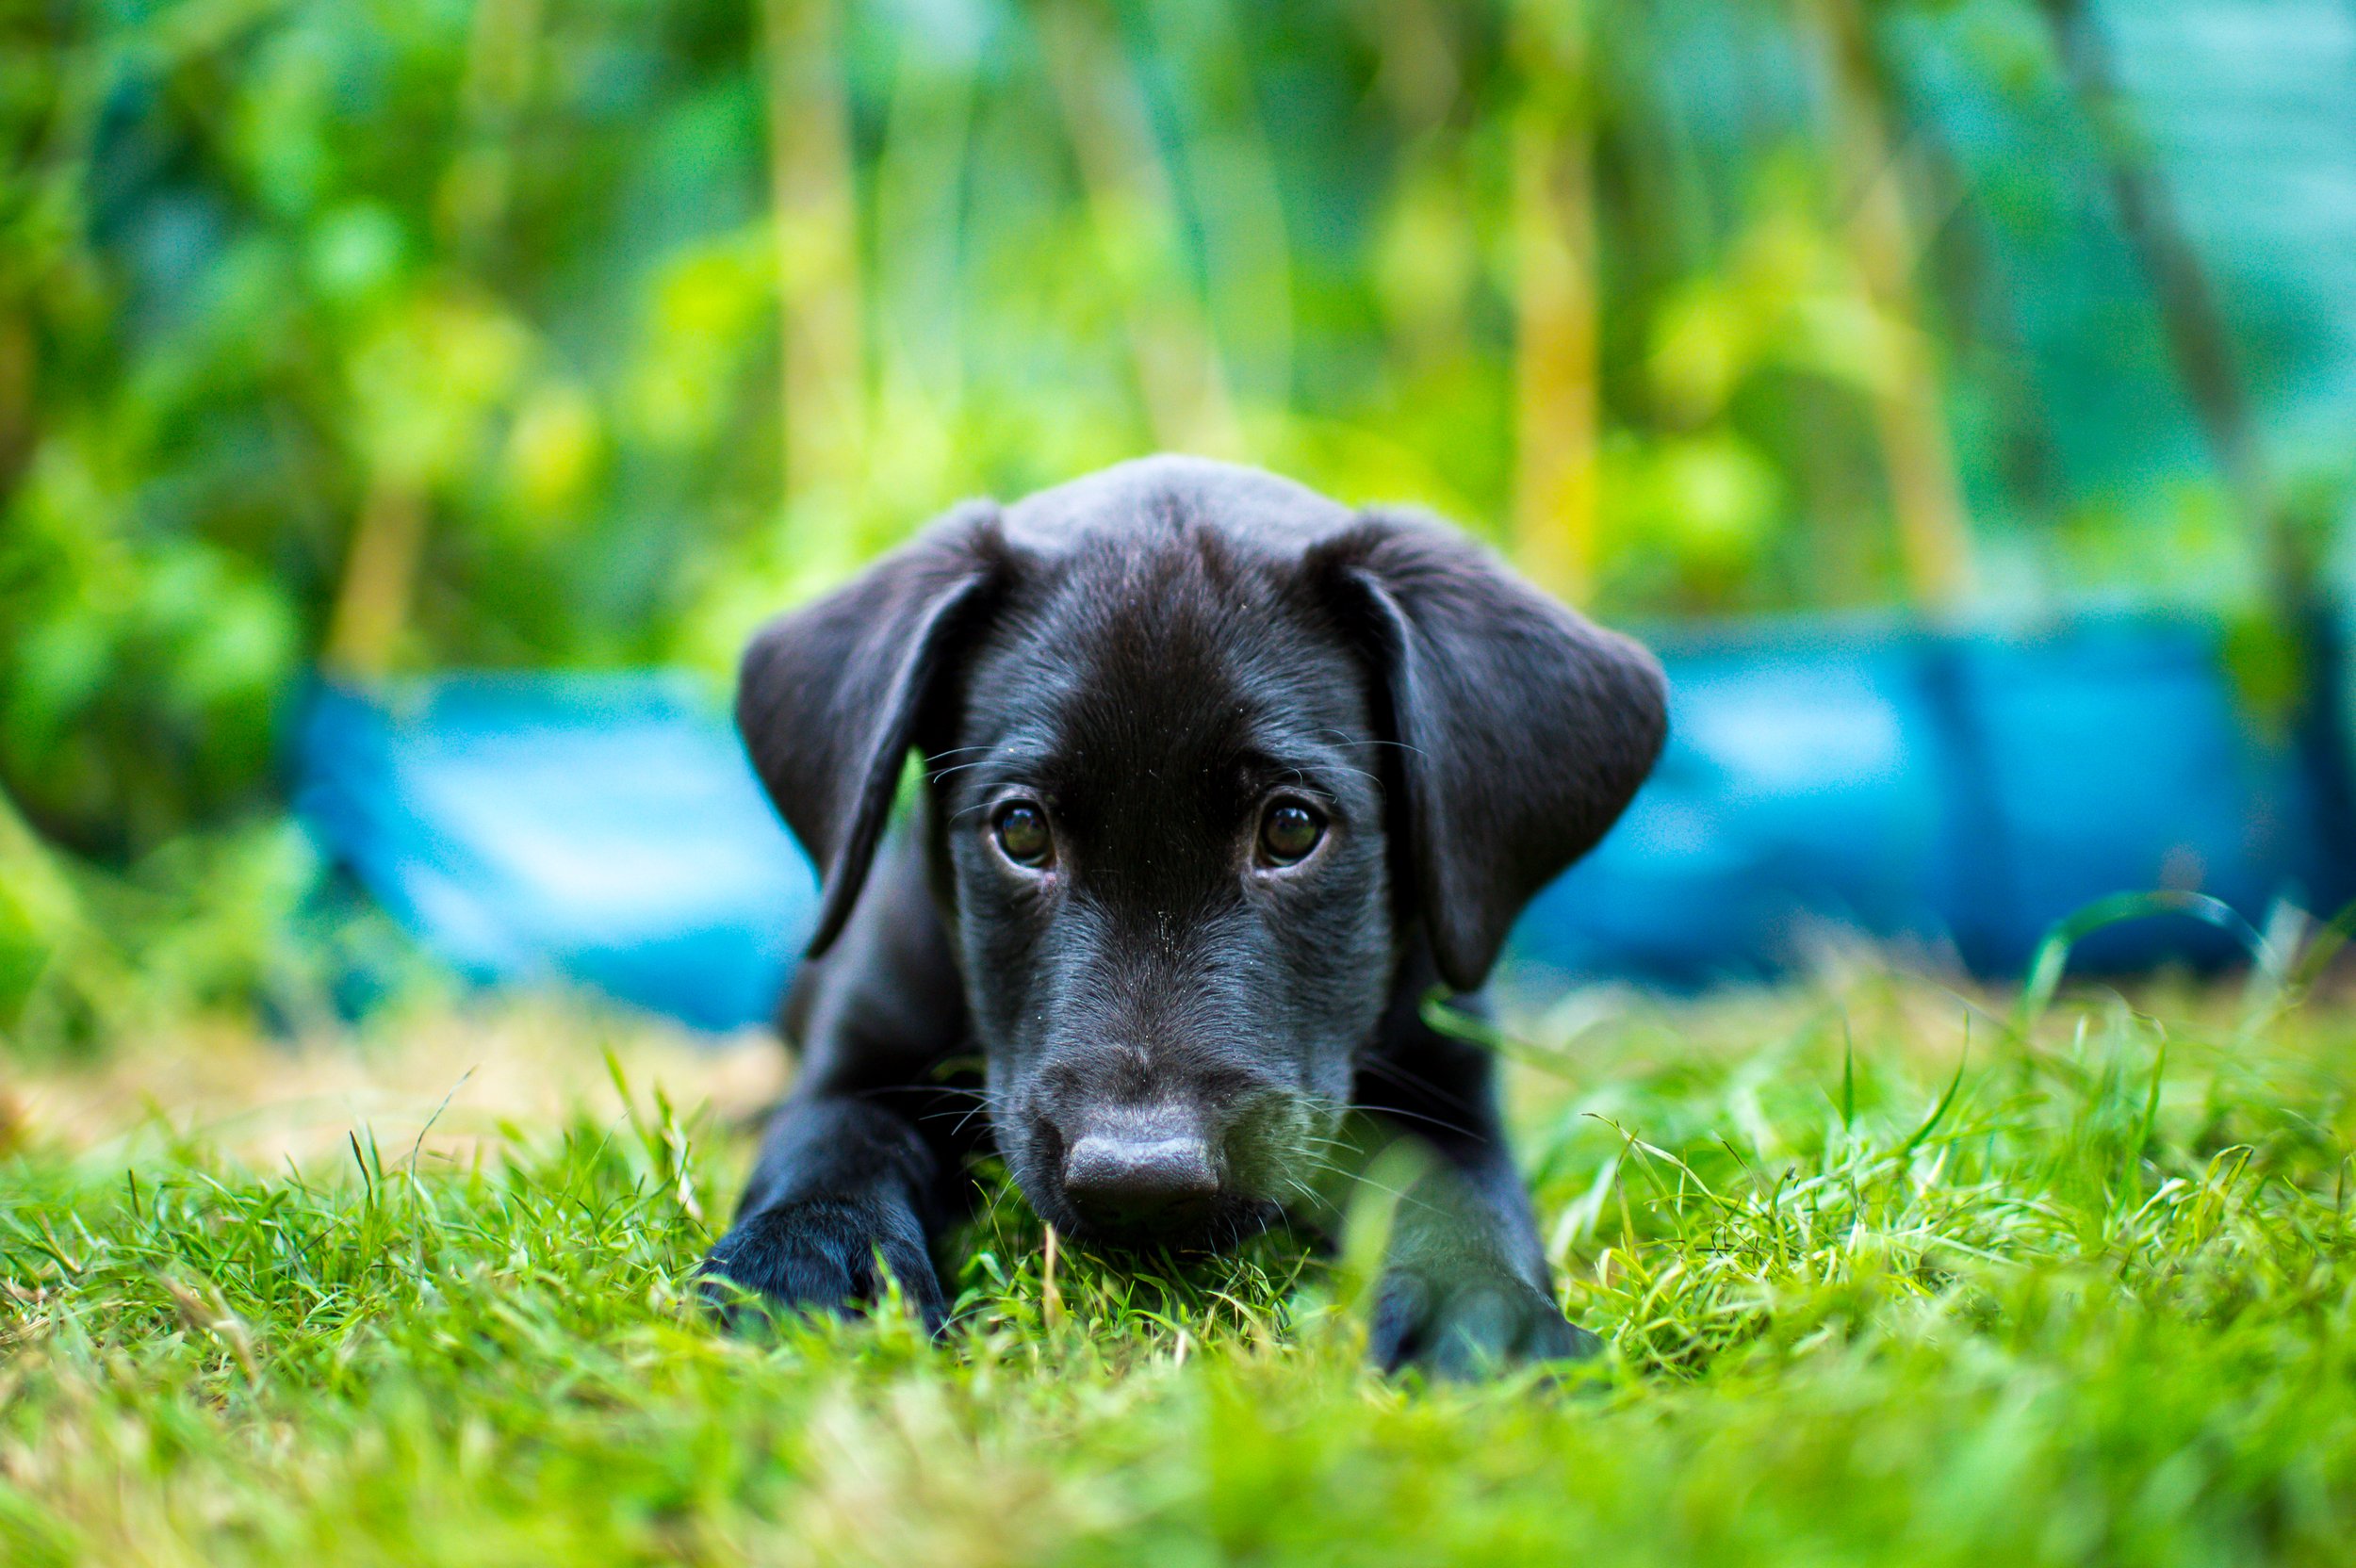
It’s a sad fact that black dogs sit in rescue centres much longer as their lighter coloured counterparts. Some never get that lucky break. One of the reasons for this? I’m guessing one reason for this is because black dogs are notoriously difficult to photograph. Many of my dog photography clients have black dogs, so it seems this is a universal issue people are having problems with.
Do you have a black dog? If so, you’re likely all too aware of the problem. No matter how hard you try, they end up looking like a black blob rather than the beautiful creature that they are in real life. Being able to see their features is the main issue people tell me they struggle with.
Whether you’re an owner, or you work in a rescue centre, here are some useful tips on photographing black dogs. You won’t need any expensive equipment. I’m assuming that you’re using a basic point and shoot camera with automatic settings.
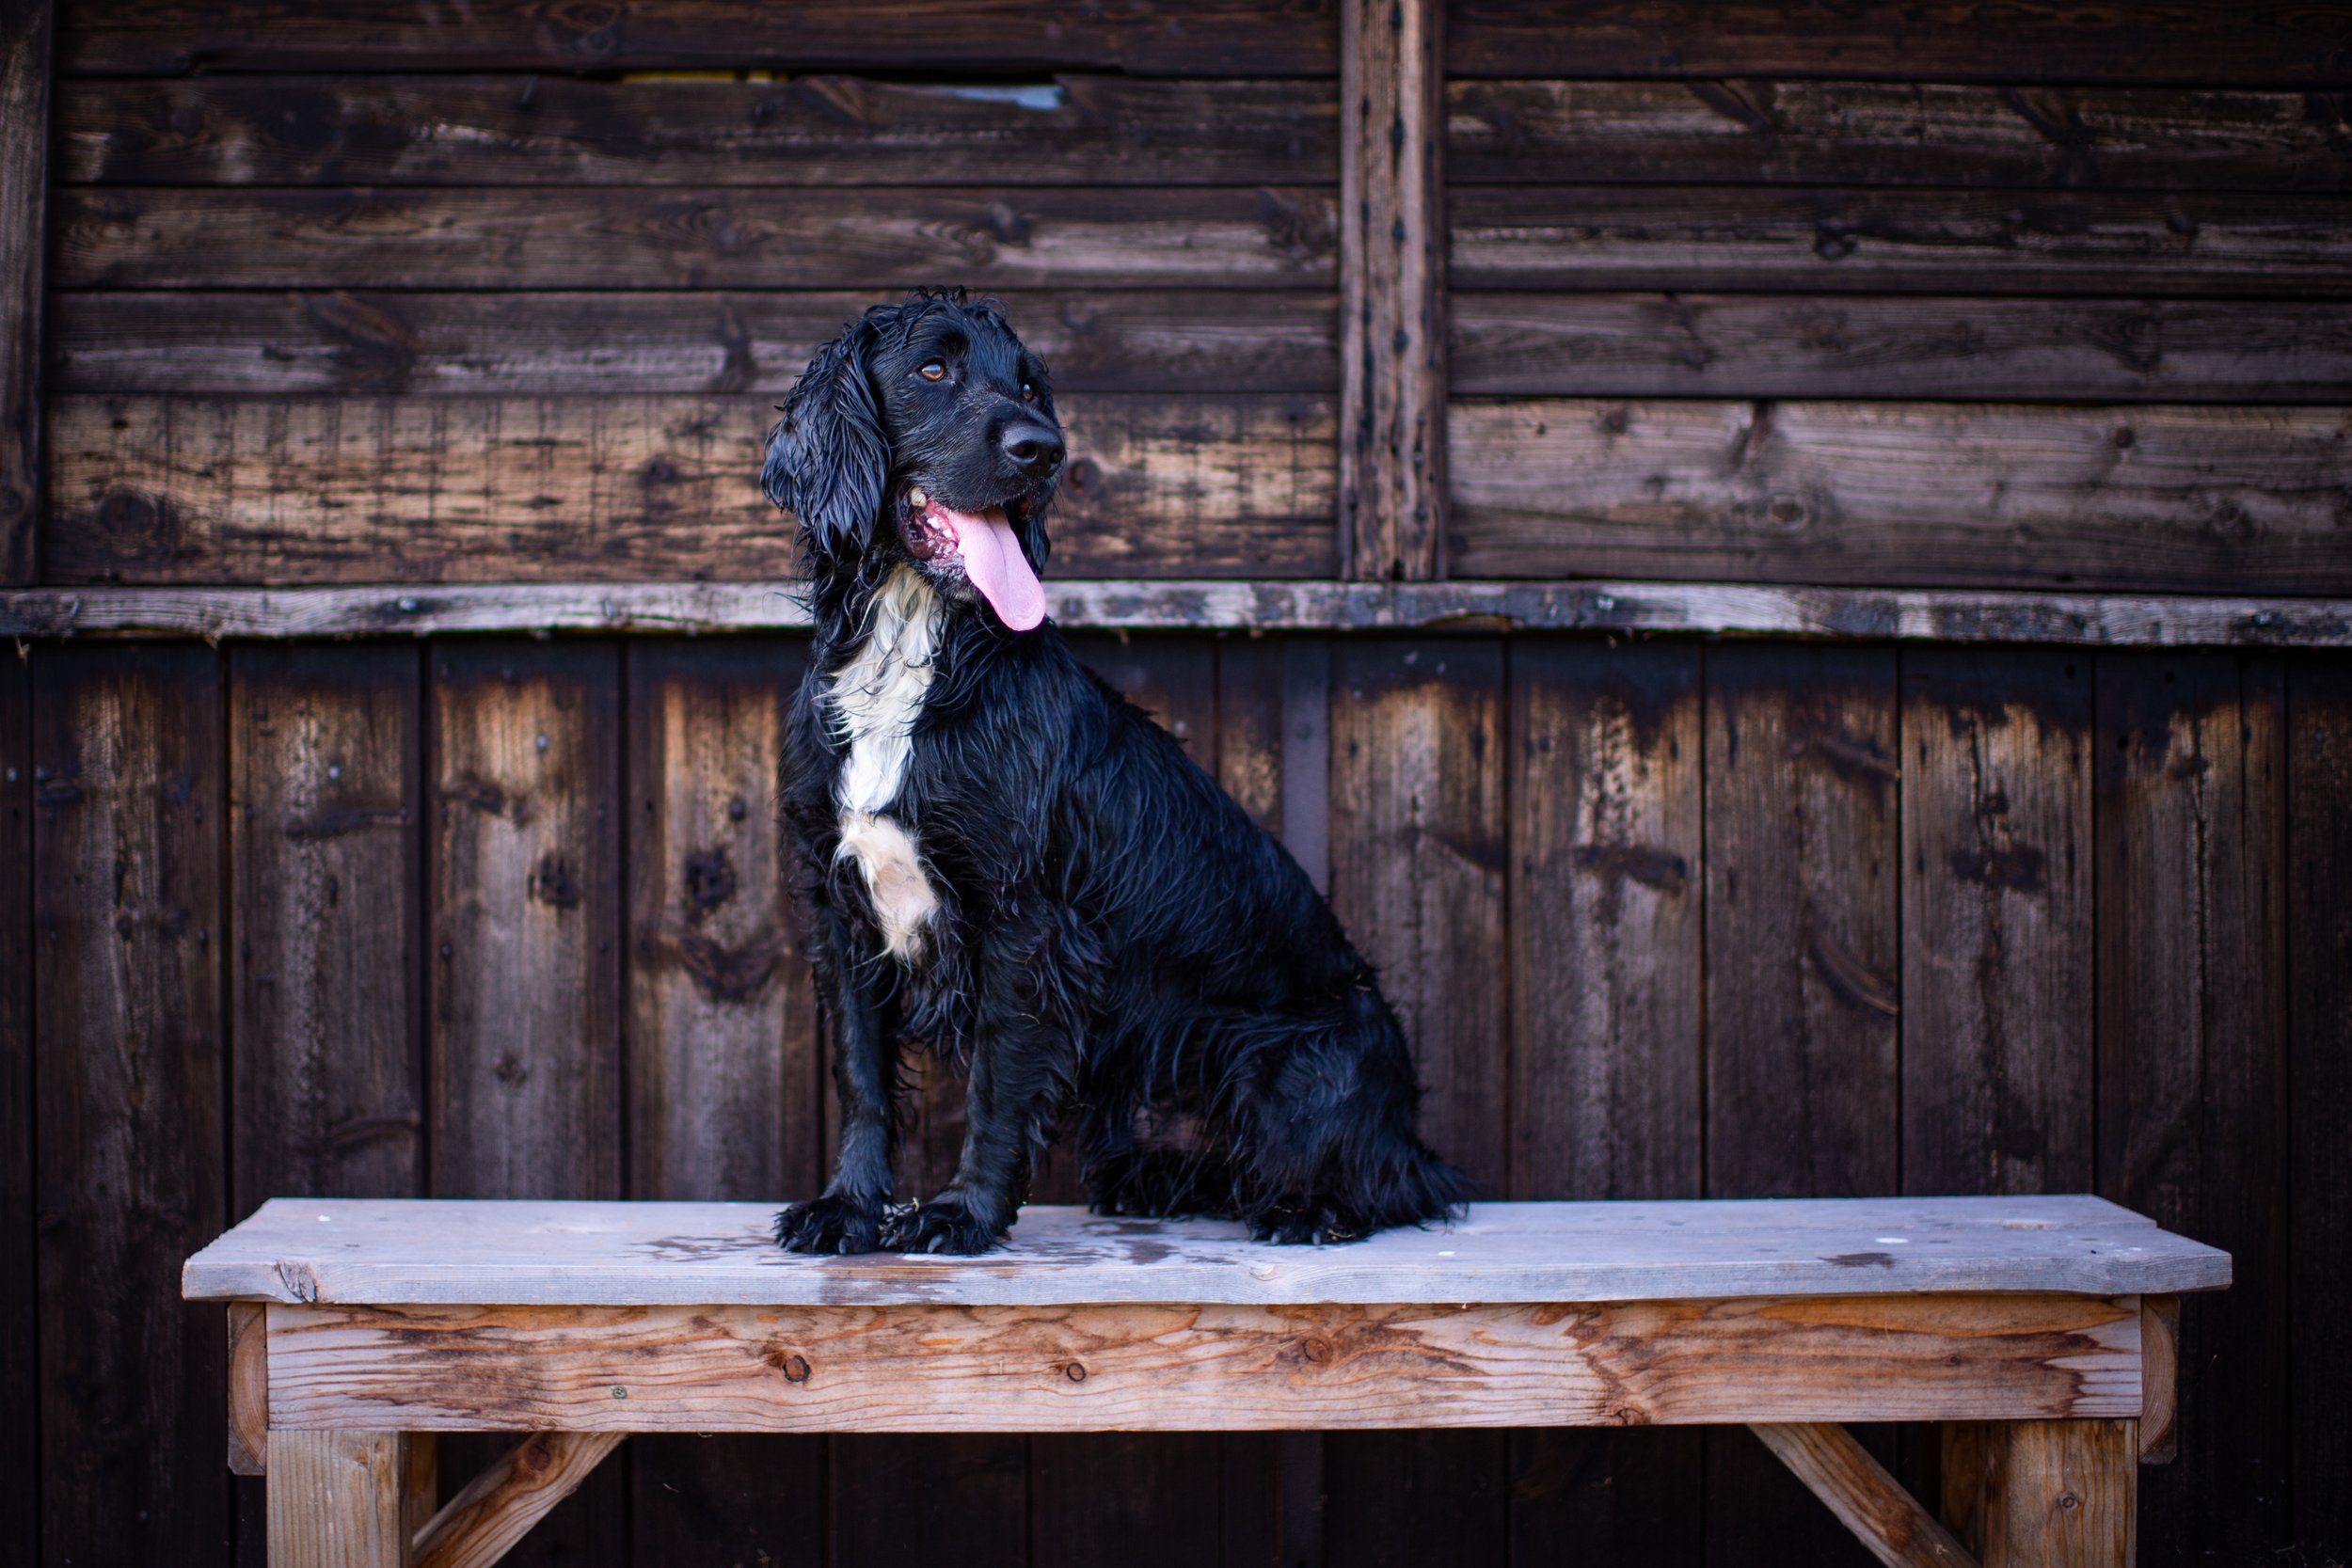
1. Lighting
Contrary to what you might expect, bright overhead sunlight isn’t great for black dogs. In very bright light your camera will be working too hard. There’ll be a battle between two extremes - the black of your dog and the white light of the sun. Your photograph will always end up on the losing side. Not only will it struggle to correctly expose for the bright and dark contrasts in the image there will likely be a very harsh shadow on the underside of your dog’s face.
If you do find yourself with the sun directly overhead, bring your dog to a shaded area and take the photo there. It’s important that your chosen location is evenly shaded with a soft light covering the whole area. For example, if you take the photo under a tree, make sure that the background isn’t brightly lit.
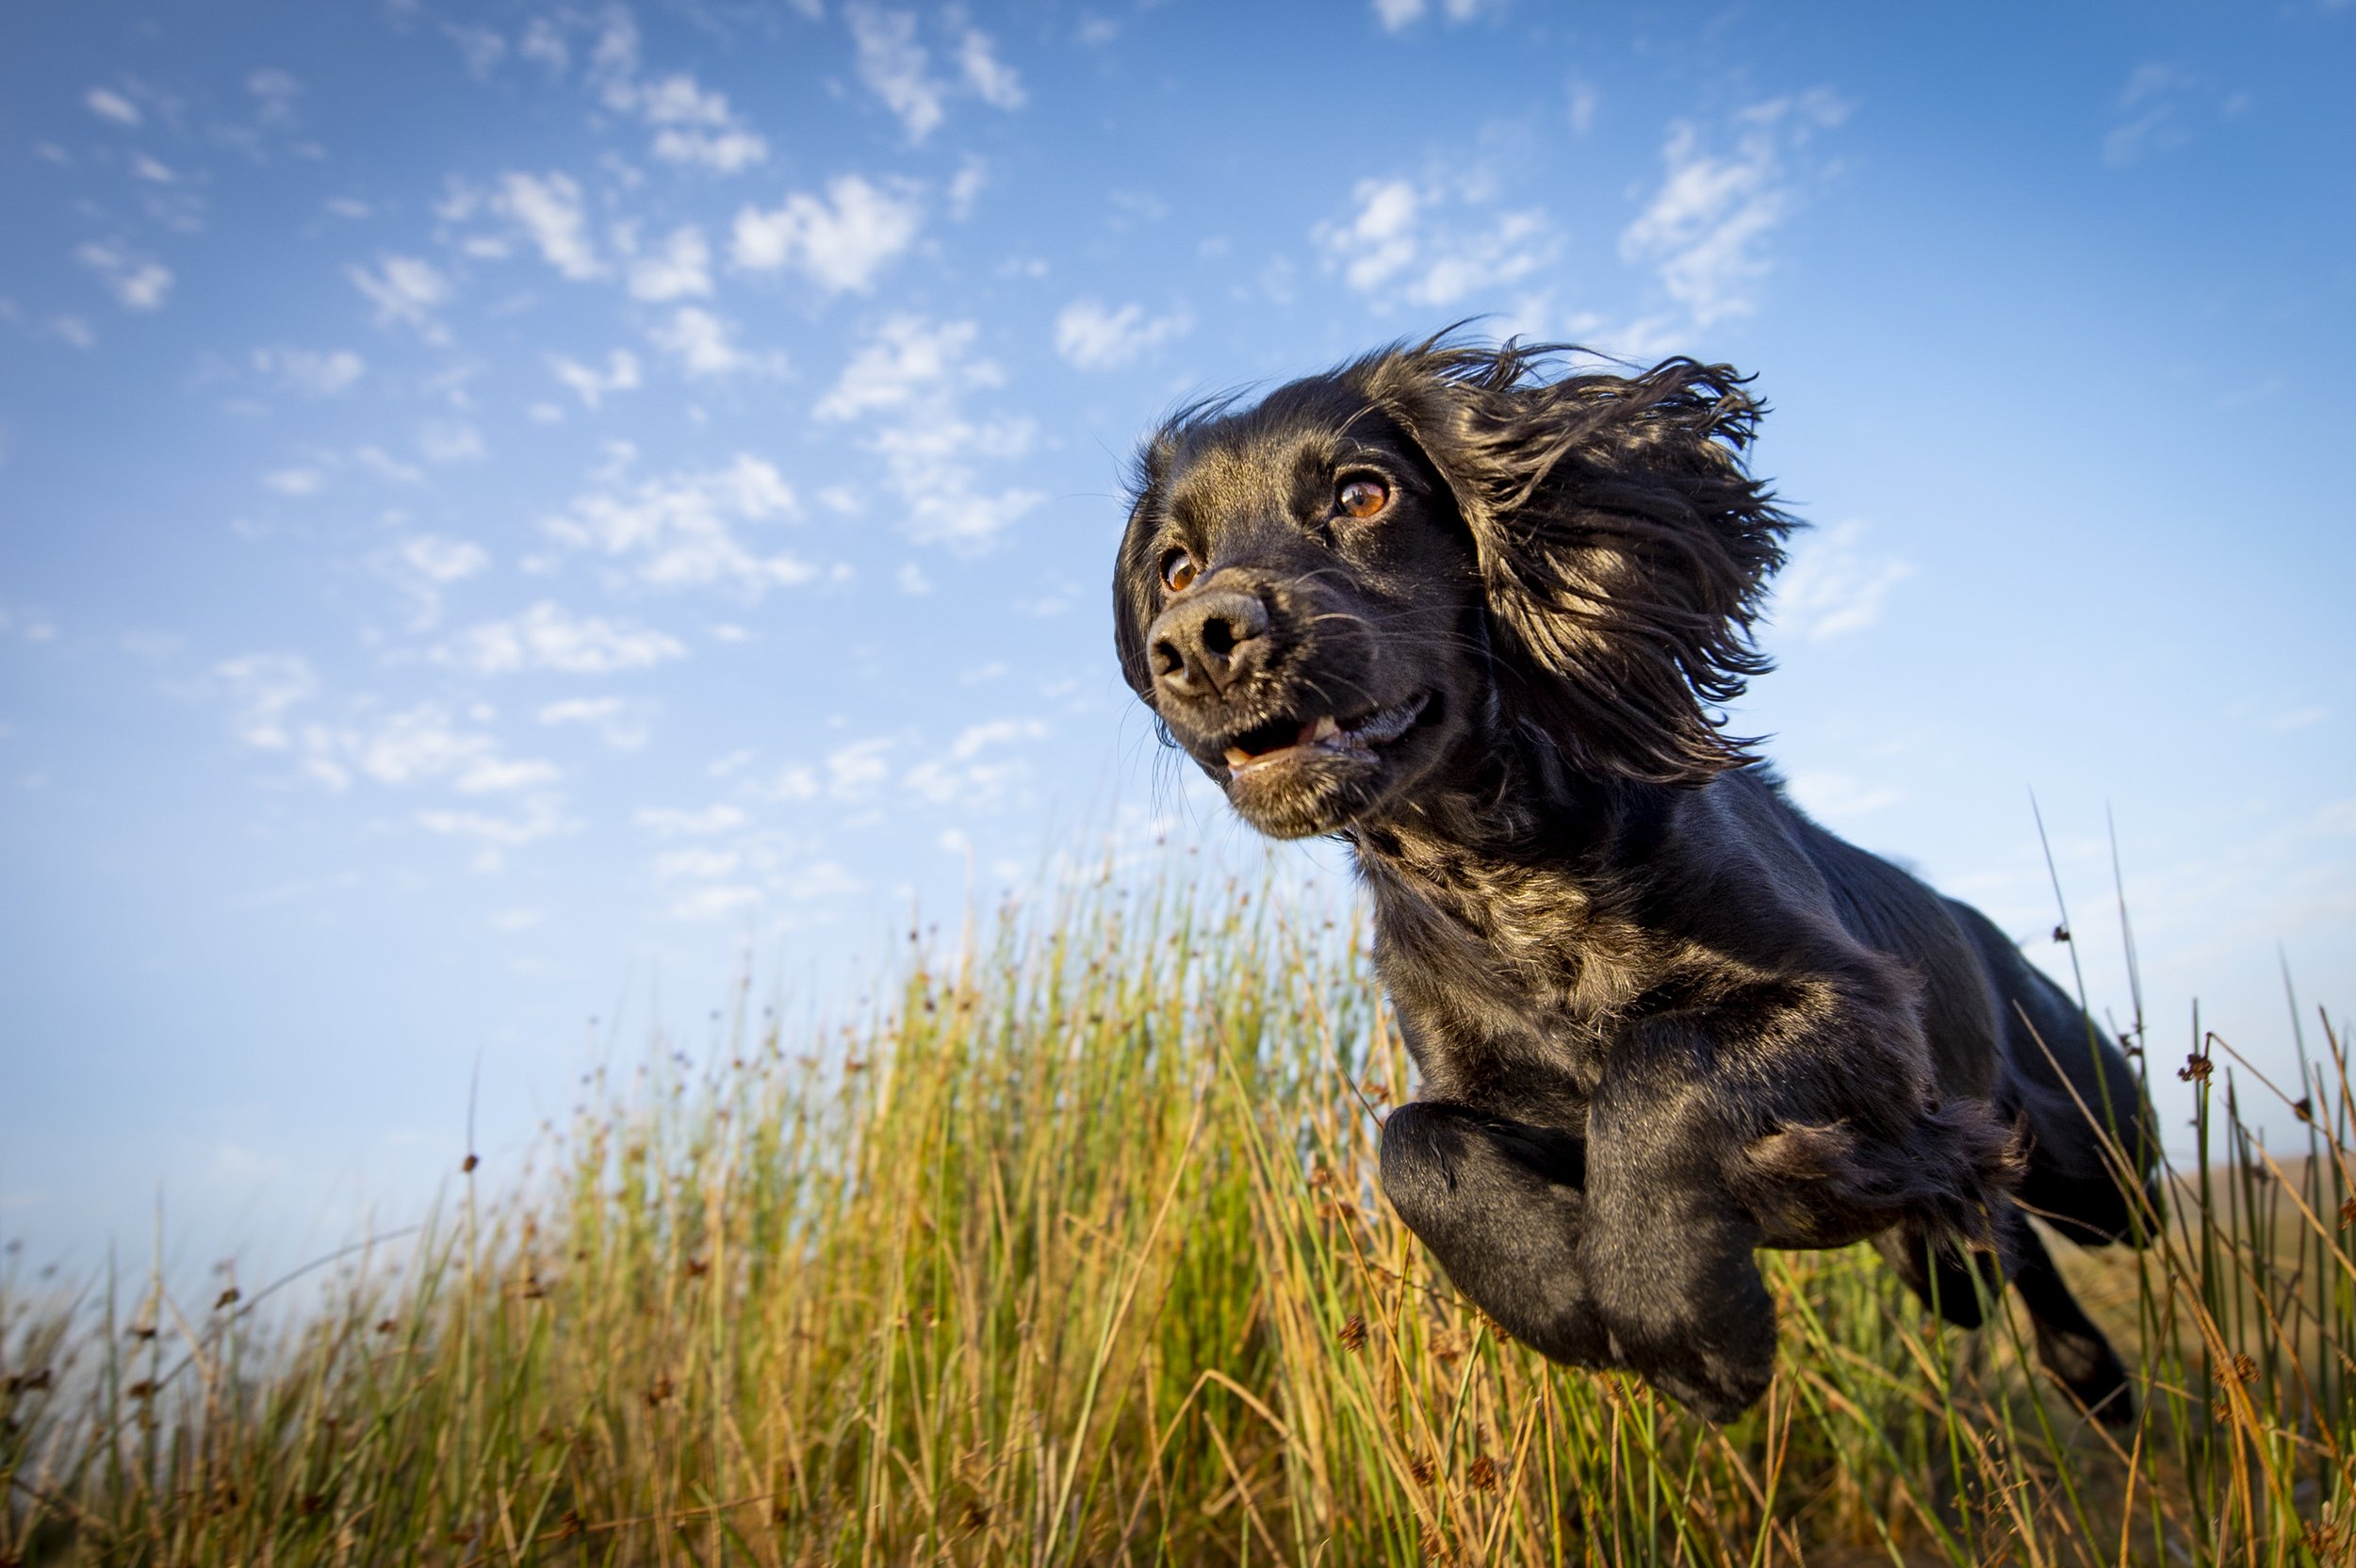
I met up with Beau on warm day when it was bright in a location I did not know. Not my choice at all and despite saying it would make things tricky this was when the client wanted to meet so in these situations you just have to do the best you can. It was very challenging to say the least, not only because Beau was hugely distracted at this location (looking for Rabbits) but there was very little shade. He was very erratic in his behaviour (not unlike Spaniels) and didn’t want to rest. However, after a while we managed to entice him in to a shaded part in between two trees. It was the only place in the entire location where I could get a shot where there was no bright light in the picture at all. This has the effect of evening out the light, with no big difference between the bright and dark areas and therefore enabling us to not only see Beau properly, but the colours of the grass were more even and saturated too.
Try and take the photo on a cloudy day. The light will be softer and your subject will be evenly lit. I find light cloud good to work with but thick, dark cloud never looks so nice and I avoid these conditions. The only thing about cloudy days (where the cloud is a consistent blanket of cloud over the sky) is the sky itself. If the cloud is a thin blanket it is in effect very white. If it’s thick cloud it’s very dark. Neither of which helps you because too much white will make your camera struggle with the contrast between the sky and your dog and too much dark cloud in the image just looks horrible and unappealing. I would avoid both in your picture as much as you can.

Shaded areas can also be out in the open when it's nice and cloudy. Clouds act as a giant light diffuser in the sky and make the lighting 'softer'. But the cloud is quite unappealing and ‘boring’, but that is, of course, a matter of opinion.
2. Choose the right time of day
When you're photographing your black dog in direct sunlight, there are two ideal times of day: after sunrise or before sunset (it’s different if it’s cloudy of course). Generally speaking, the “golden hour” is roughly 1 hour after sunrise or 1 hour before sunset.
These golden hours obviously vary according to the time of year and so check sunrise/sunset times before planning your shoot.
Everything looks better during the golden light. This picture of Hugo was taken about 1.5 hours before sunset when the sun was fairly low in the sky, but not too low for it to be too dark.
3. Background colour
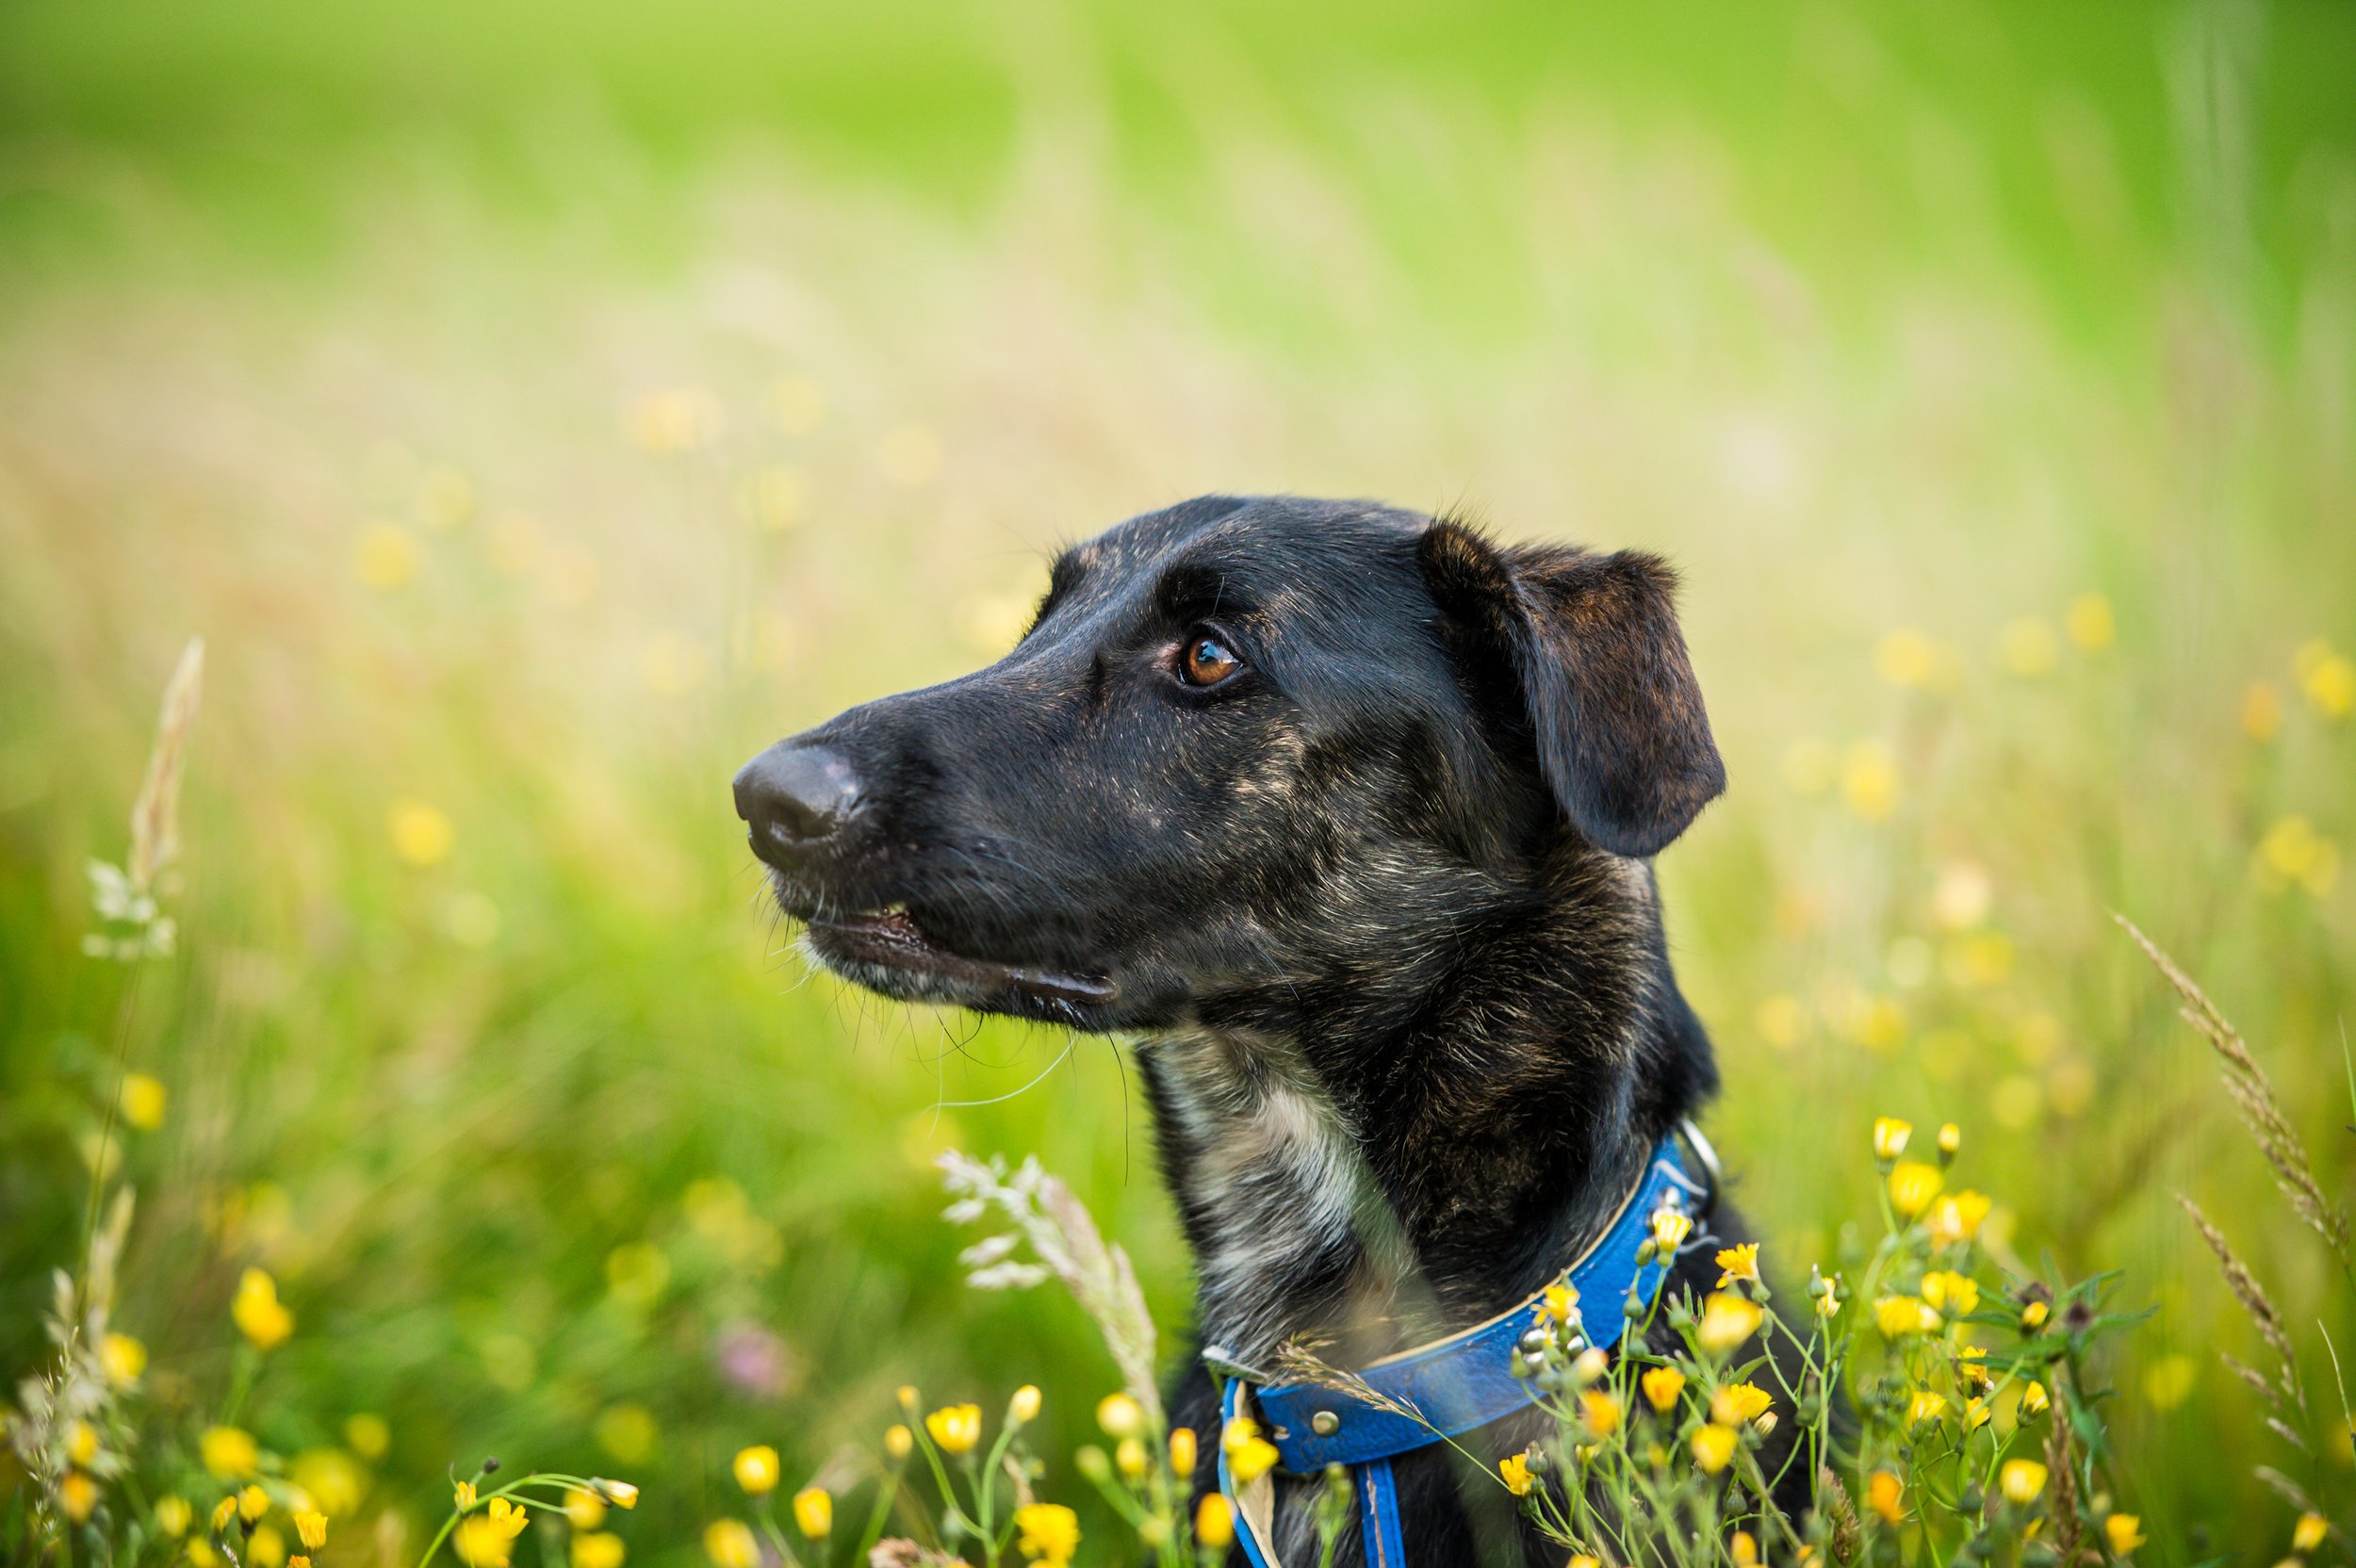
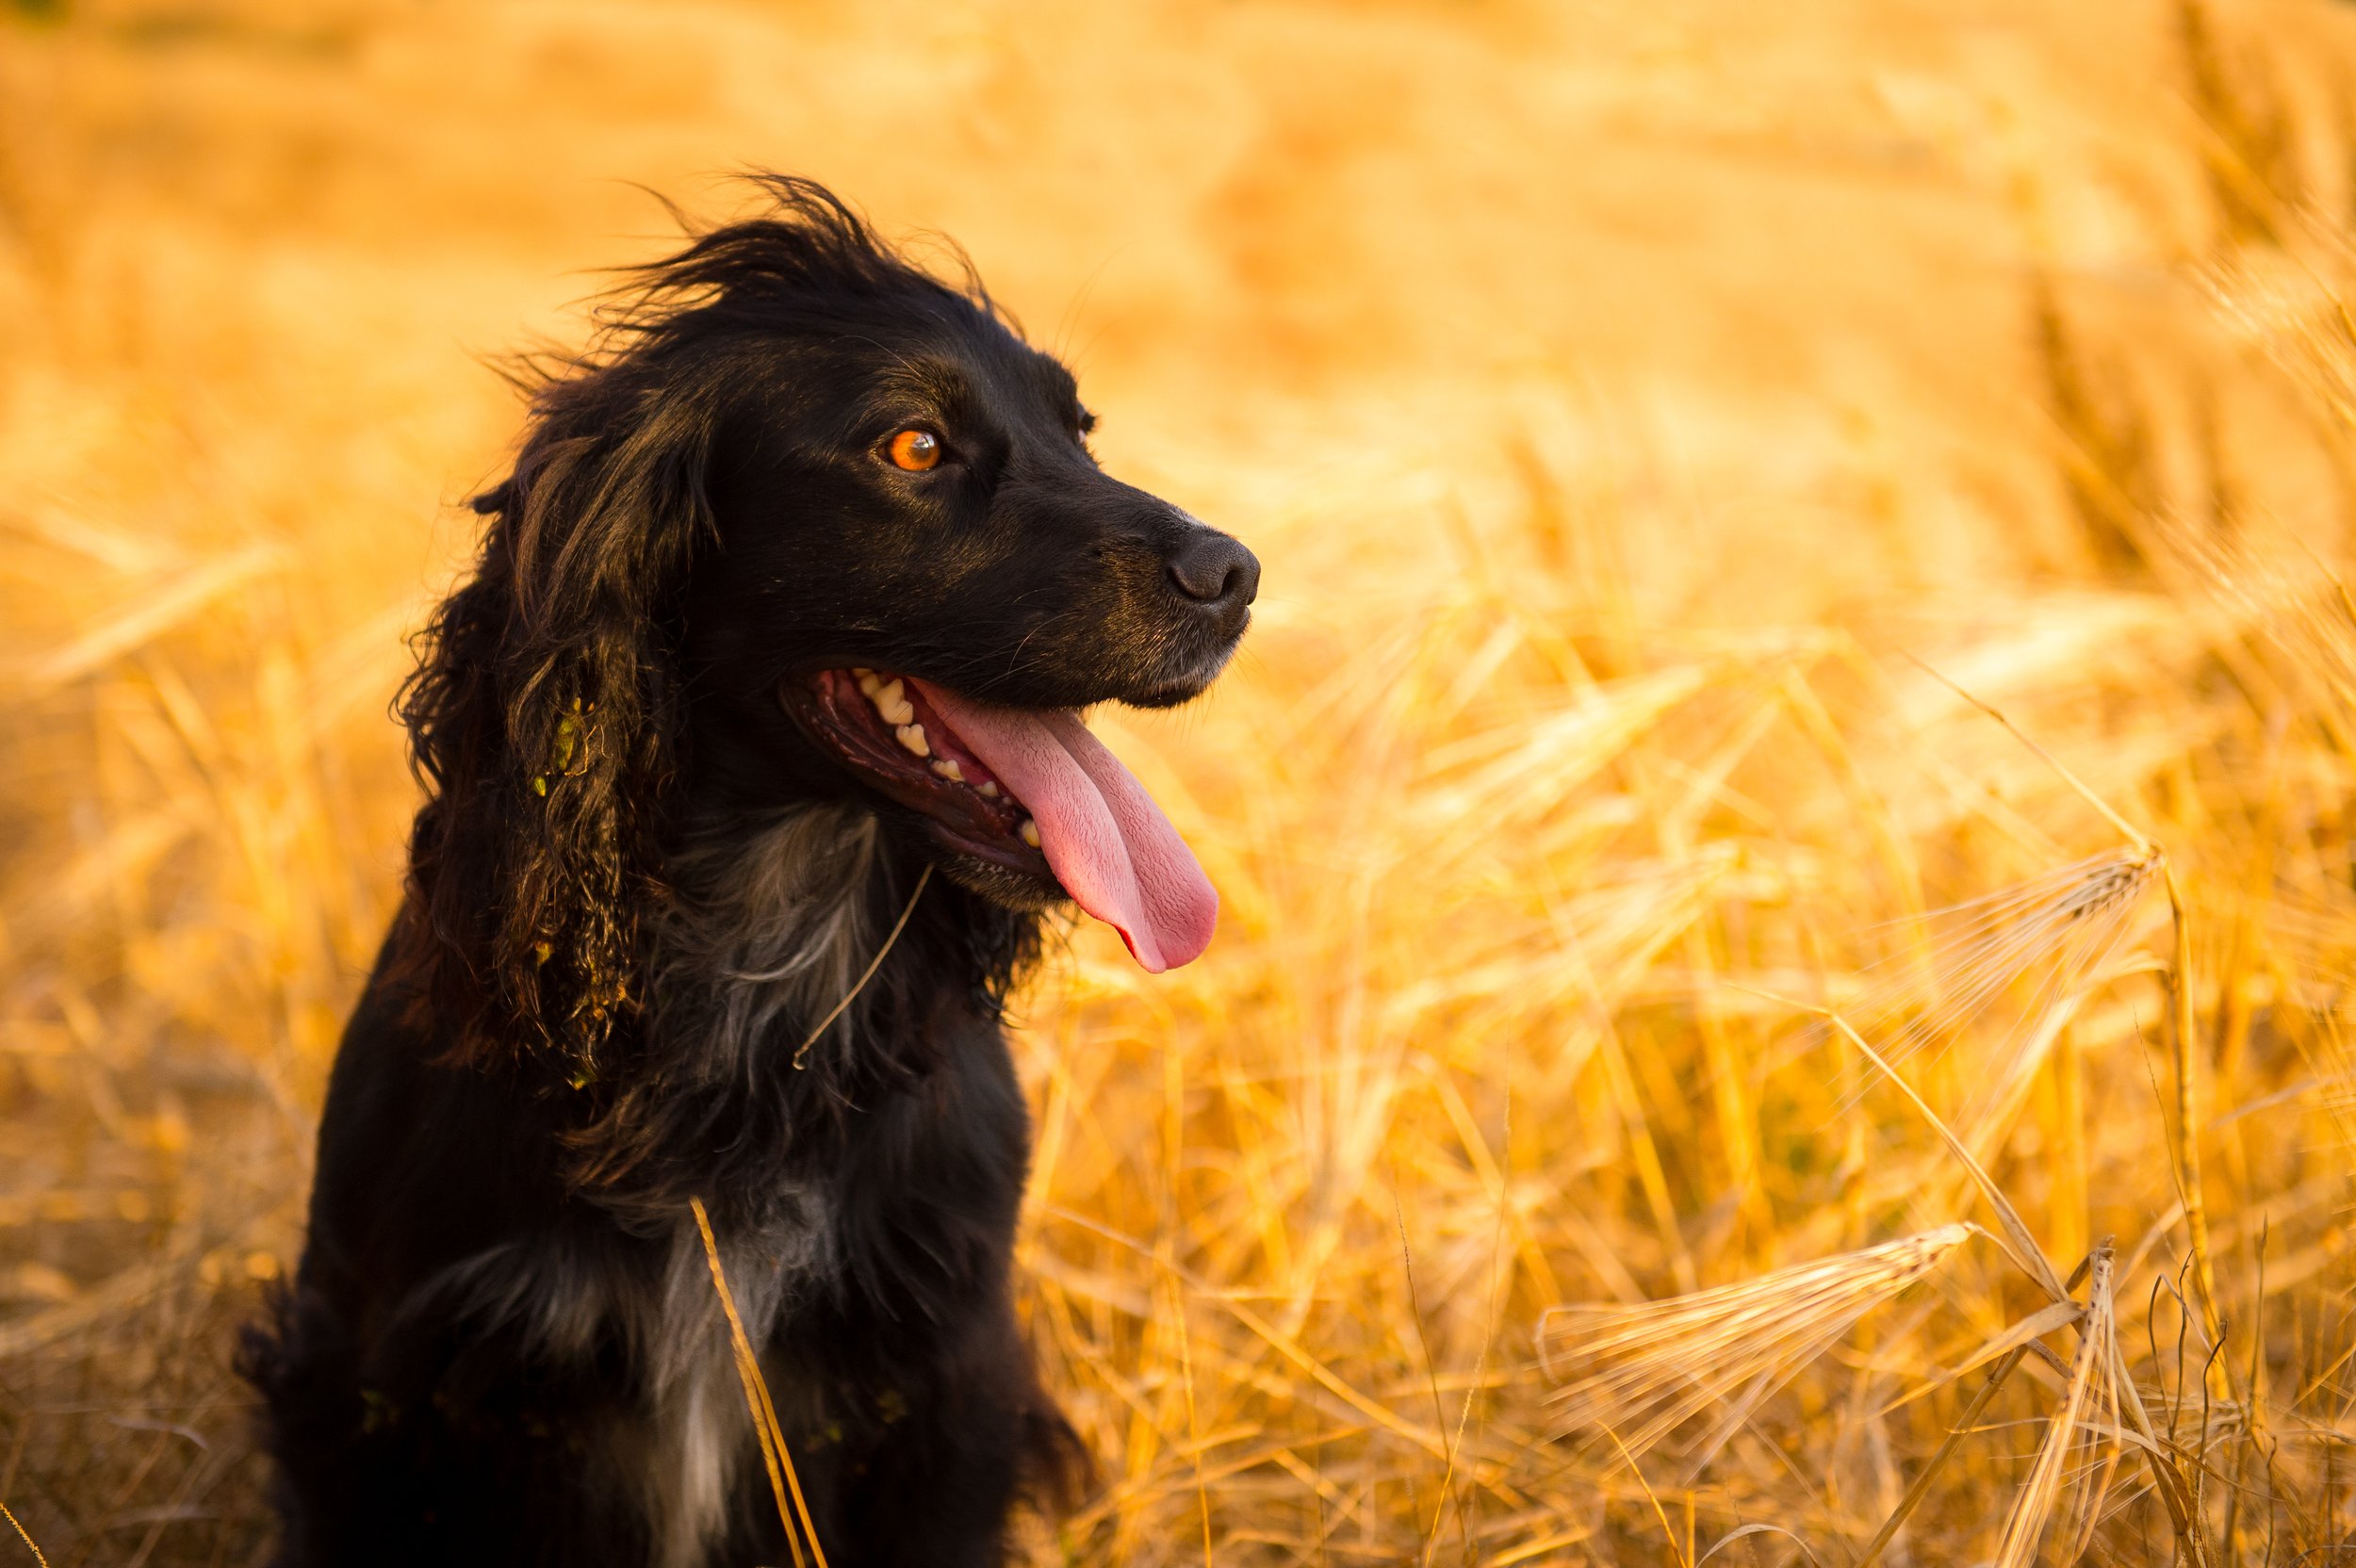
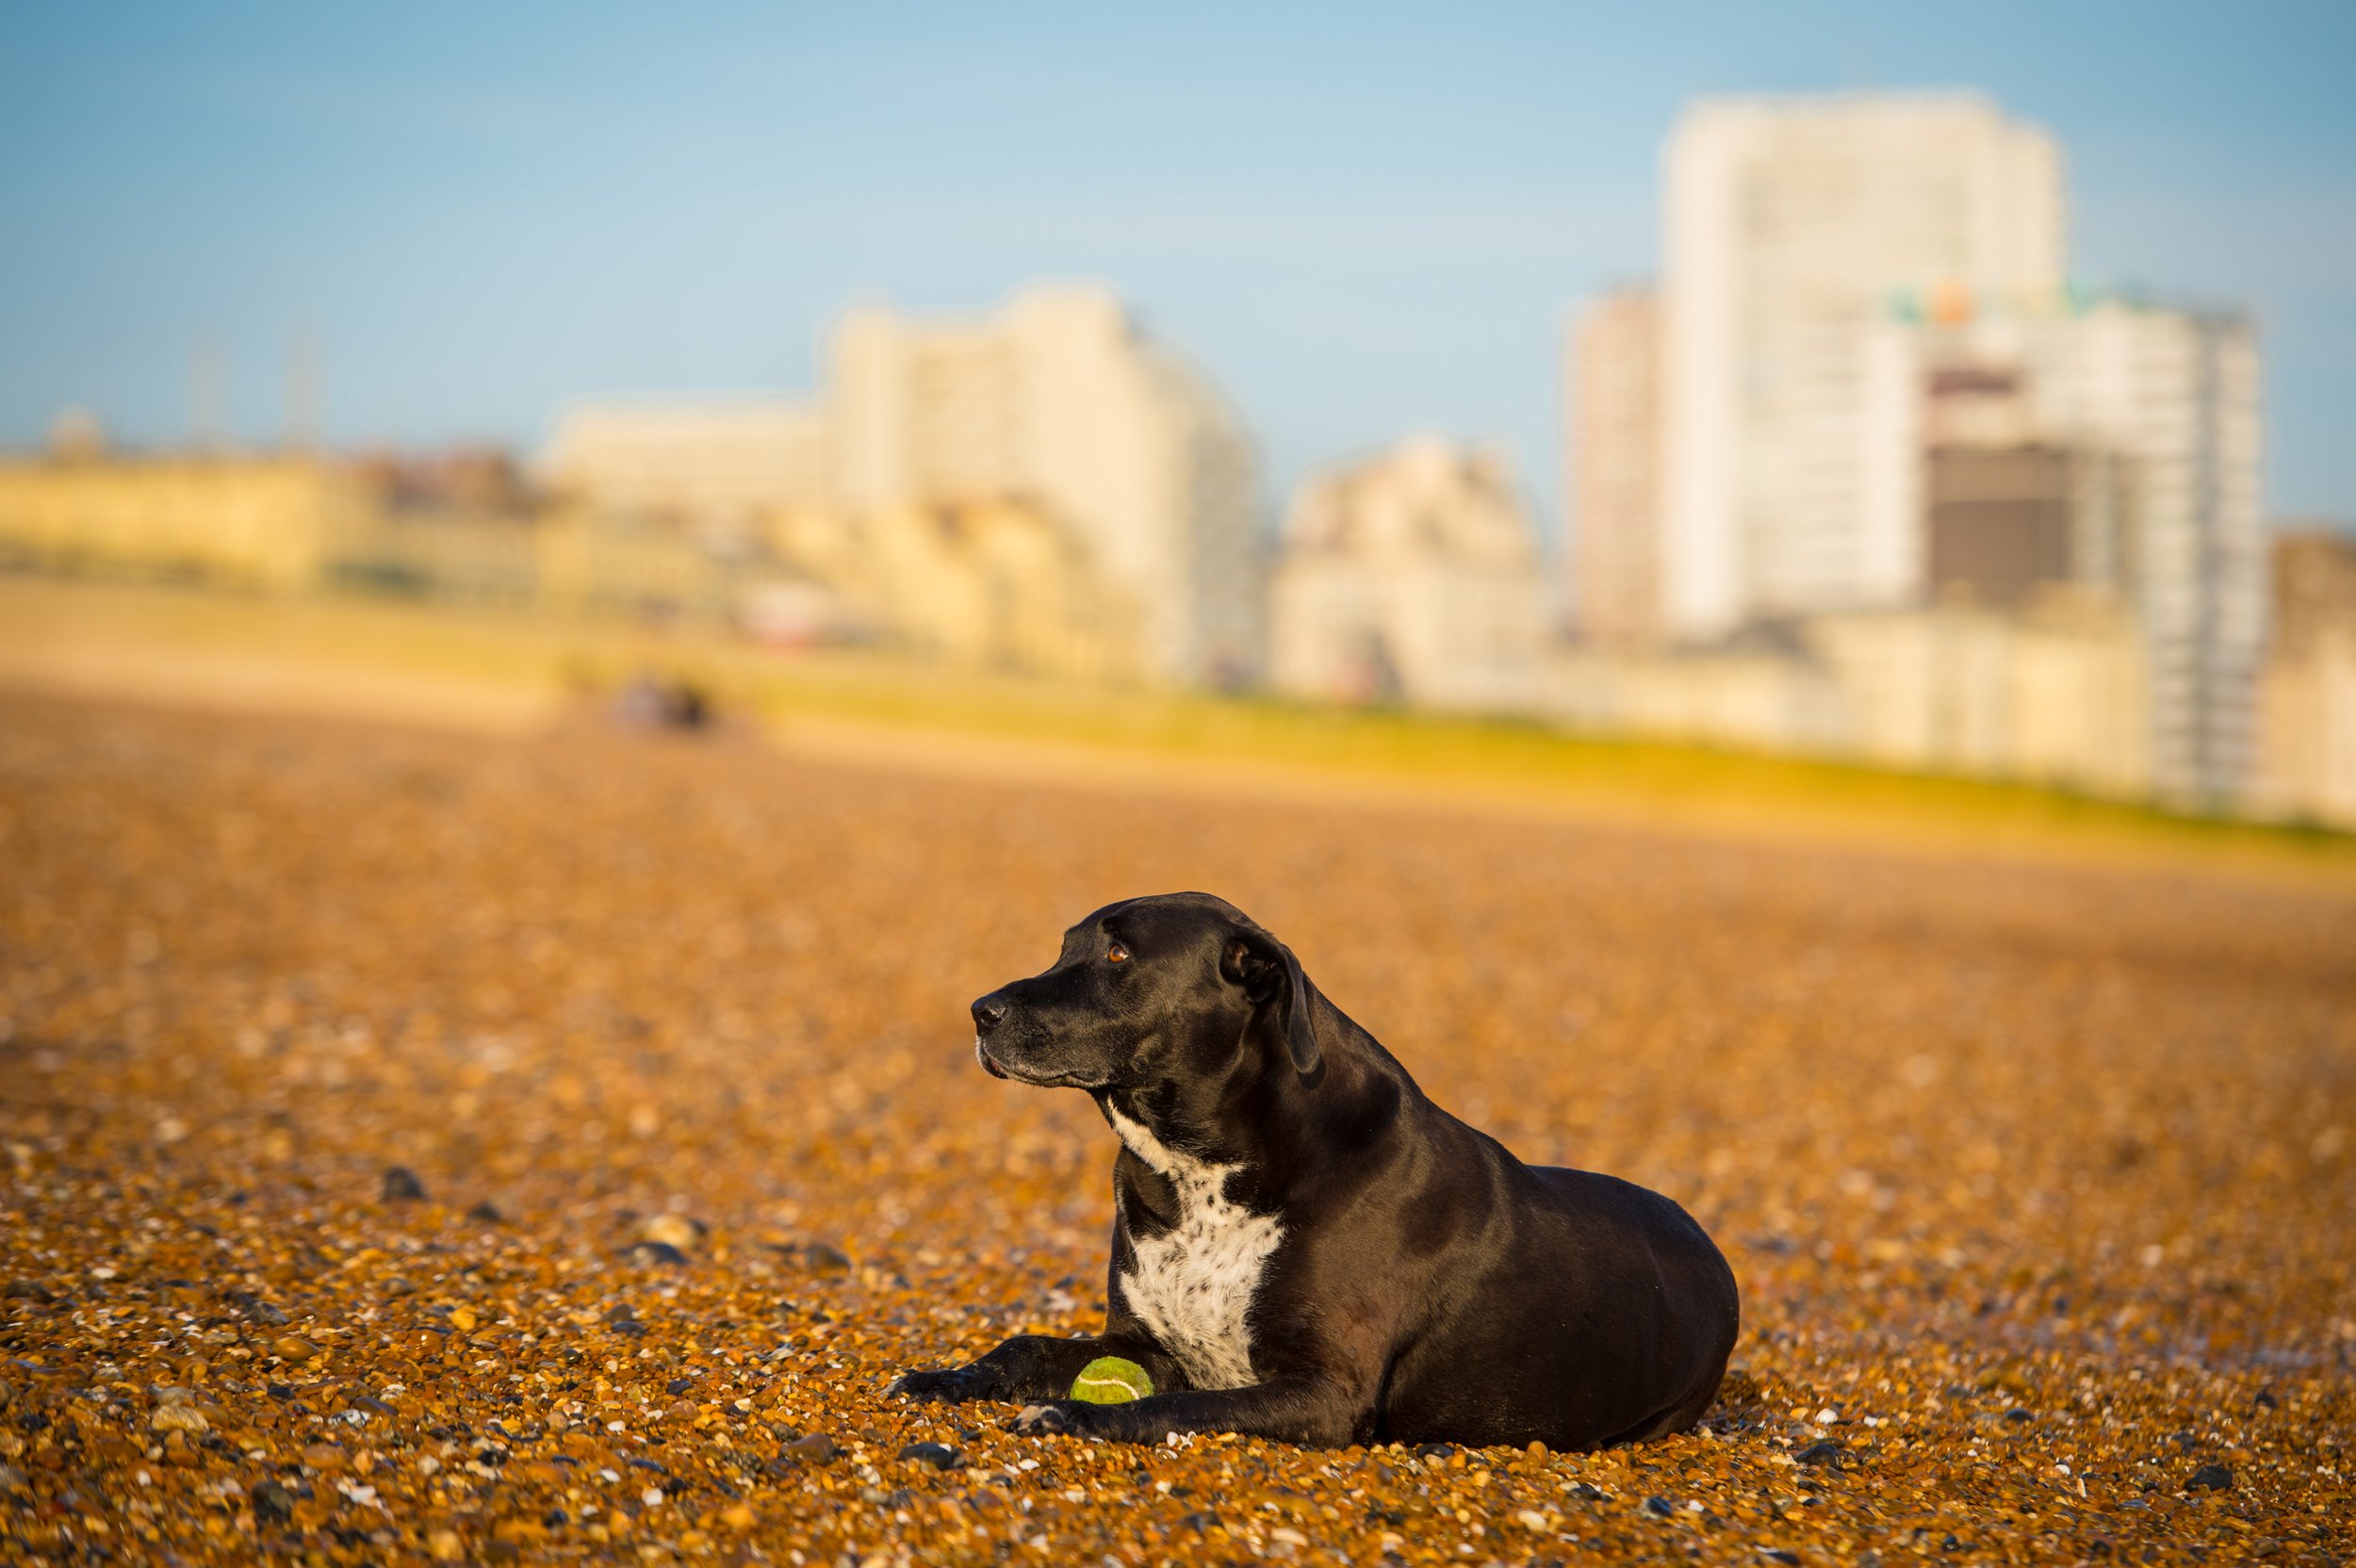
The right background colour is especially important when you’re taking a photo of a black dog. Ideally, you’re looking for good contrast colours that complement black. If what is behind them is also dark you might not be able to see the dog so well. If it’s too bright the camera will likely struggle with the contrast and try and get the settings right for the whole image, resulting in your dog looking too dark. Middle-spectrum colours work particularly well – red, yellow, purple, orange, green and blue.

Colours in the middle of the colours spectrum work particularly well with black dogs: yellows, greens, blues, reds.

The oranges and yellows of the leaves, with pockets of green, contrast nicely with Gatsby’s fur making him ‘pop’ and the images more interesting than the plain green grass, which was also quite patchy with brown, so I placed these laves here on purpose.
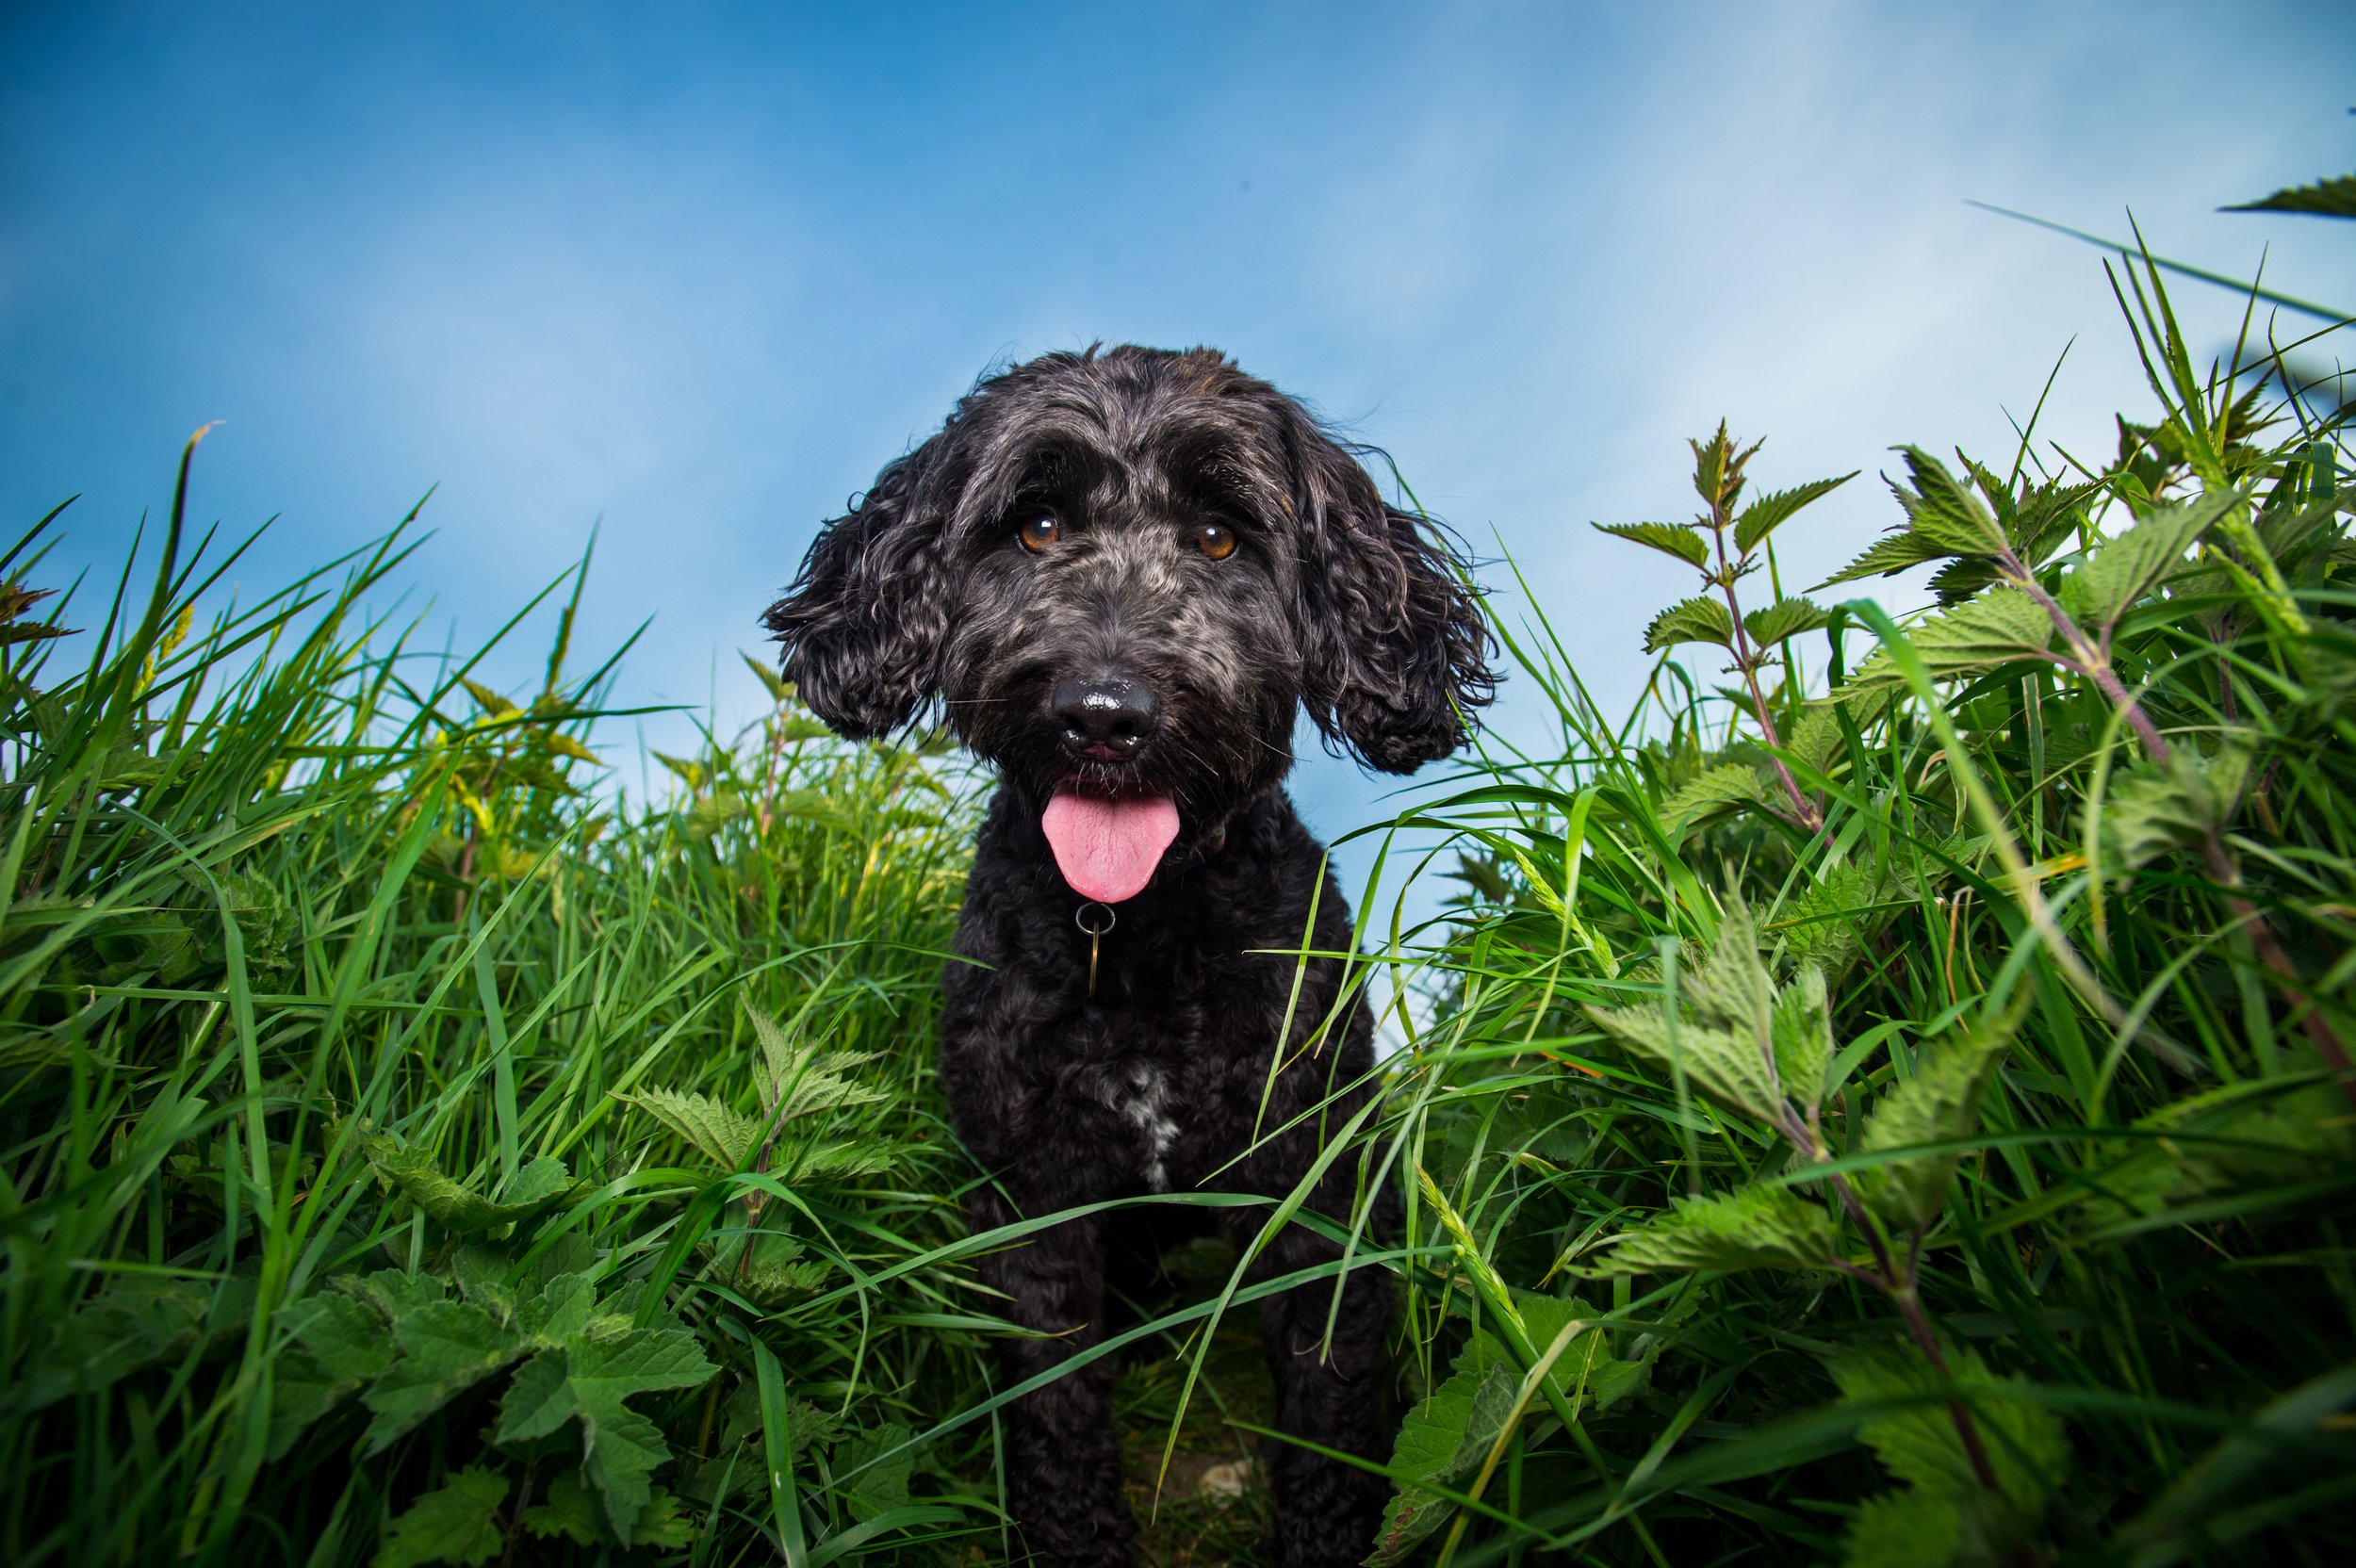
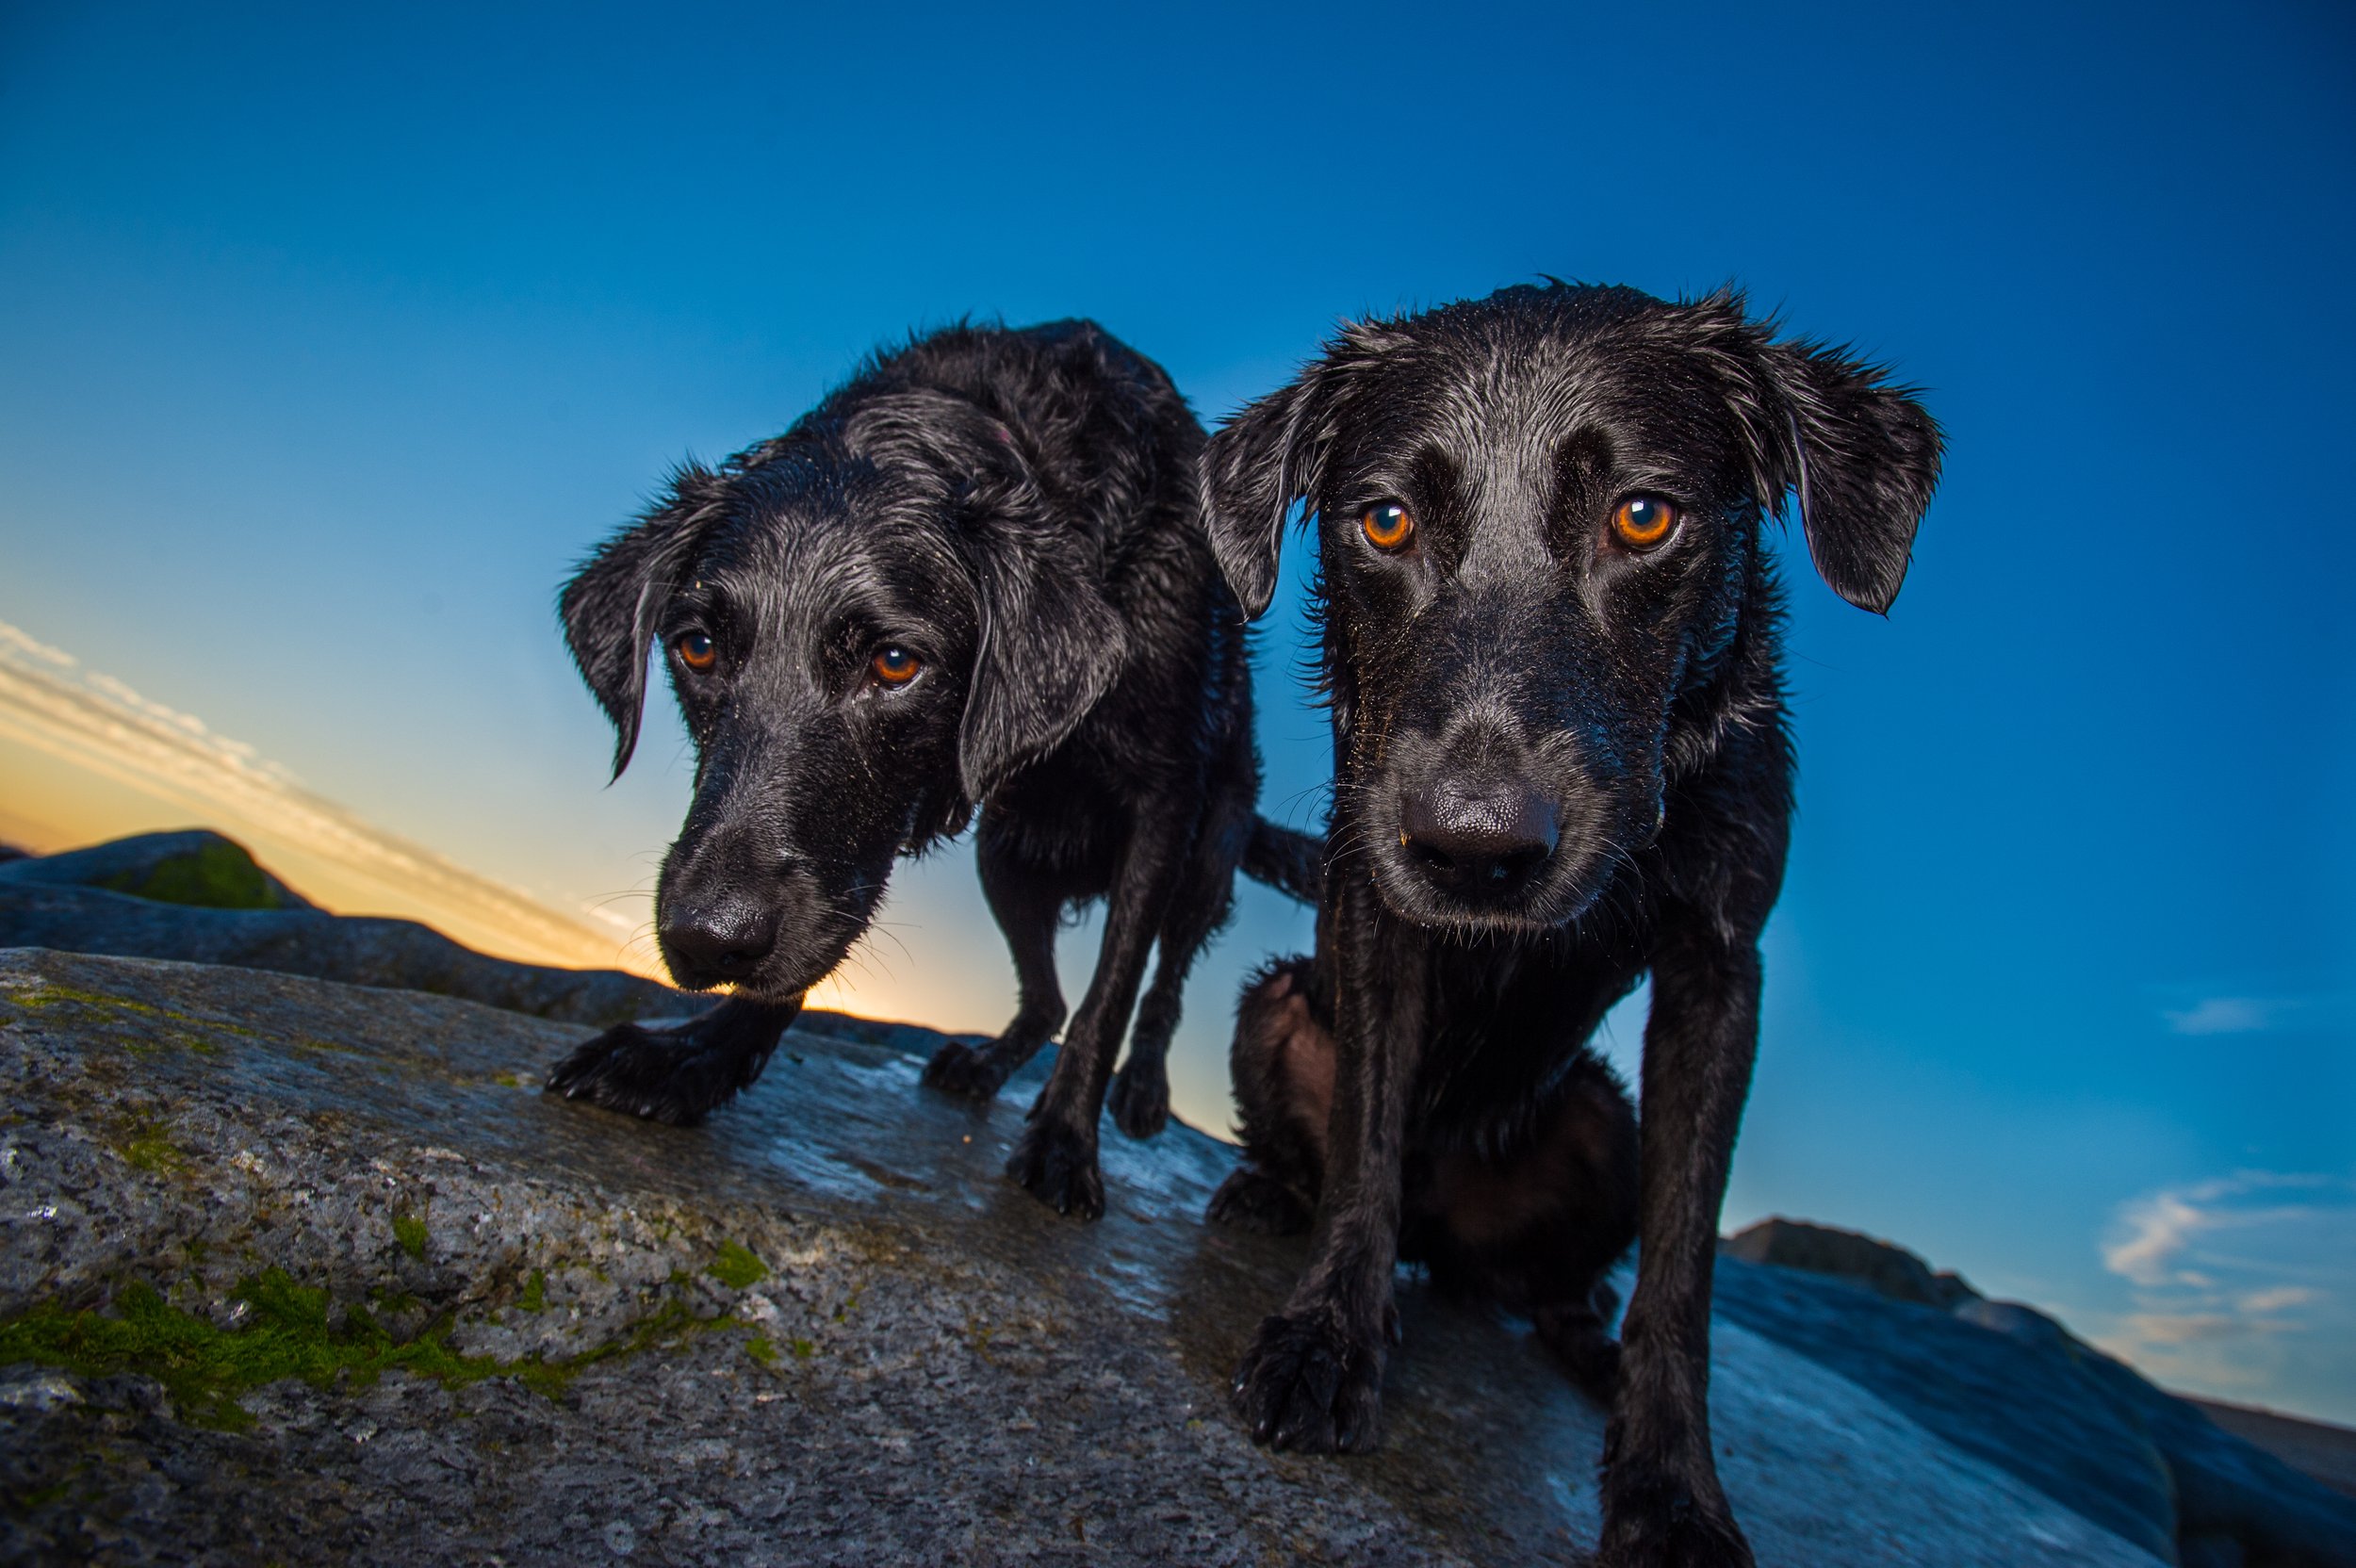
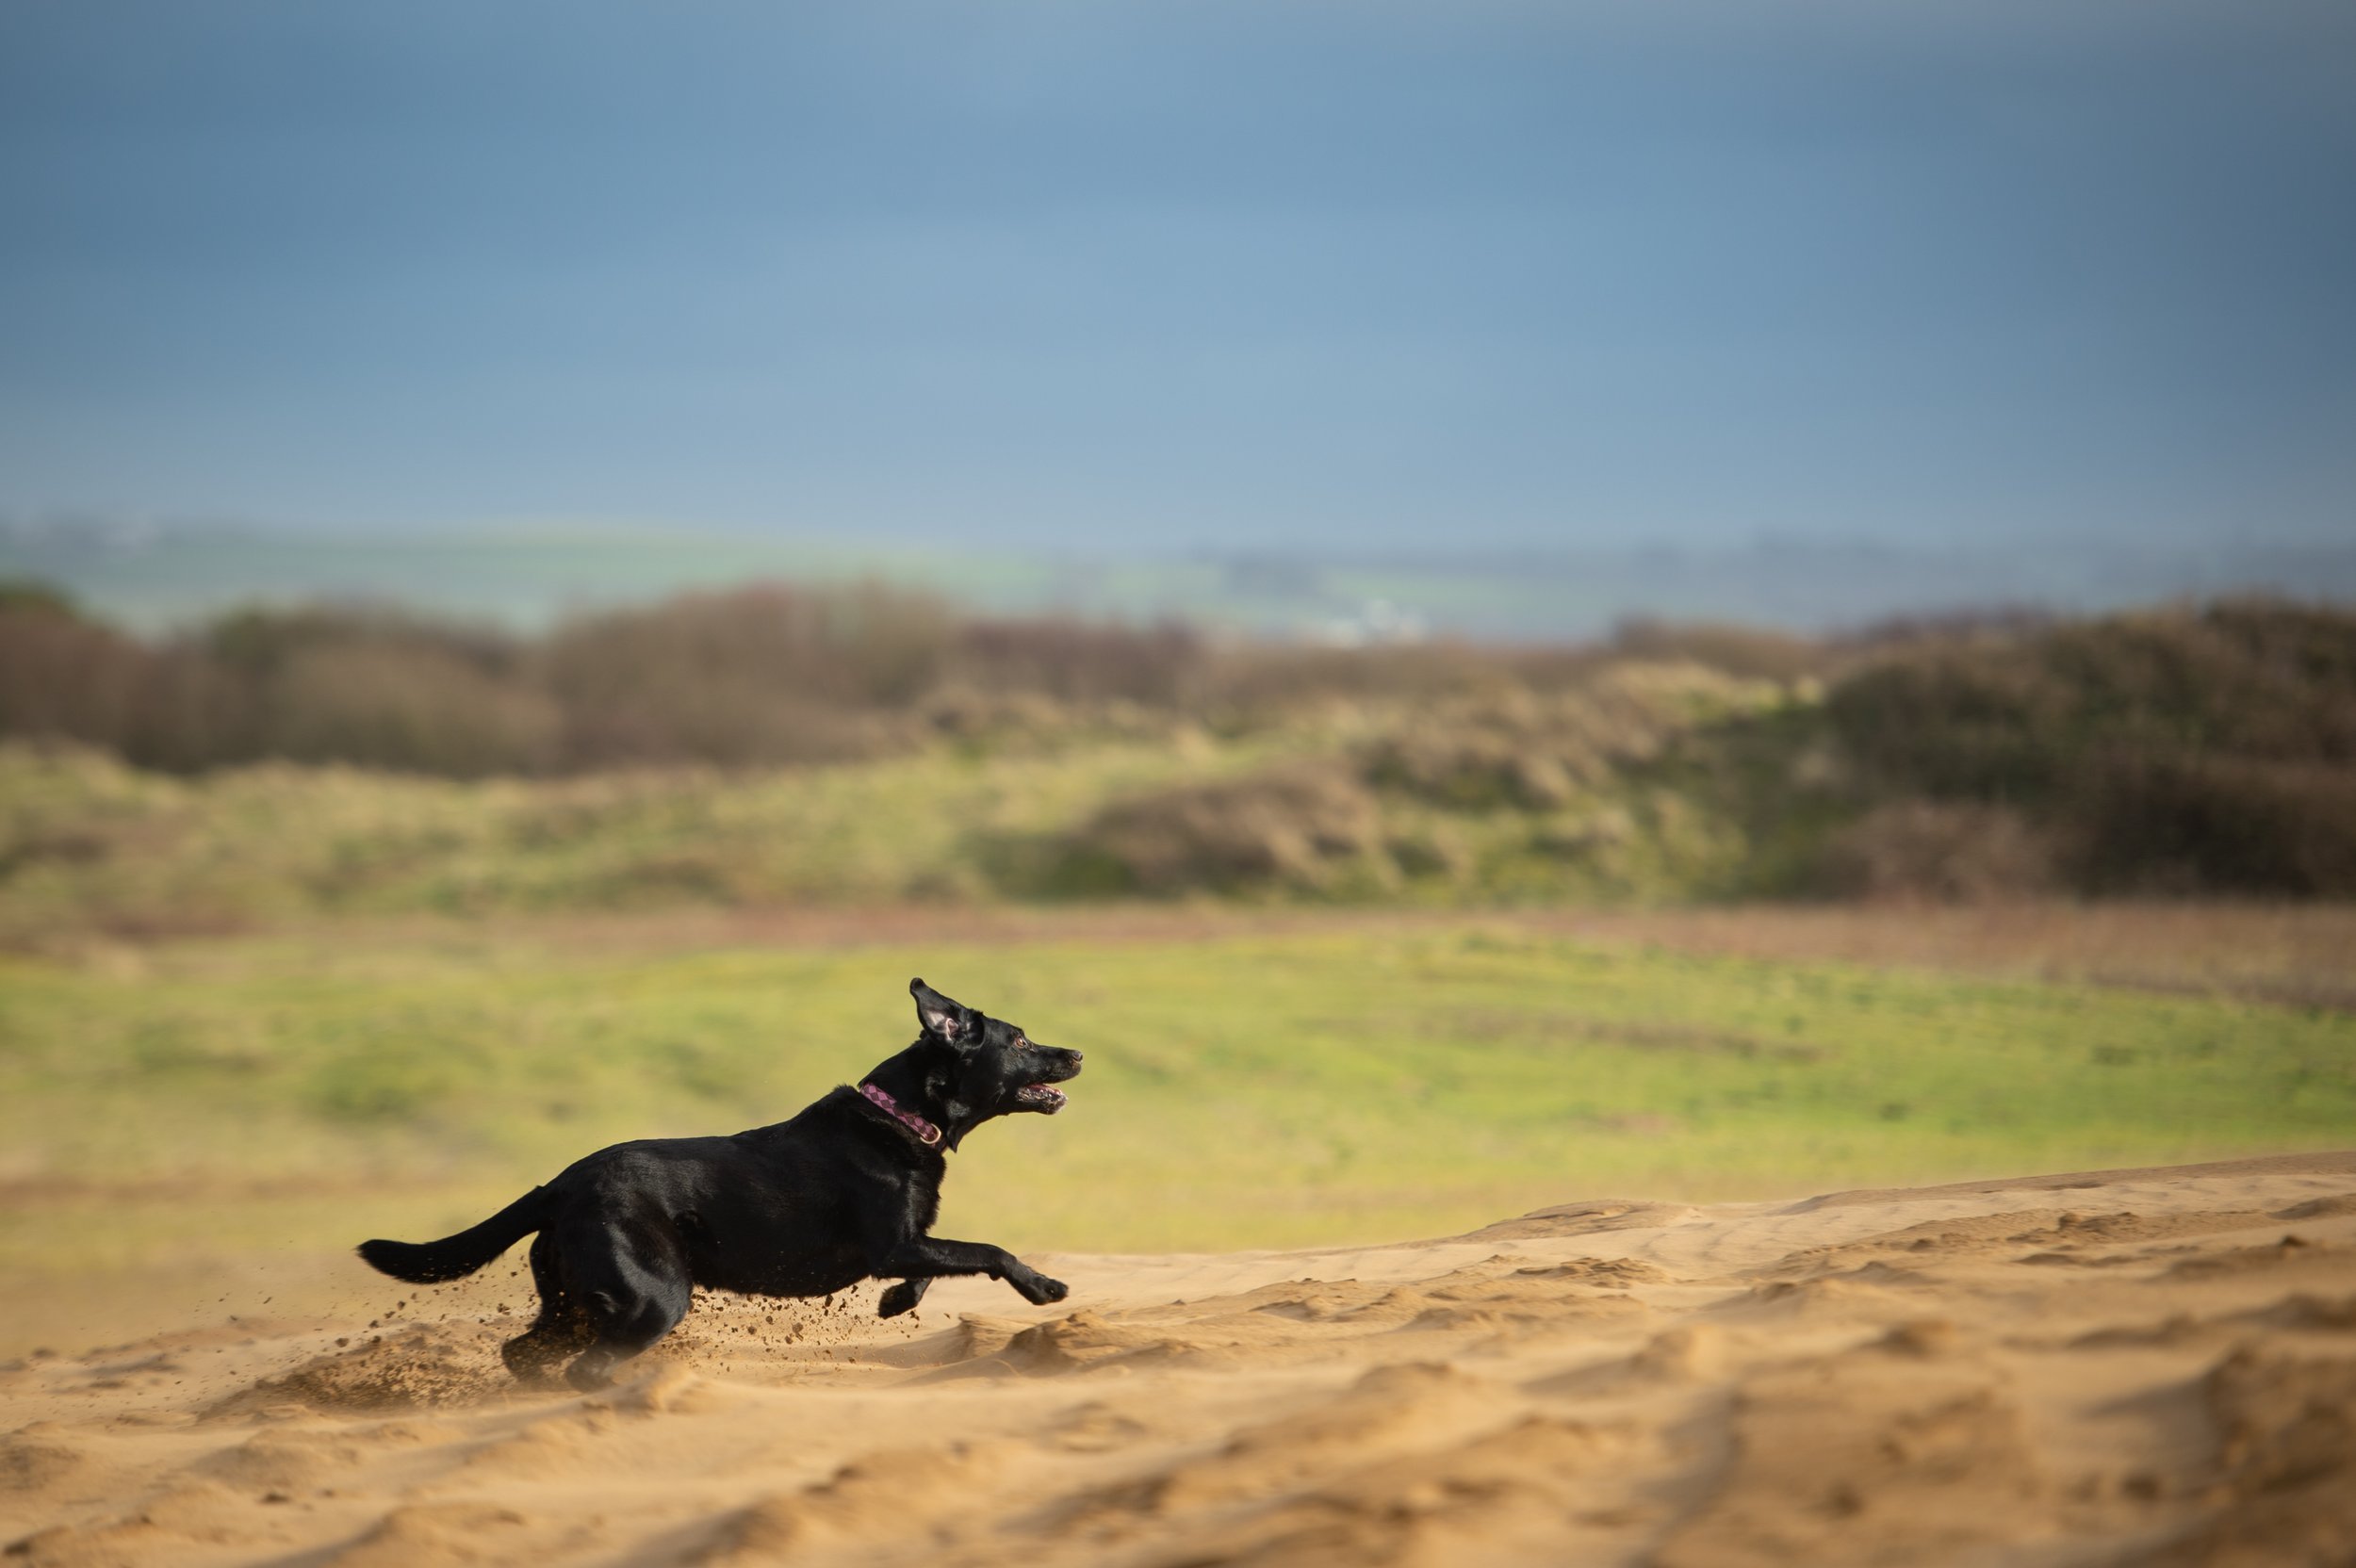
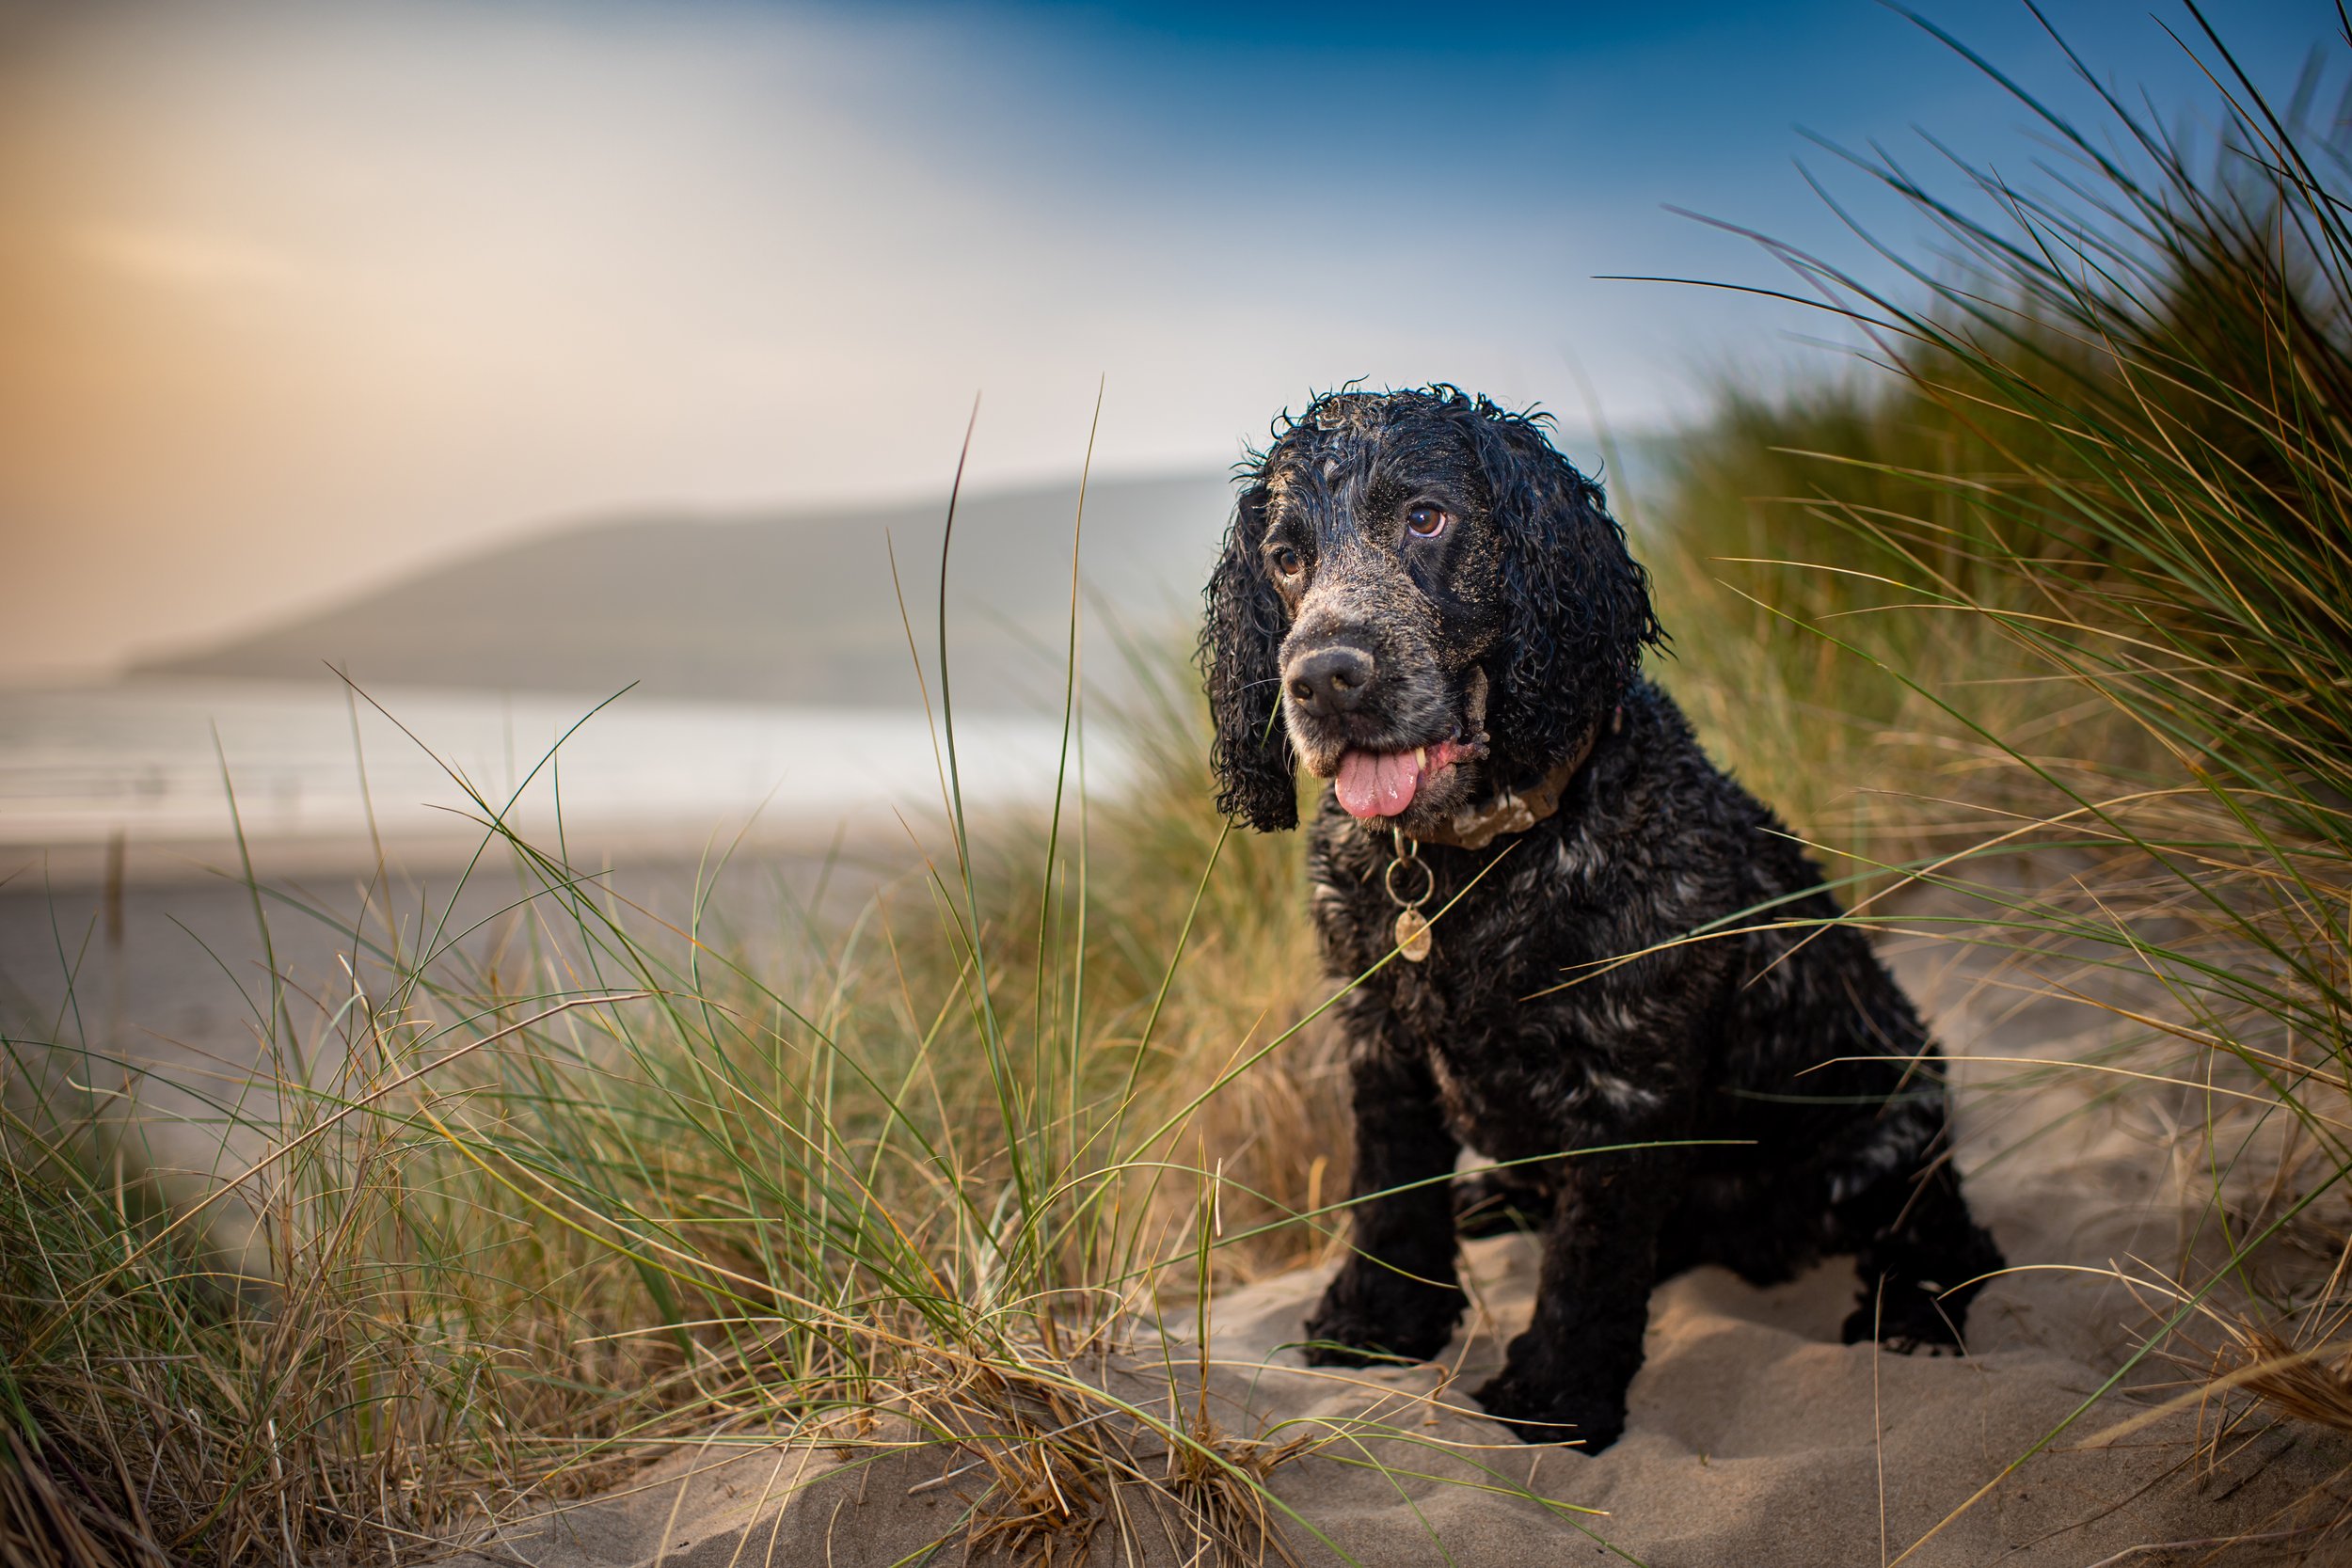
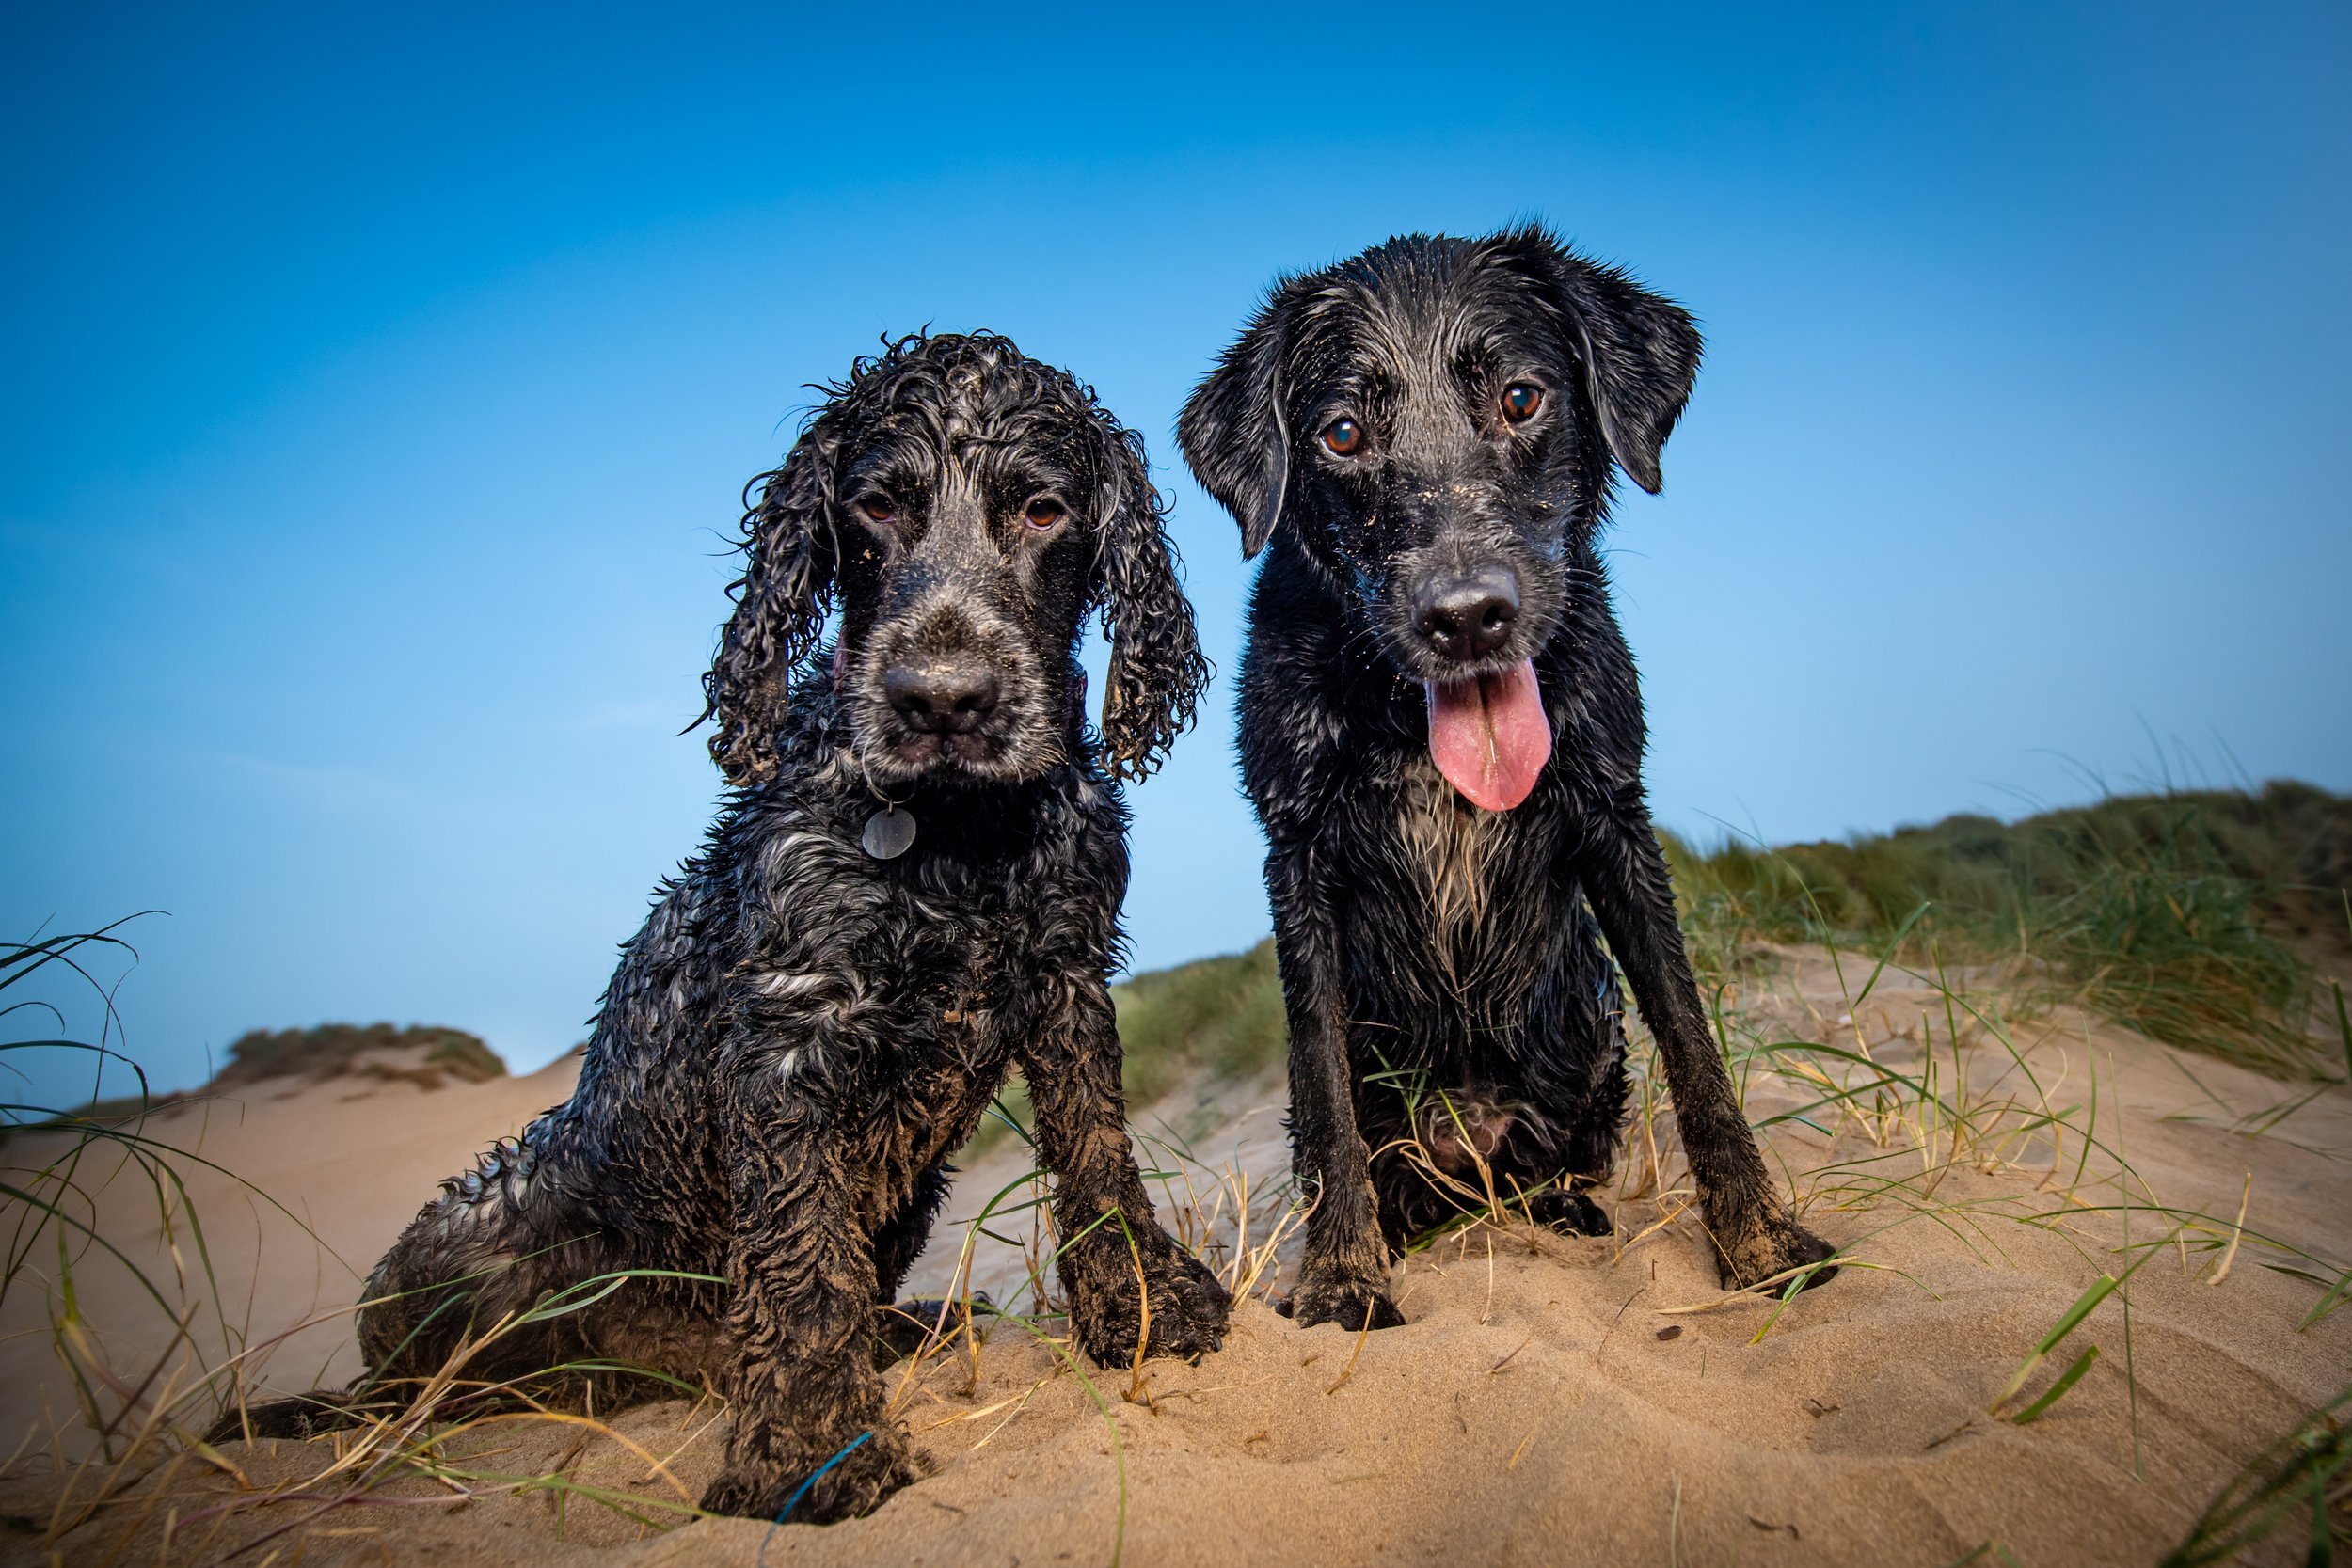
If you get down low you can shoot upwards and get the blue sky as your background. Blues contrast nicely with the black fur.
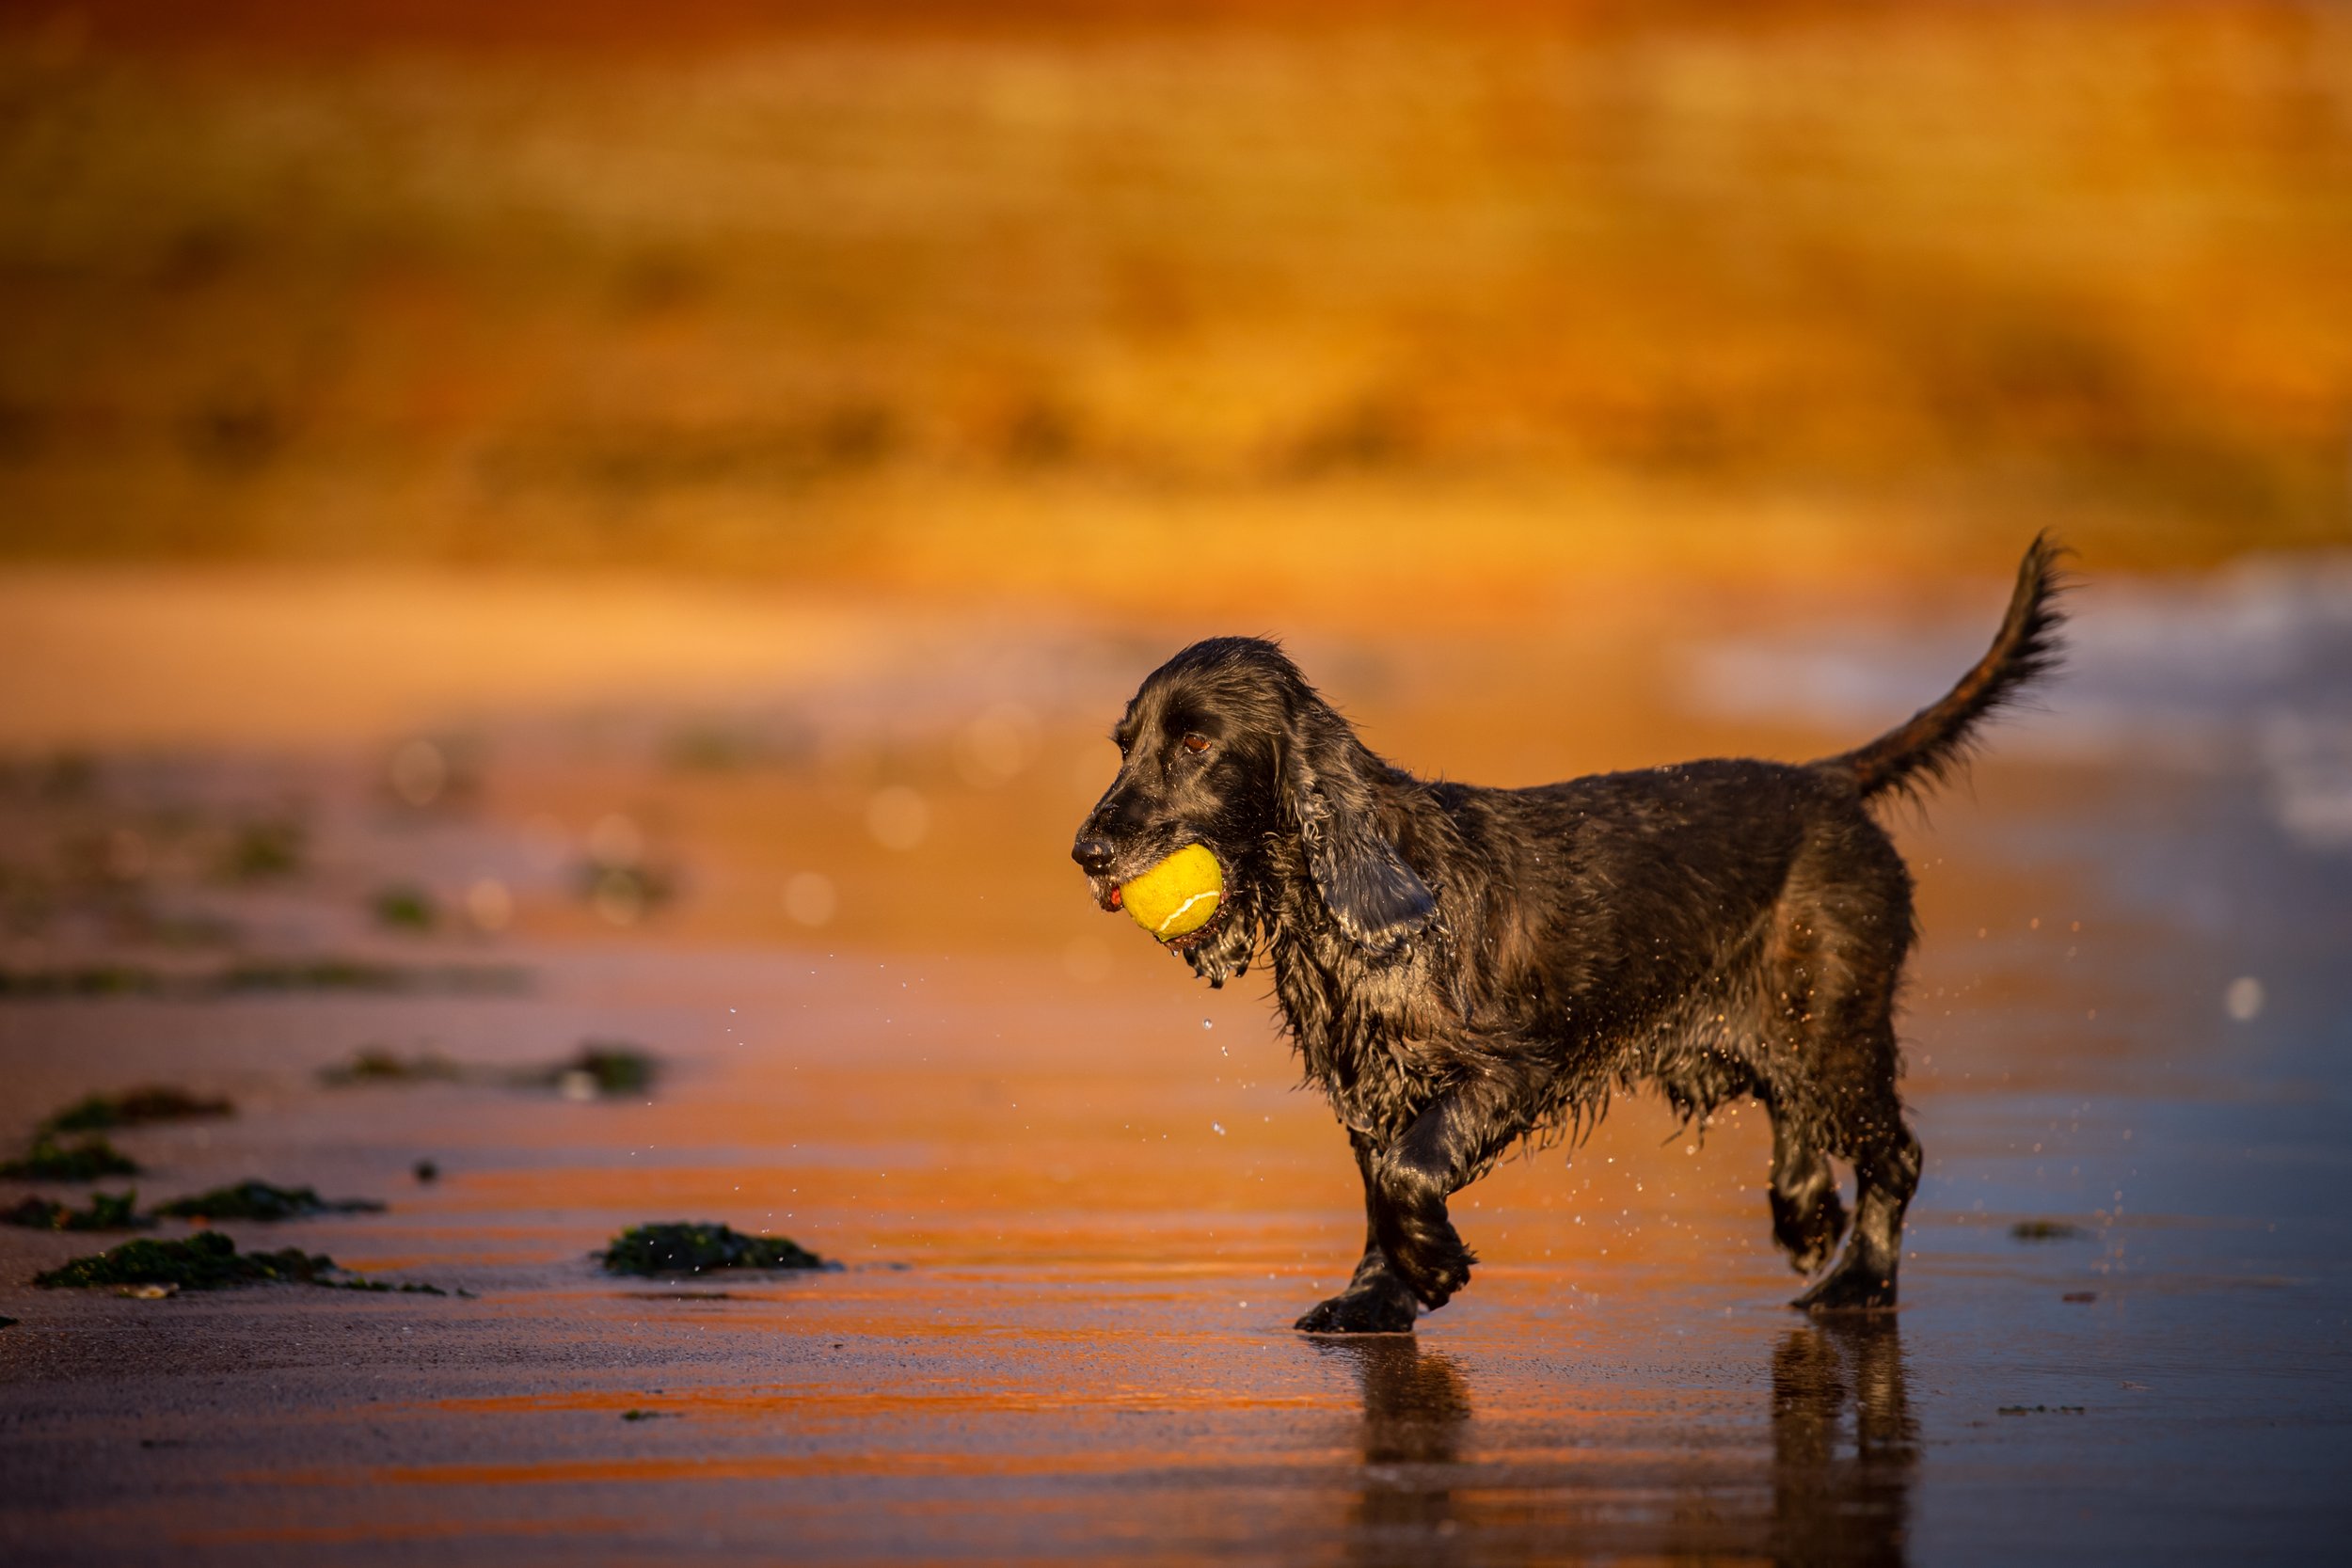
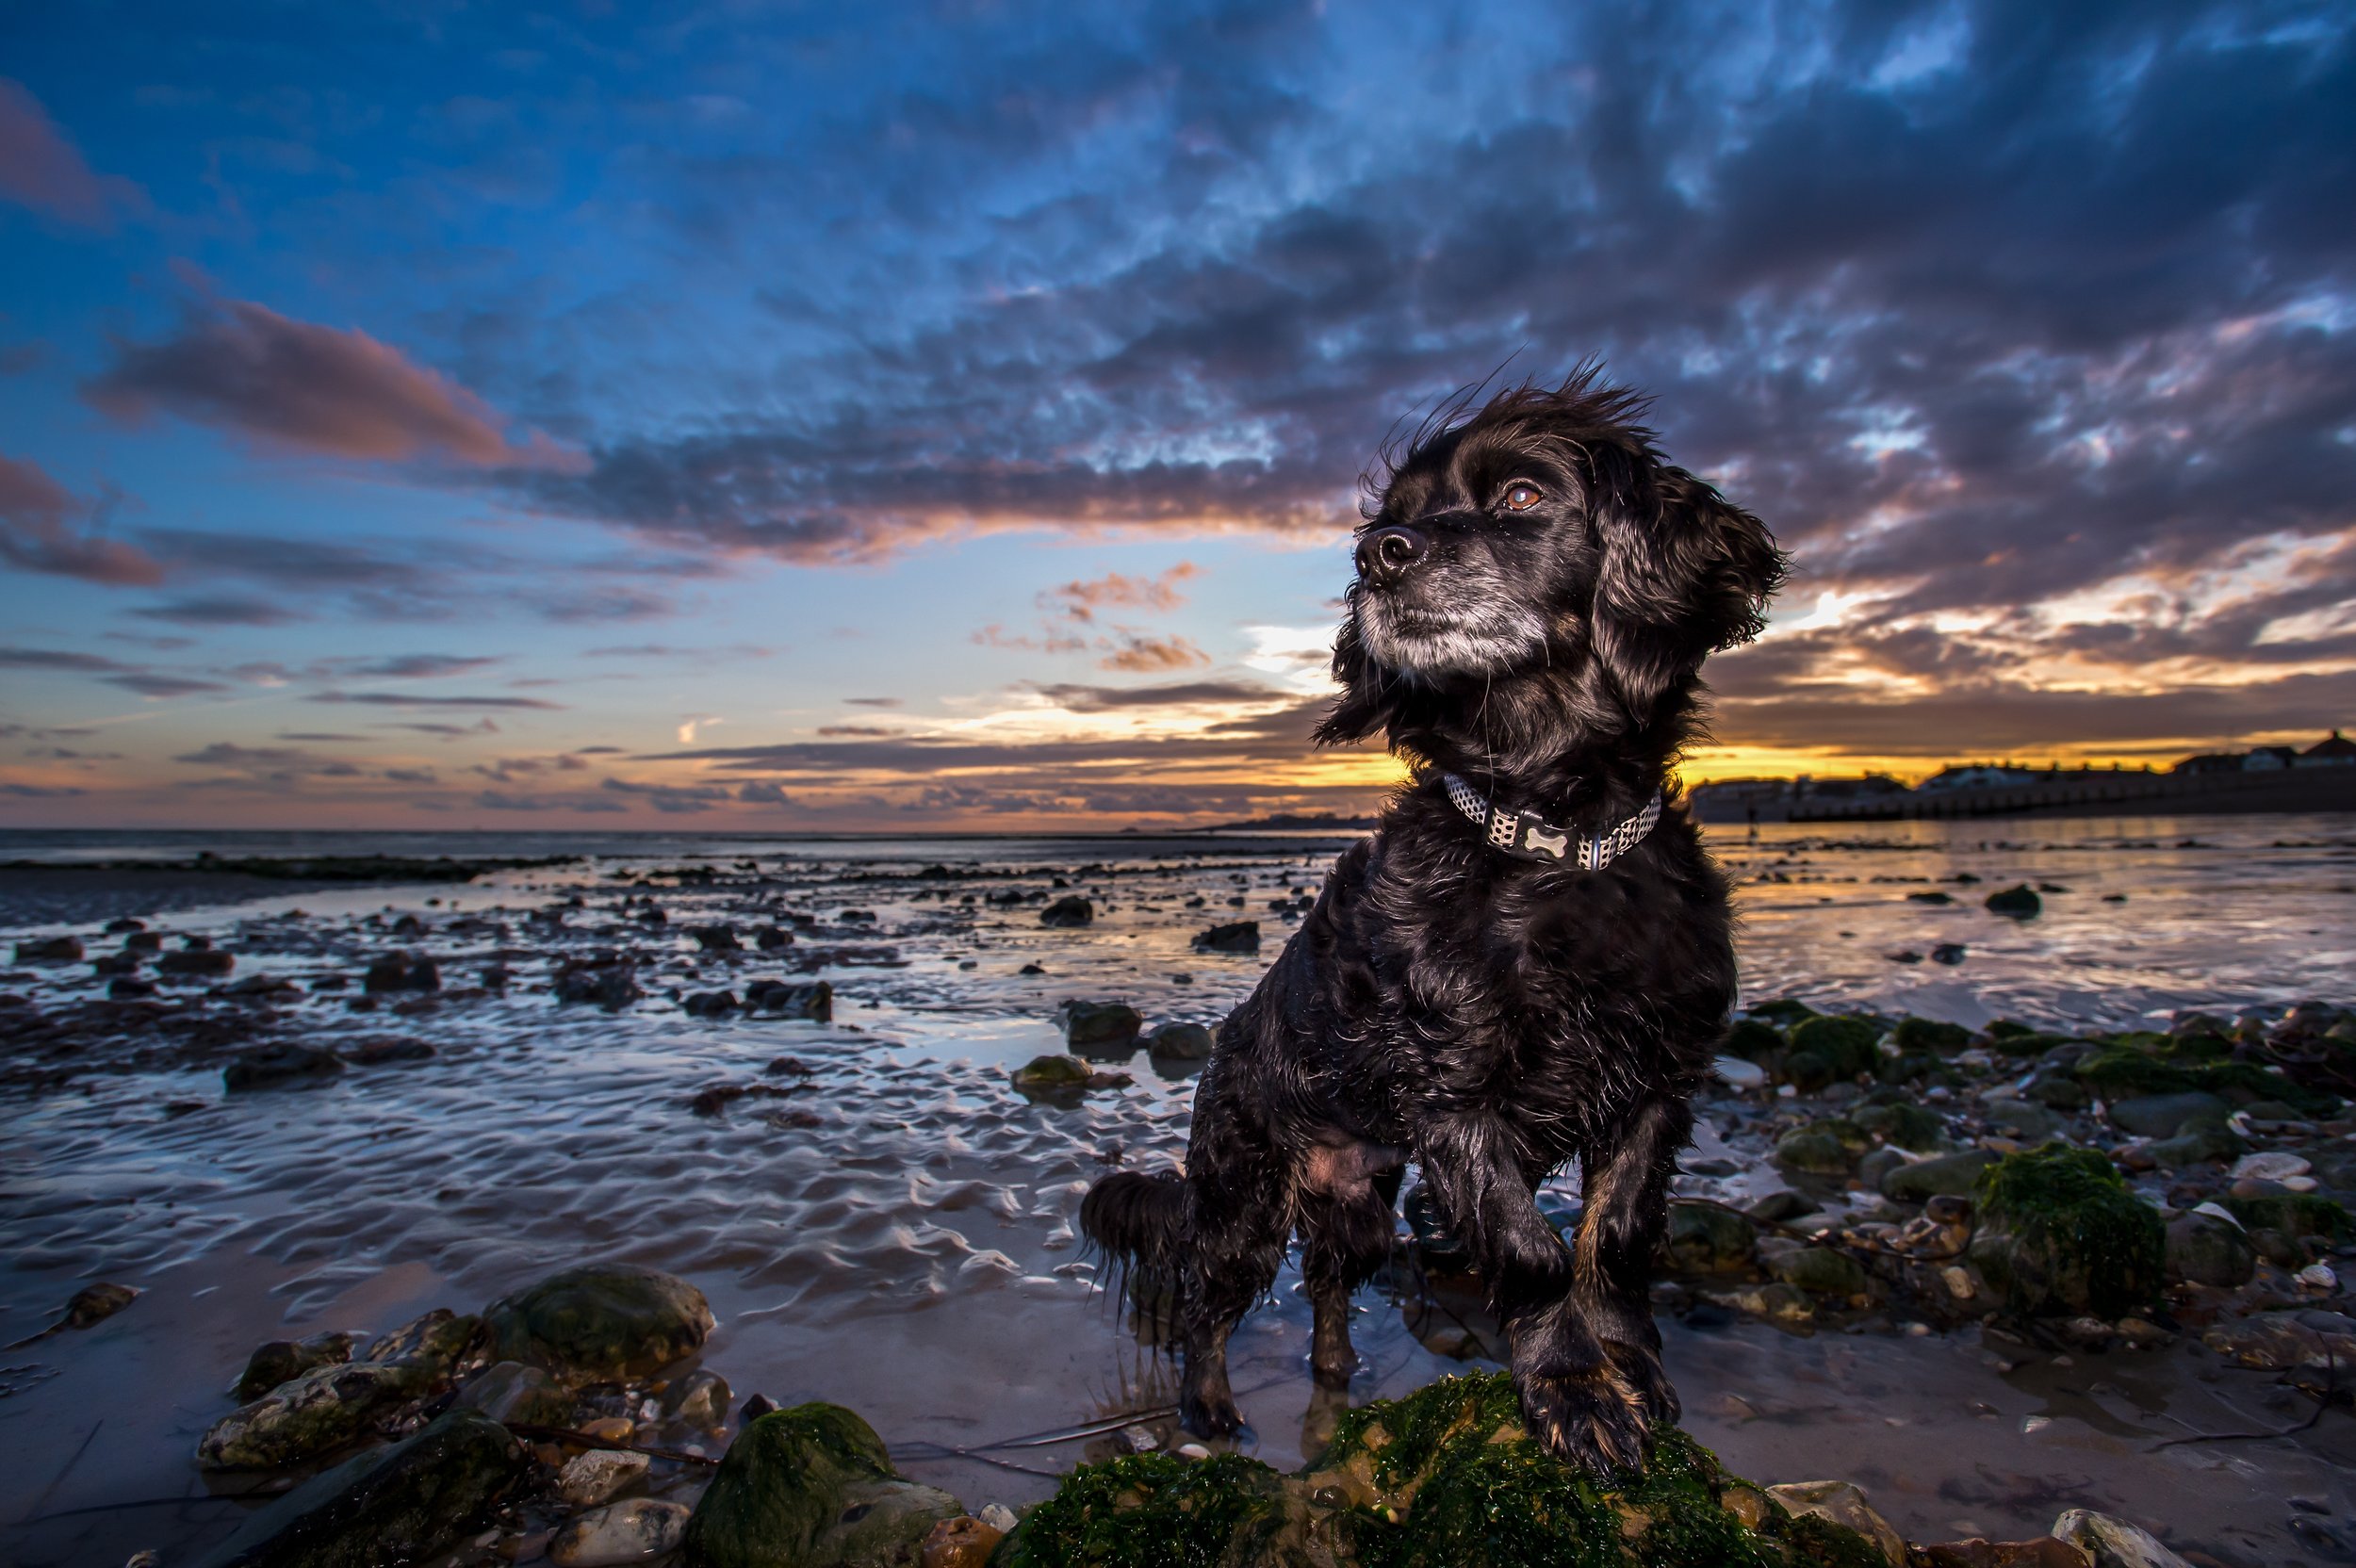
At my local beach (Exmouth, Devon, UK) there are big red/brown cliffs that back on to the beach. If you get the conditions right (sun just before sunset, low tide) and get the dog on the wet sand it will reflect the colours of the red cliffs in the wet sand and envelope the dog in beautiful orange/red/purple hues. I love when these conditions present themselves. Dogs of any colour would look great here but I particularly like it when I photograph black dogs in this situation because it’s not often you get colours which contrast with them so nicely that are not blur or green.
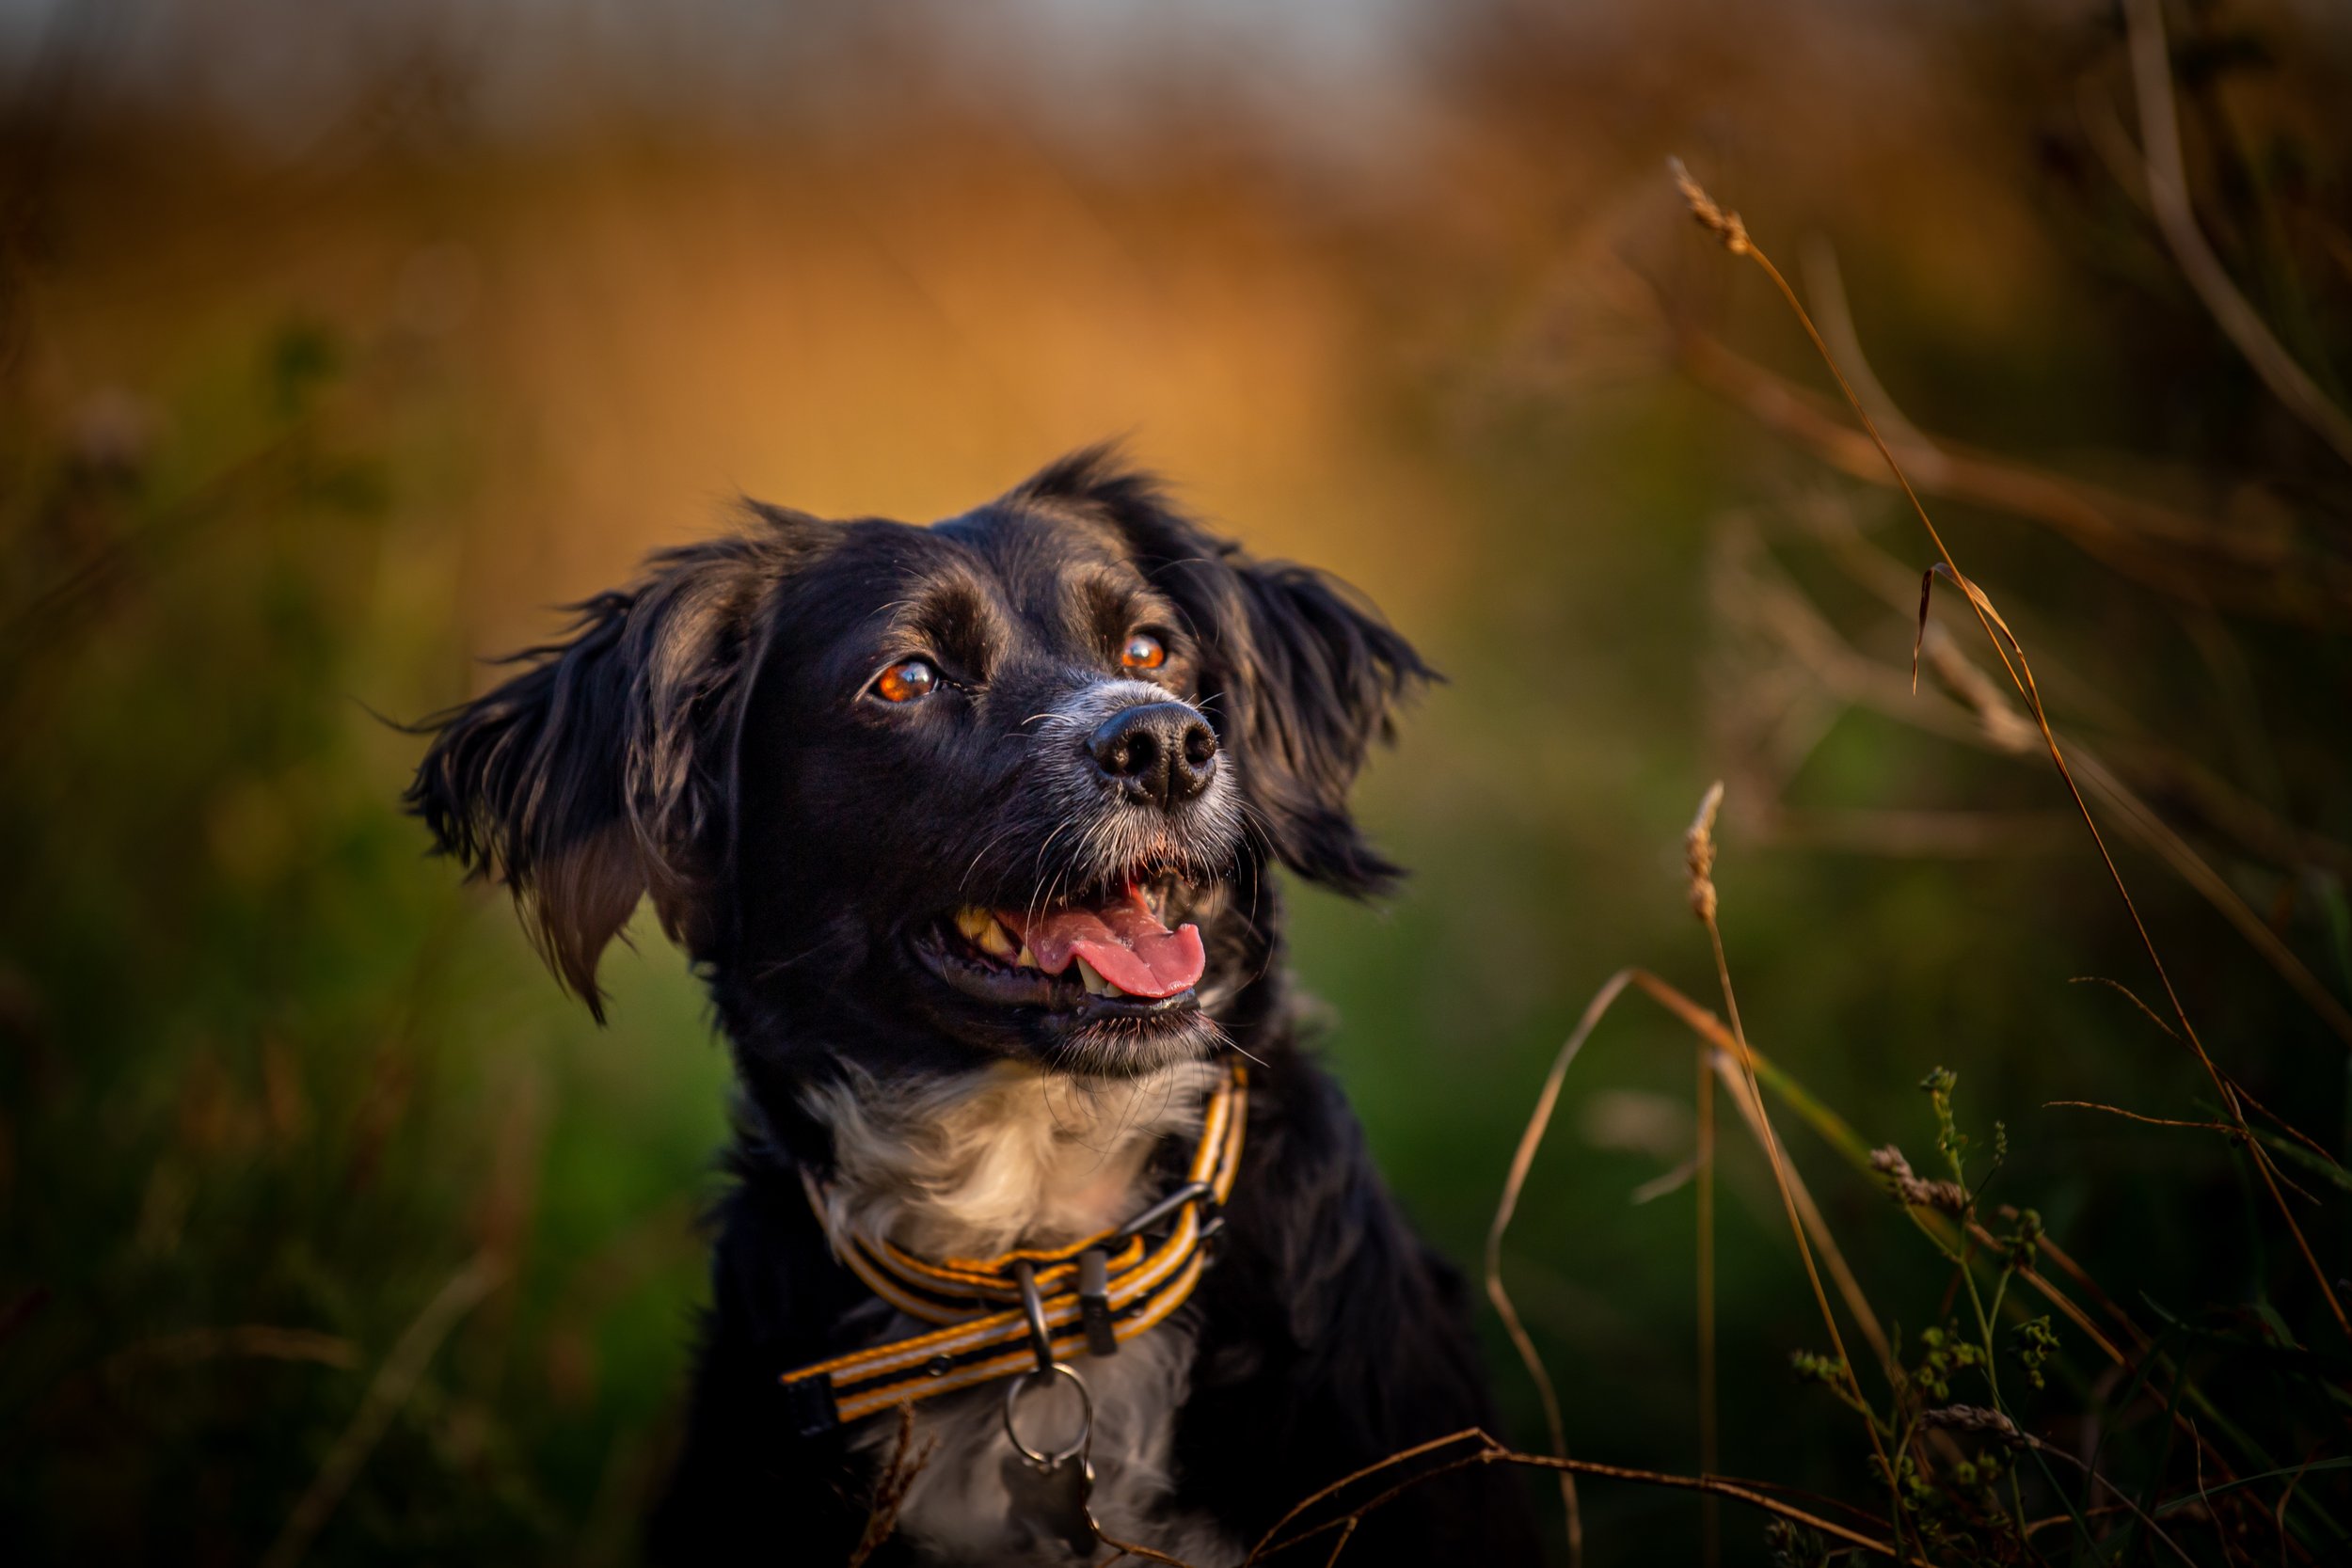
4. Eyes
As we all know, the eyes are the window to the soul. But even at the best of times, it can be hard to see a dog’s eyes, especially if they’re covered in fur and when there is little contrast between the colour of the fur and the eyes and the fur covers the face when dry.
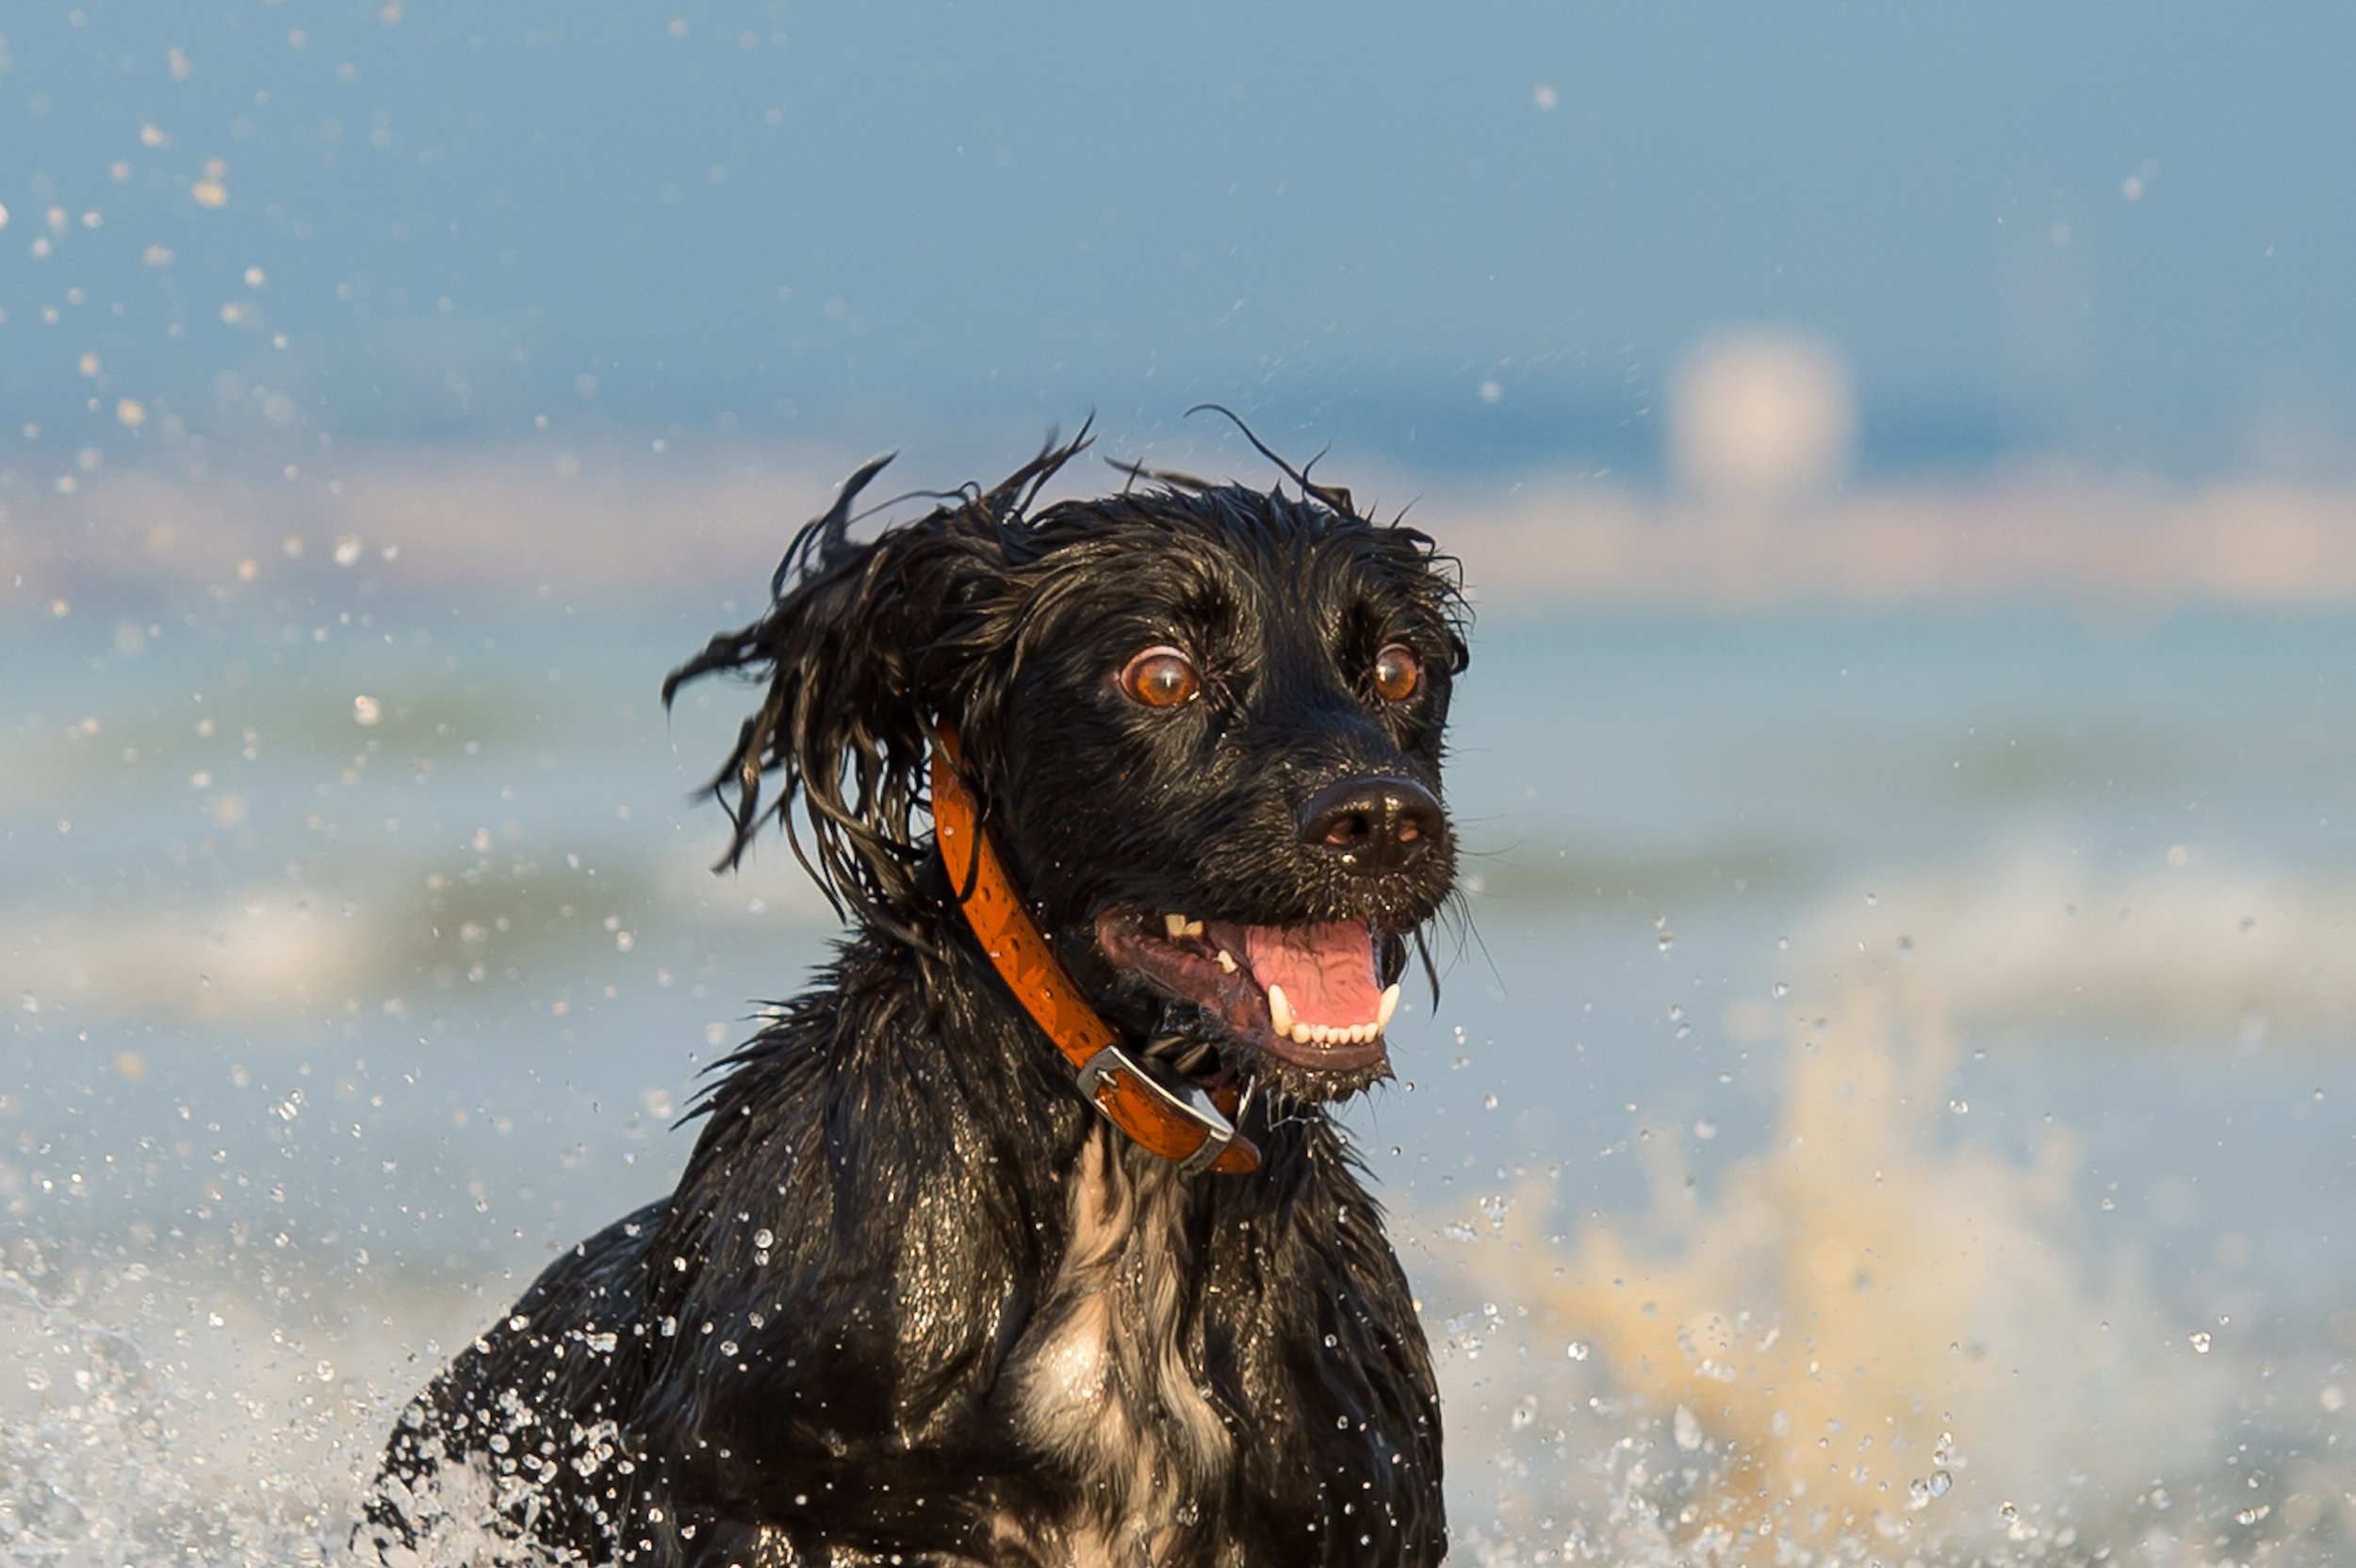
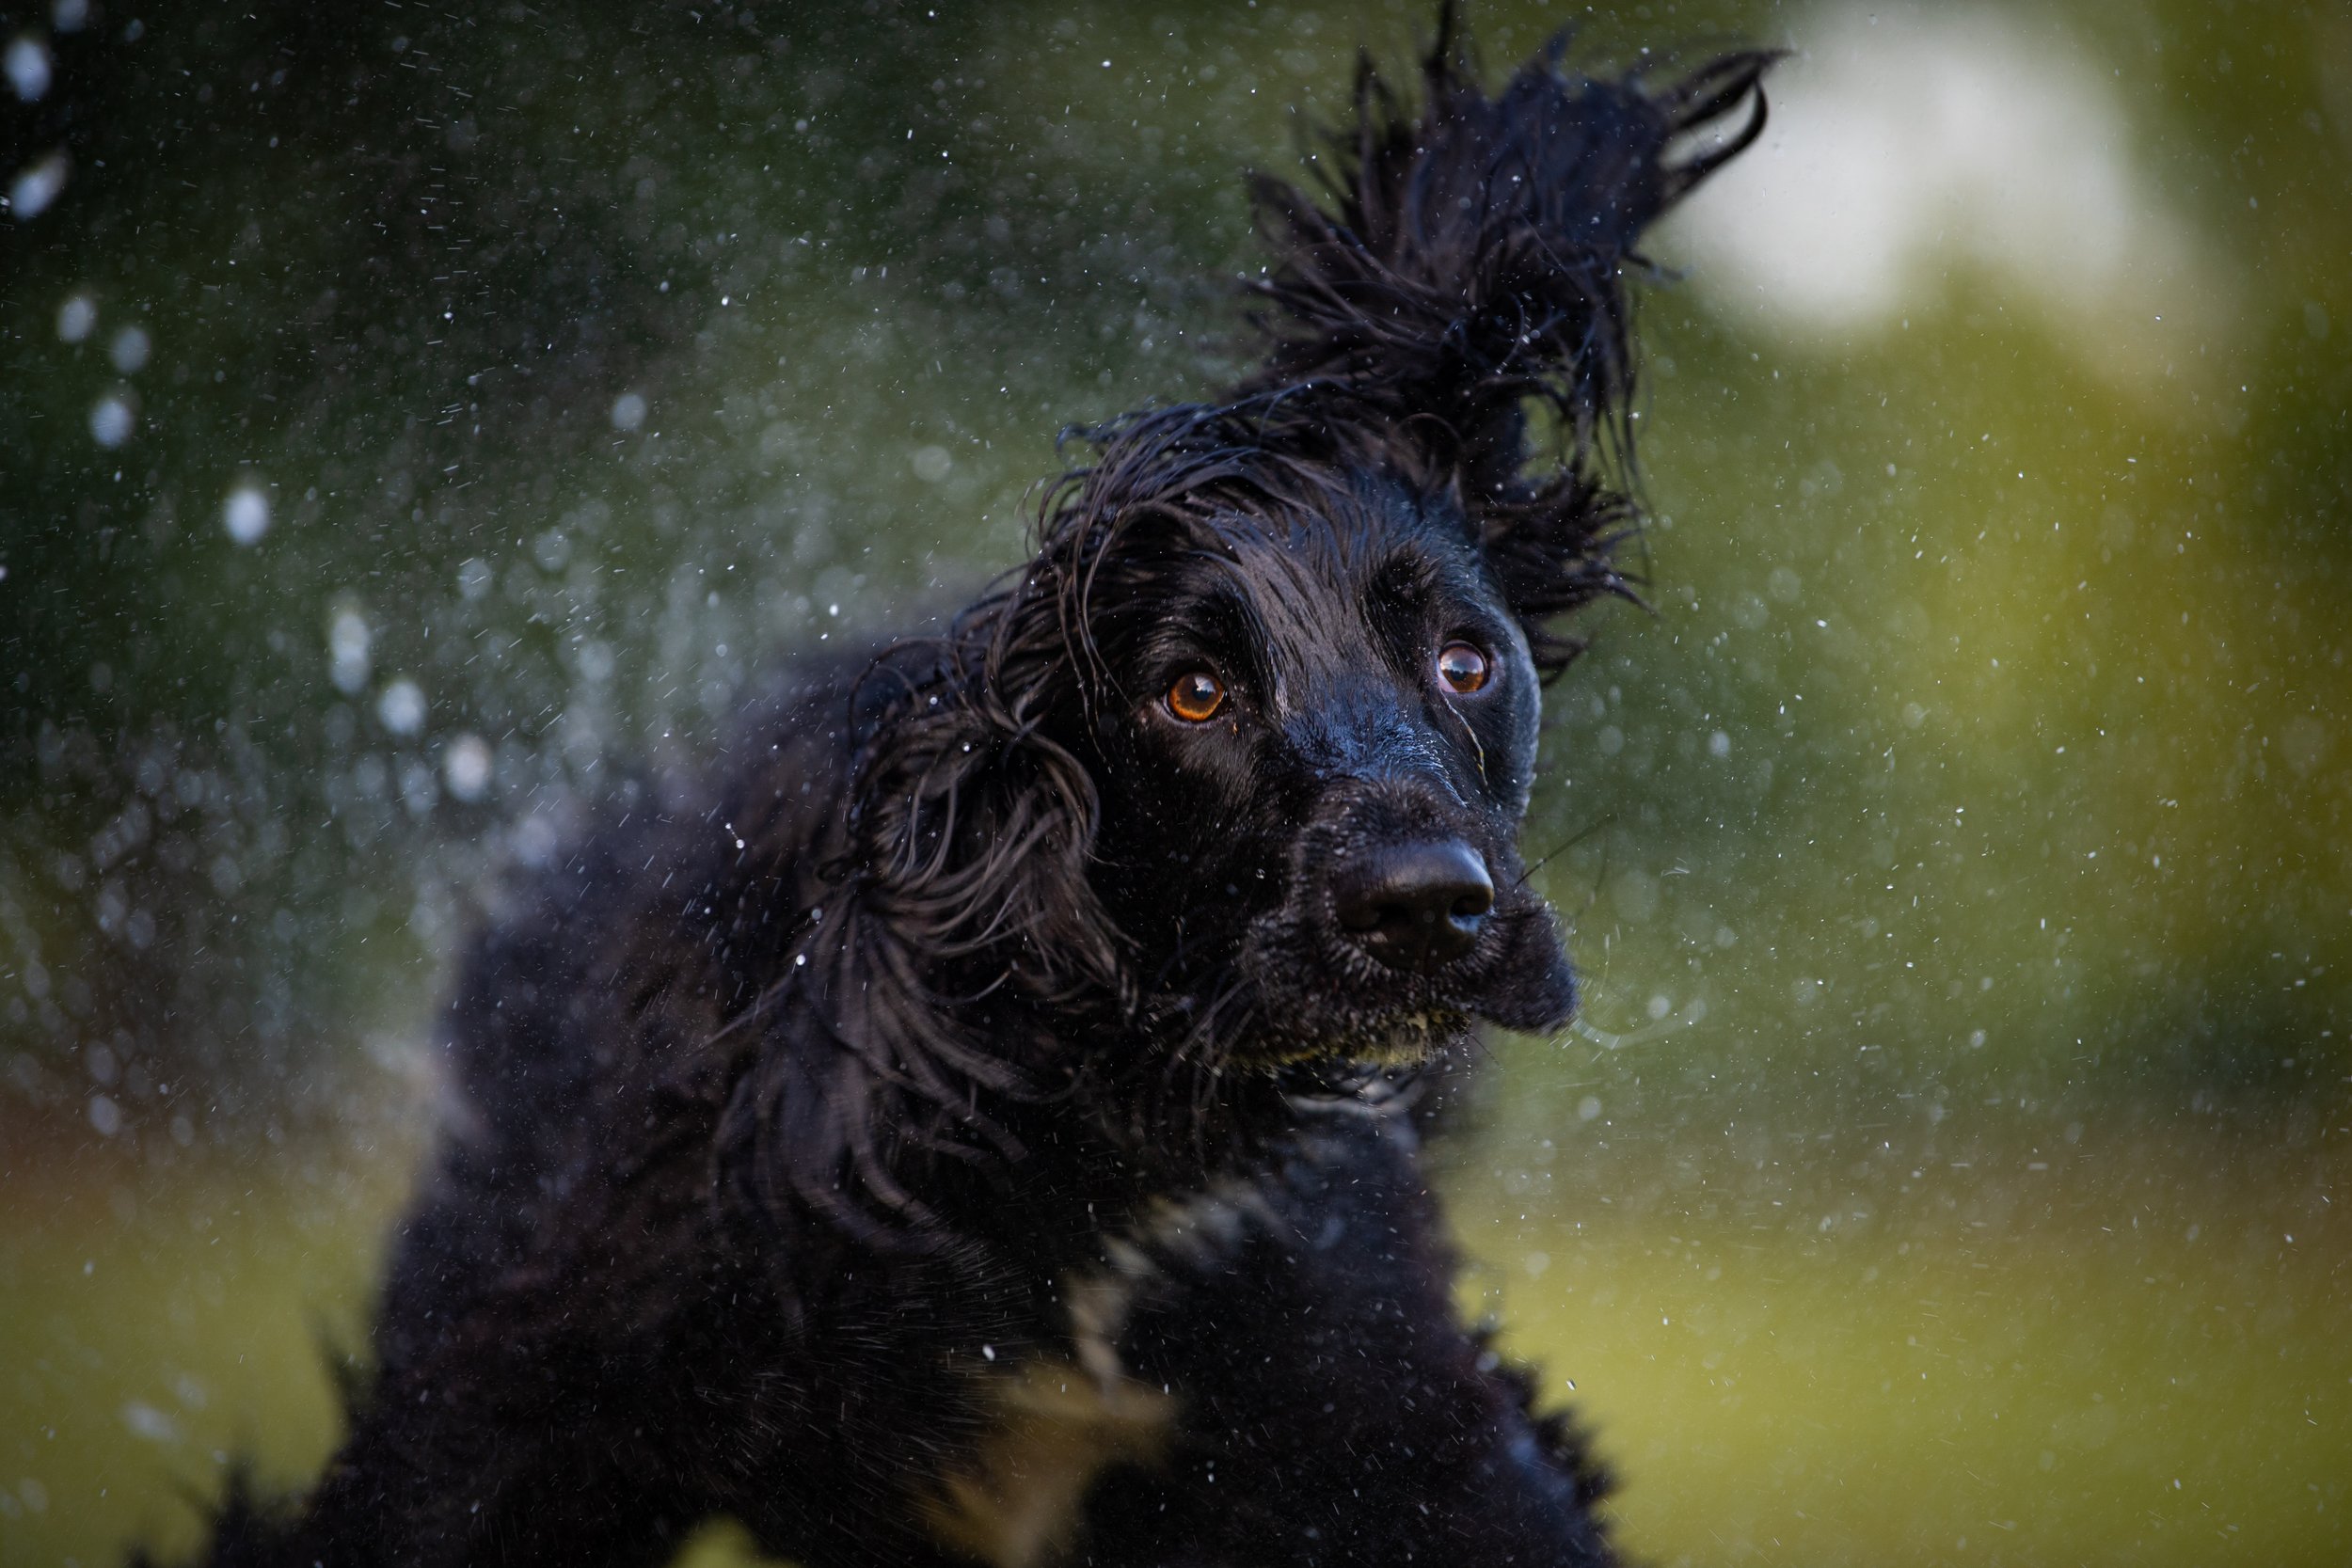
A great way to deal with this is to use water. You don’t have to take them swimming or dunk them in the bath, just use a wet flannel to wipe around the eyes. However, if they want to splash around in the water then all the better as water shots are great fun.

Tashi has thick jet black fur which goes over her eyes. Getting the fur wet made it 'stick' together in wet chunks, which came away from her face more easily as she moved.
Another tip to see the eyes is to take the picture from above. Because your dog is looking up at you, the fur falls back from the face.

Taking a photo from above can often make it easier to see the dog's eyes which is particularly helpful if the dog has long fur that goes over their face.
5. Take the picture with a person
In the case of rescue dogs looking for a home, taking the photograph with a person is a great tip. For reasons which escape me, people often think of black dogs as being unsociable, even dangerous.
A great photo of the dog having fun or cuddling up with a person helps people understand that black dogs are, of course, just as friendly as any other dog.

Showing the dog interacting nicely with a person can inspire a potential adopter as they can see the dog likes people.
6. Flash
If it’s a little too dark to bring out the dog's features, try supplementing your available light with `fill-in’ flash. Experiment a bit, but make sure the sun is either directly behind, or just off to the side. Fill-in flash helps lighten the dark areas and reveals the features of your black dog. I find working with flash more effective when conditions are not too dark nor too bright. I tend to use the flash towards the end of my shoots and that’s just before sunset, but sometimes earlier as in the example below. When the dog is in shade a but of flash can help them to be seen better, raise the light in the shadow and get the eyes to be seen more clearly.

Soft and even fill-in flash can really help bring a sparkle to the dog's eyes. Make sure not to have the flash too bright or you will have the same problems as with bright direct sunlight. Notice this image was clearly not taken when it was too dark.

If you're using fill-in flash, you'll get the best results if the sun is behind your dog or just to one side and not directly in the image. Generally, I find, this is because it will be too bright - but with a wider angle lens I find this to be less of a problem. That way, you benefit from two sources of equally balanced light. This was taken not long before sunset which looks great, but if you wait too long it will be too dark to use the flash.
7. Silhouettes.
Have you thought about taking a silhouette? Black dogs suit this brilliantly. After all, they’re black.
The time to take your silhouette photo is when the sun is very low in the sky - just after sunrise or just before sunset. They work best when the sun is directly behind your subject, or if you want it in the picture it needs to be very low, almost touching the horizon line. If it's still a little bright, you shouldn’t actually be able to see the sun, just your dog, unless the sun is very low, else it is too bright. I also take silhouettes where the sun is just off to the side of the frame, so not directly in the image at all.
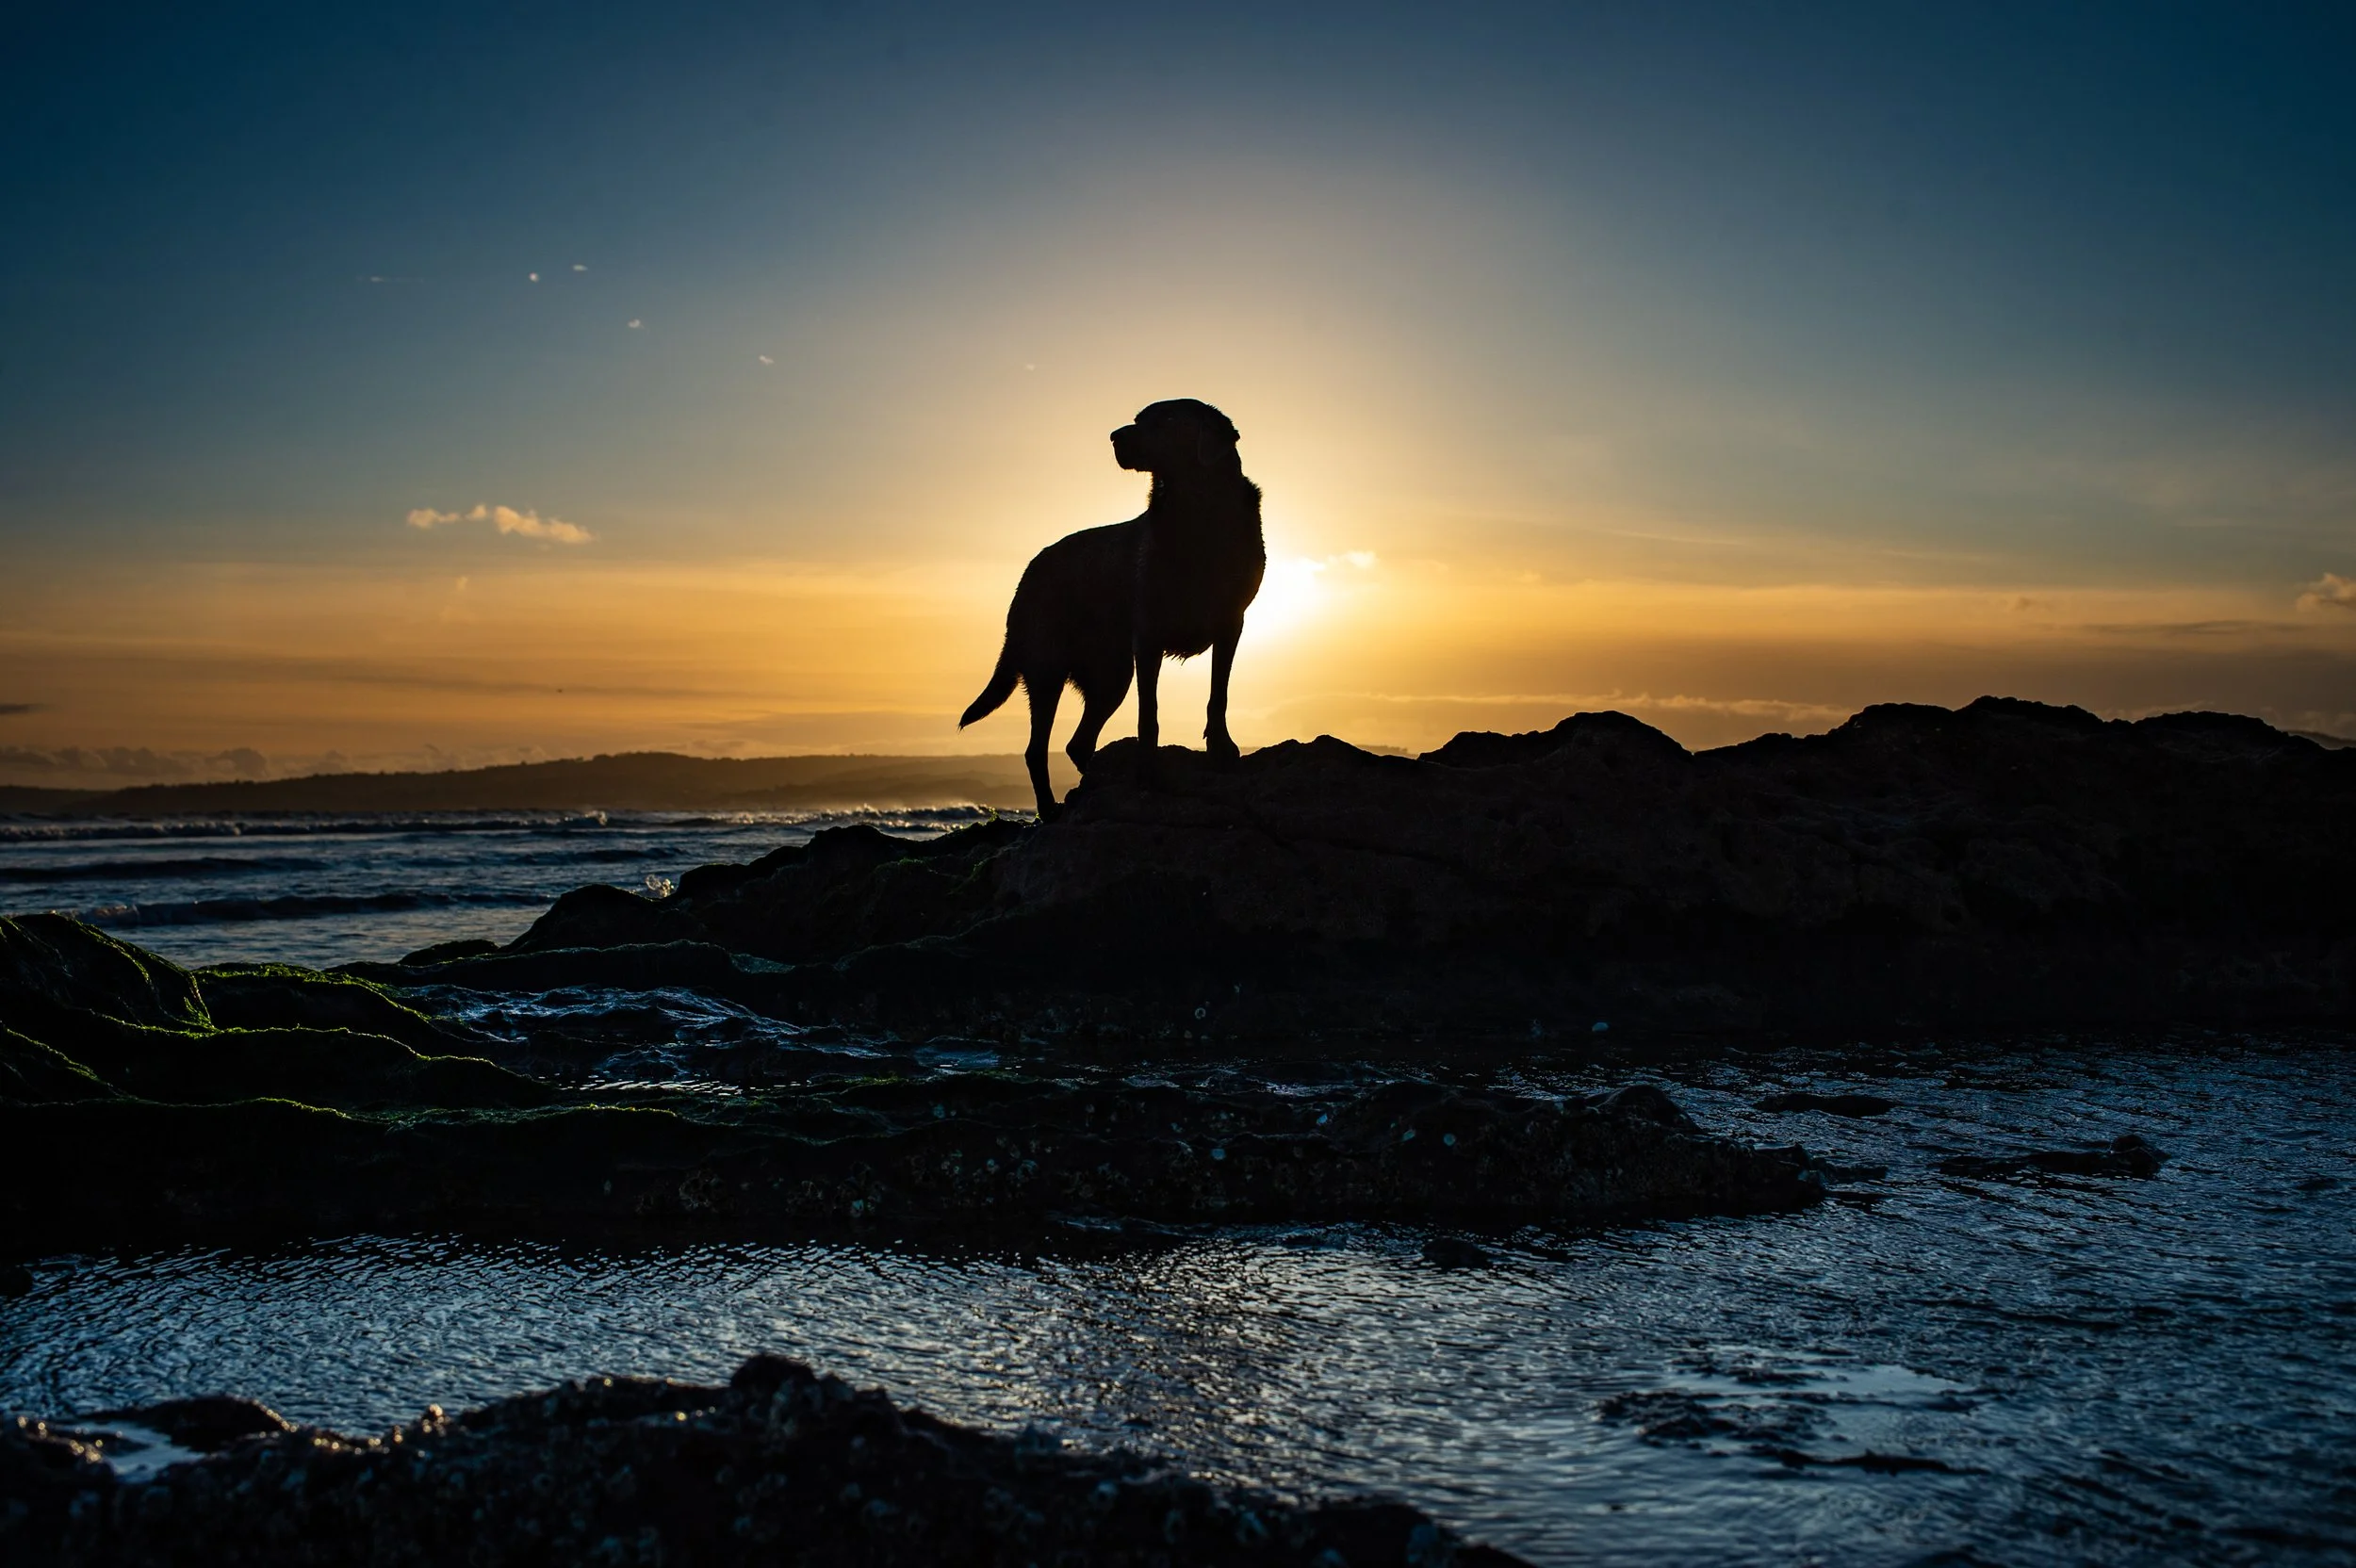
If all else fails make a virtue of your dog's black colour and take a silhouette shot. Best taken when the sun is low and behind your subject or very low and off to the side. It’s nice to see a setting sun too. The colours can be gorgeous.

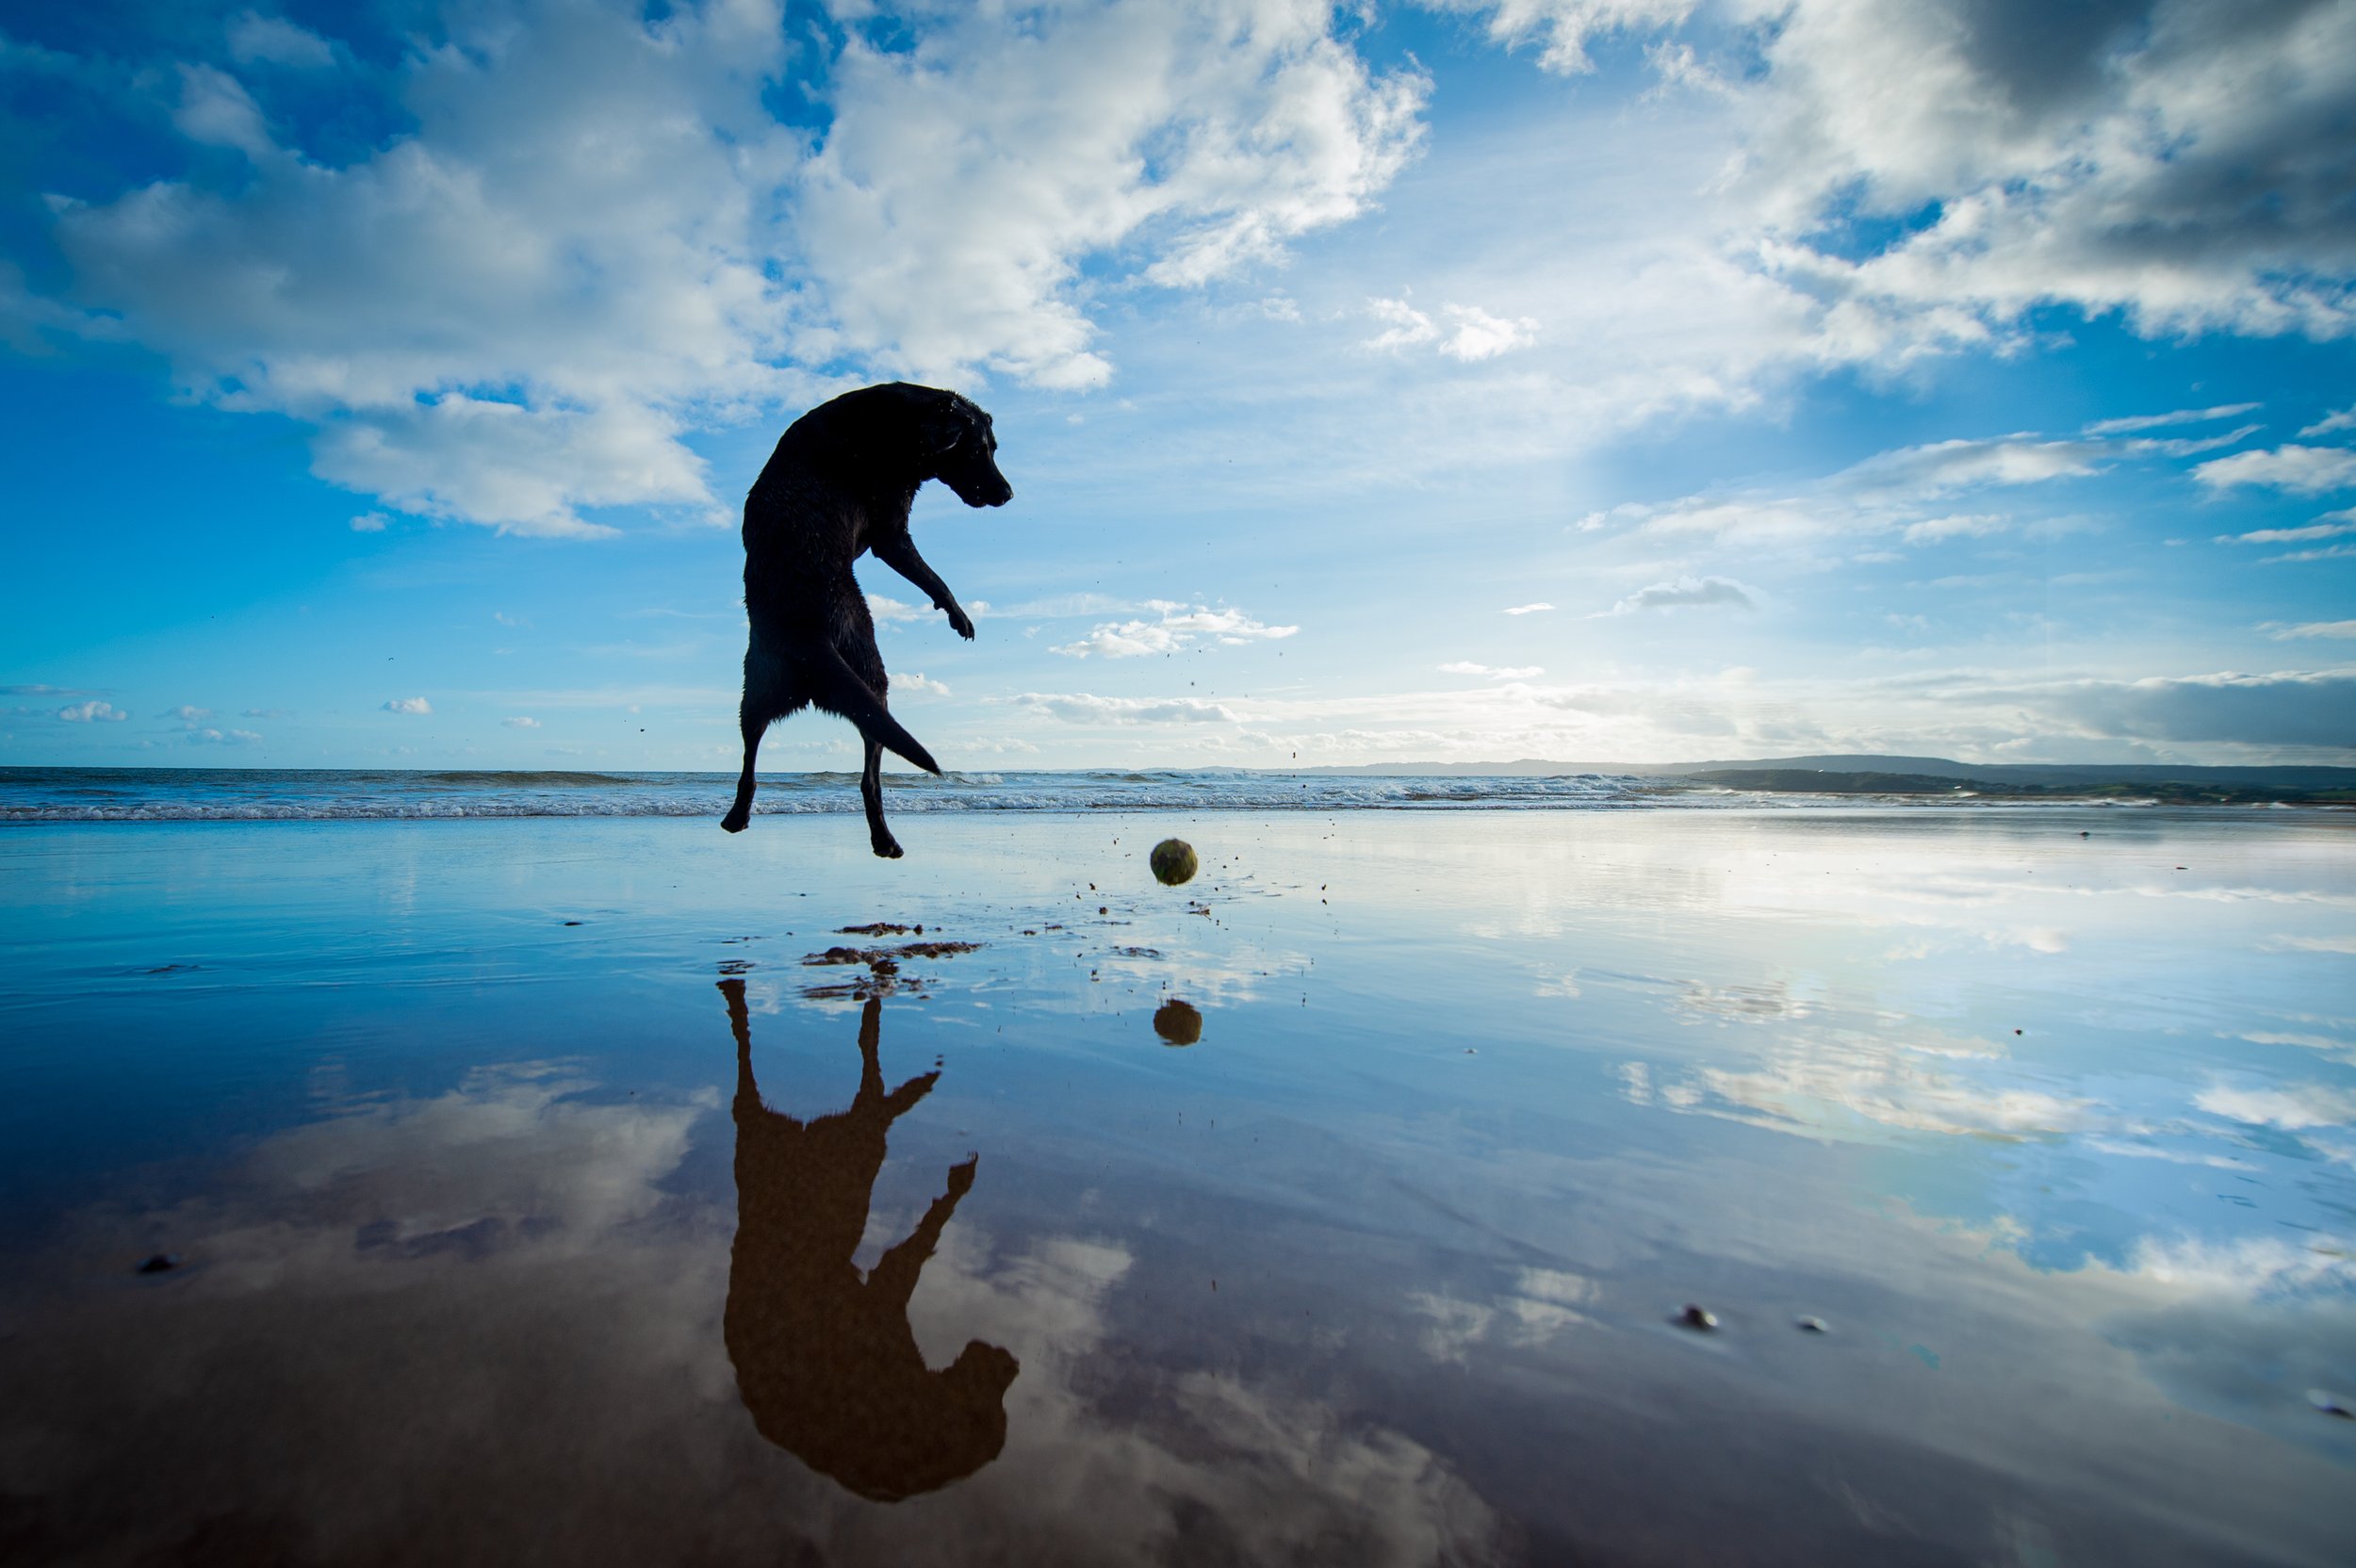
Notice there is no direct sun in this image. It was off to the left. But I was able to get a silhouette because it was still bright enough to provide a bright enough sky and the reflection of the sky in the wet sand. Because the sea is moving the light does not reflect so well, so the dog is more visible in the sky and wet sand portions of the image. There is also the issue of the land in the background. Anything that is not the sky, or a reflection of it, will be dark. However, I think this works and the colours are really nice - it was taken just before the sun went down.
I hope you have enjoyed my blog on how to photograph black dogs and have found it useful.
CHECK OUT MY BLACK DOGS GALLERY


Want to see even more of my black dog images? Check out this montage of beautiful black dog images I have made:
Want to learn more? There are various ways to learn with me:
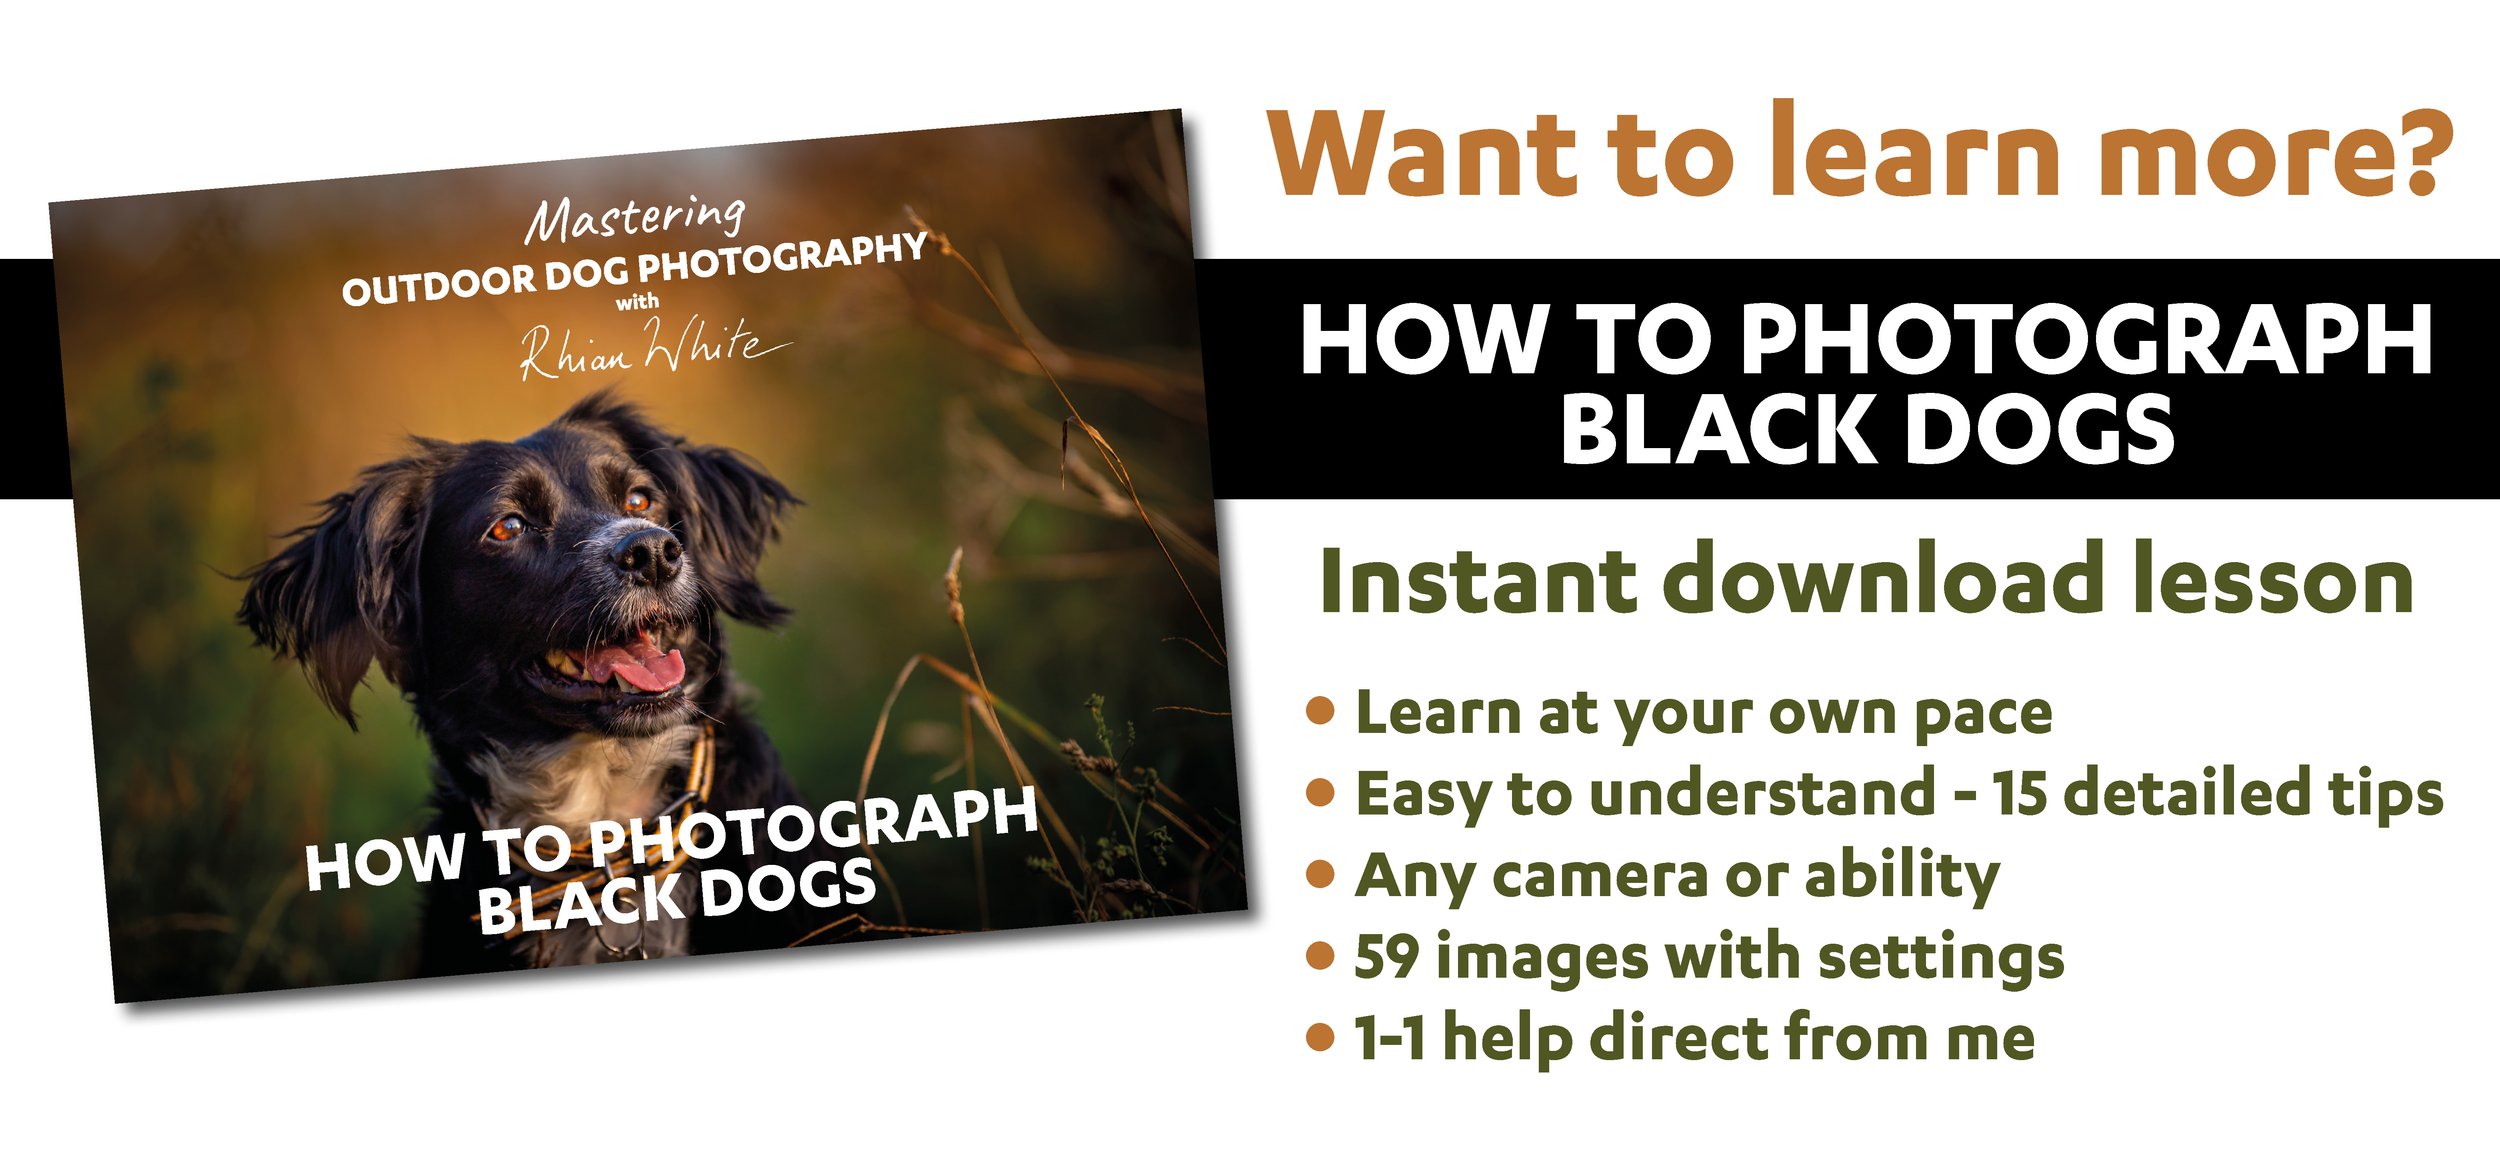
1. Download my “How to Photograph Black Dogs” lesson - 15 detailed tips, 59 images with settings, PLUS personal 1-1 help and feedback from myself about your own images. Get learning straight away.
2. Sign up for my 20-lesson ‘Mastering Outdoor Dog Photography’ online course - suitable for both beginners and more experienced photographers. Use this code to get yourself 10% off the course cost - dogsarefamily. This extensive course covers everything you need to know to understand my style of dog photography and you will get up to 22 times personal help form myself.
3. I offer online support sessions: 1.5 hours via zoom where we discuss your images and how you can make them better.
4. If you are in the UK you can come along to one of my group or 1-1 dog photography workshops.
5. I can photograph your dog at one of my on-location dog photo shoots.
